Transforming your driveway with thin pavers is a practical and visually appealing way to enhance its appearance. This method not only spares you the hassle of removing old concrete but also significantly reduces costs and time. Thin pavers offer flexibility in design, excellent functionality, and long-lasting durability, making them an ideal choice for upgrading your driveway. Here’s how to complete this project effectively, with recommendations for tools to optimize your process.
Step 1: Evaluate the Condition of the Concrete Surface
Before starting, inspect your existing concrete driveway to ensure the base is stable and free from major cracks or significant settling. Minor cracks can be filled with repair materials to create a smooth and level surface. Additionally, remember that adding thin pavers will raise the height of your driveway, so check whether the new height might affect drainage.
Why It Matters:
A stable and even foundation prevents shifting or uneven surfaces after installation, ensuring a long-lasting result.
Step 2: Thoroughly Clean the Driveway Surface
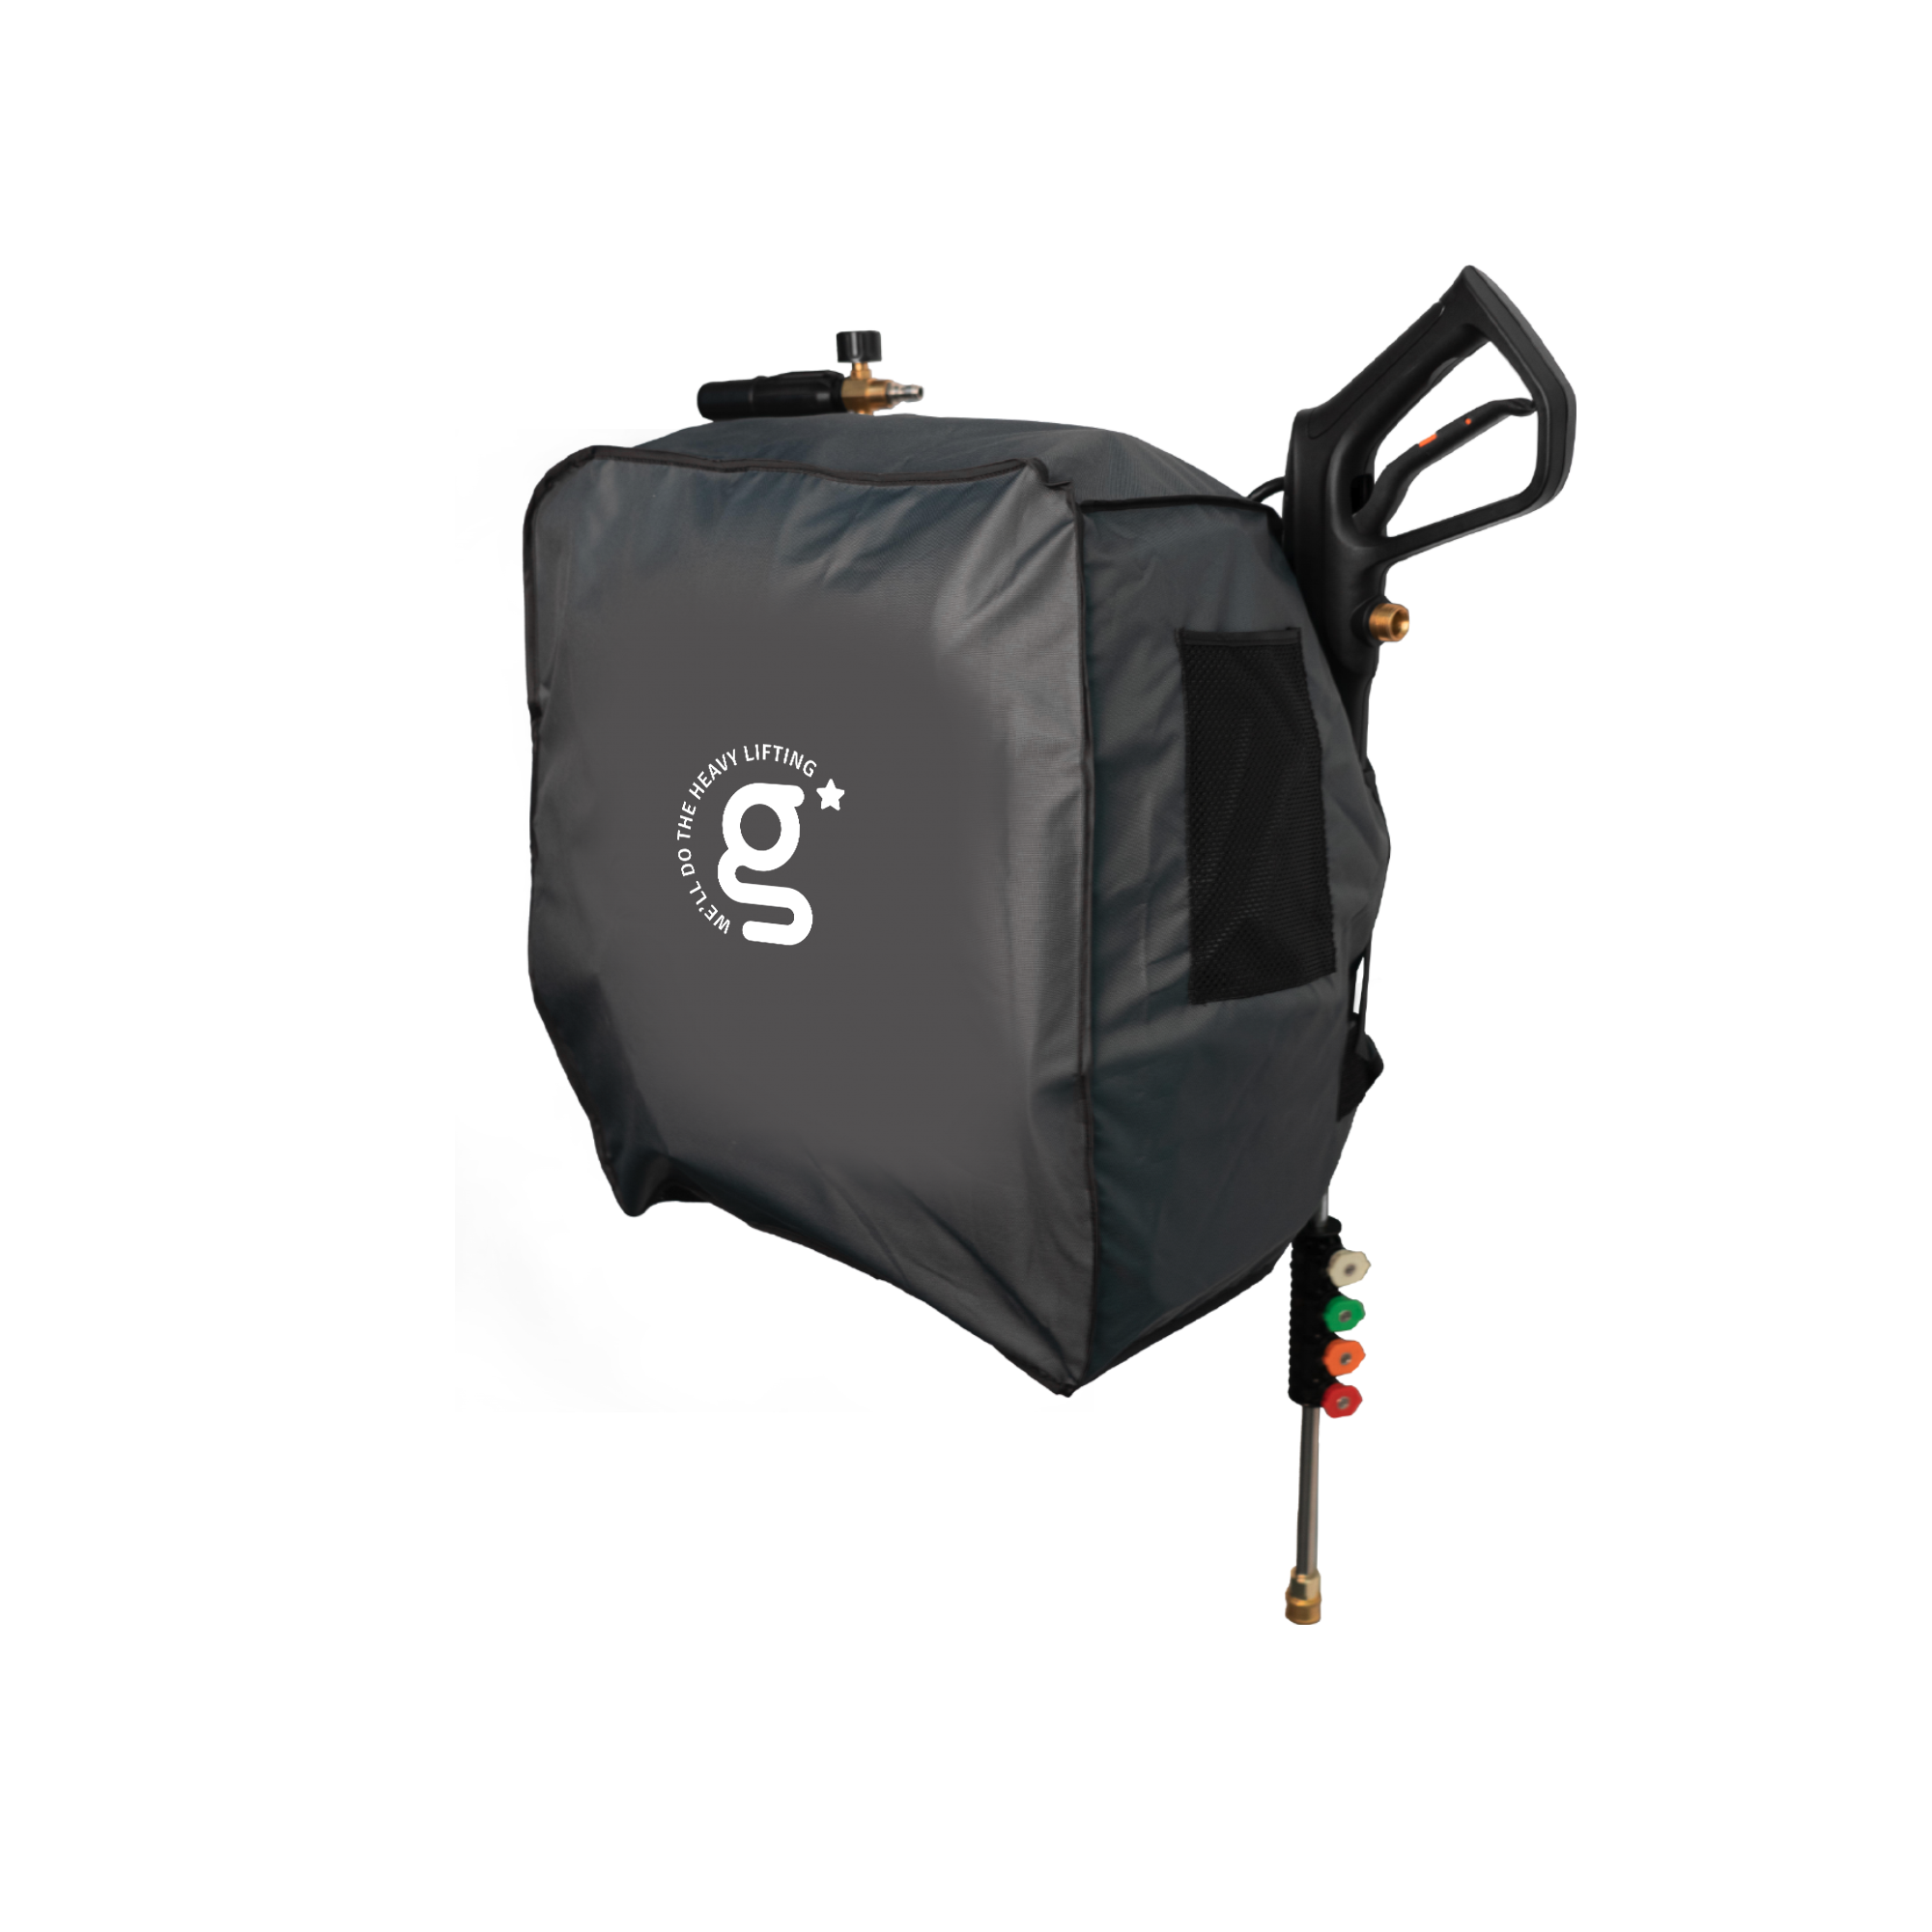
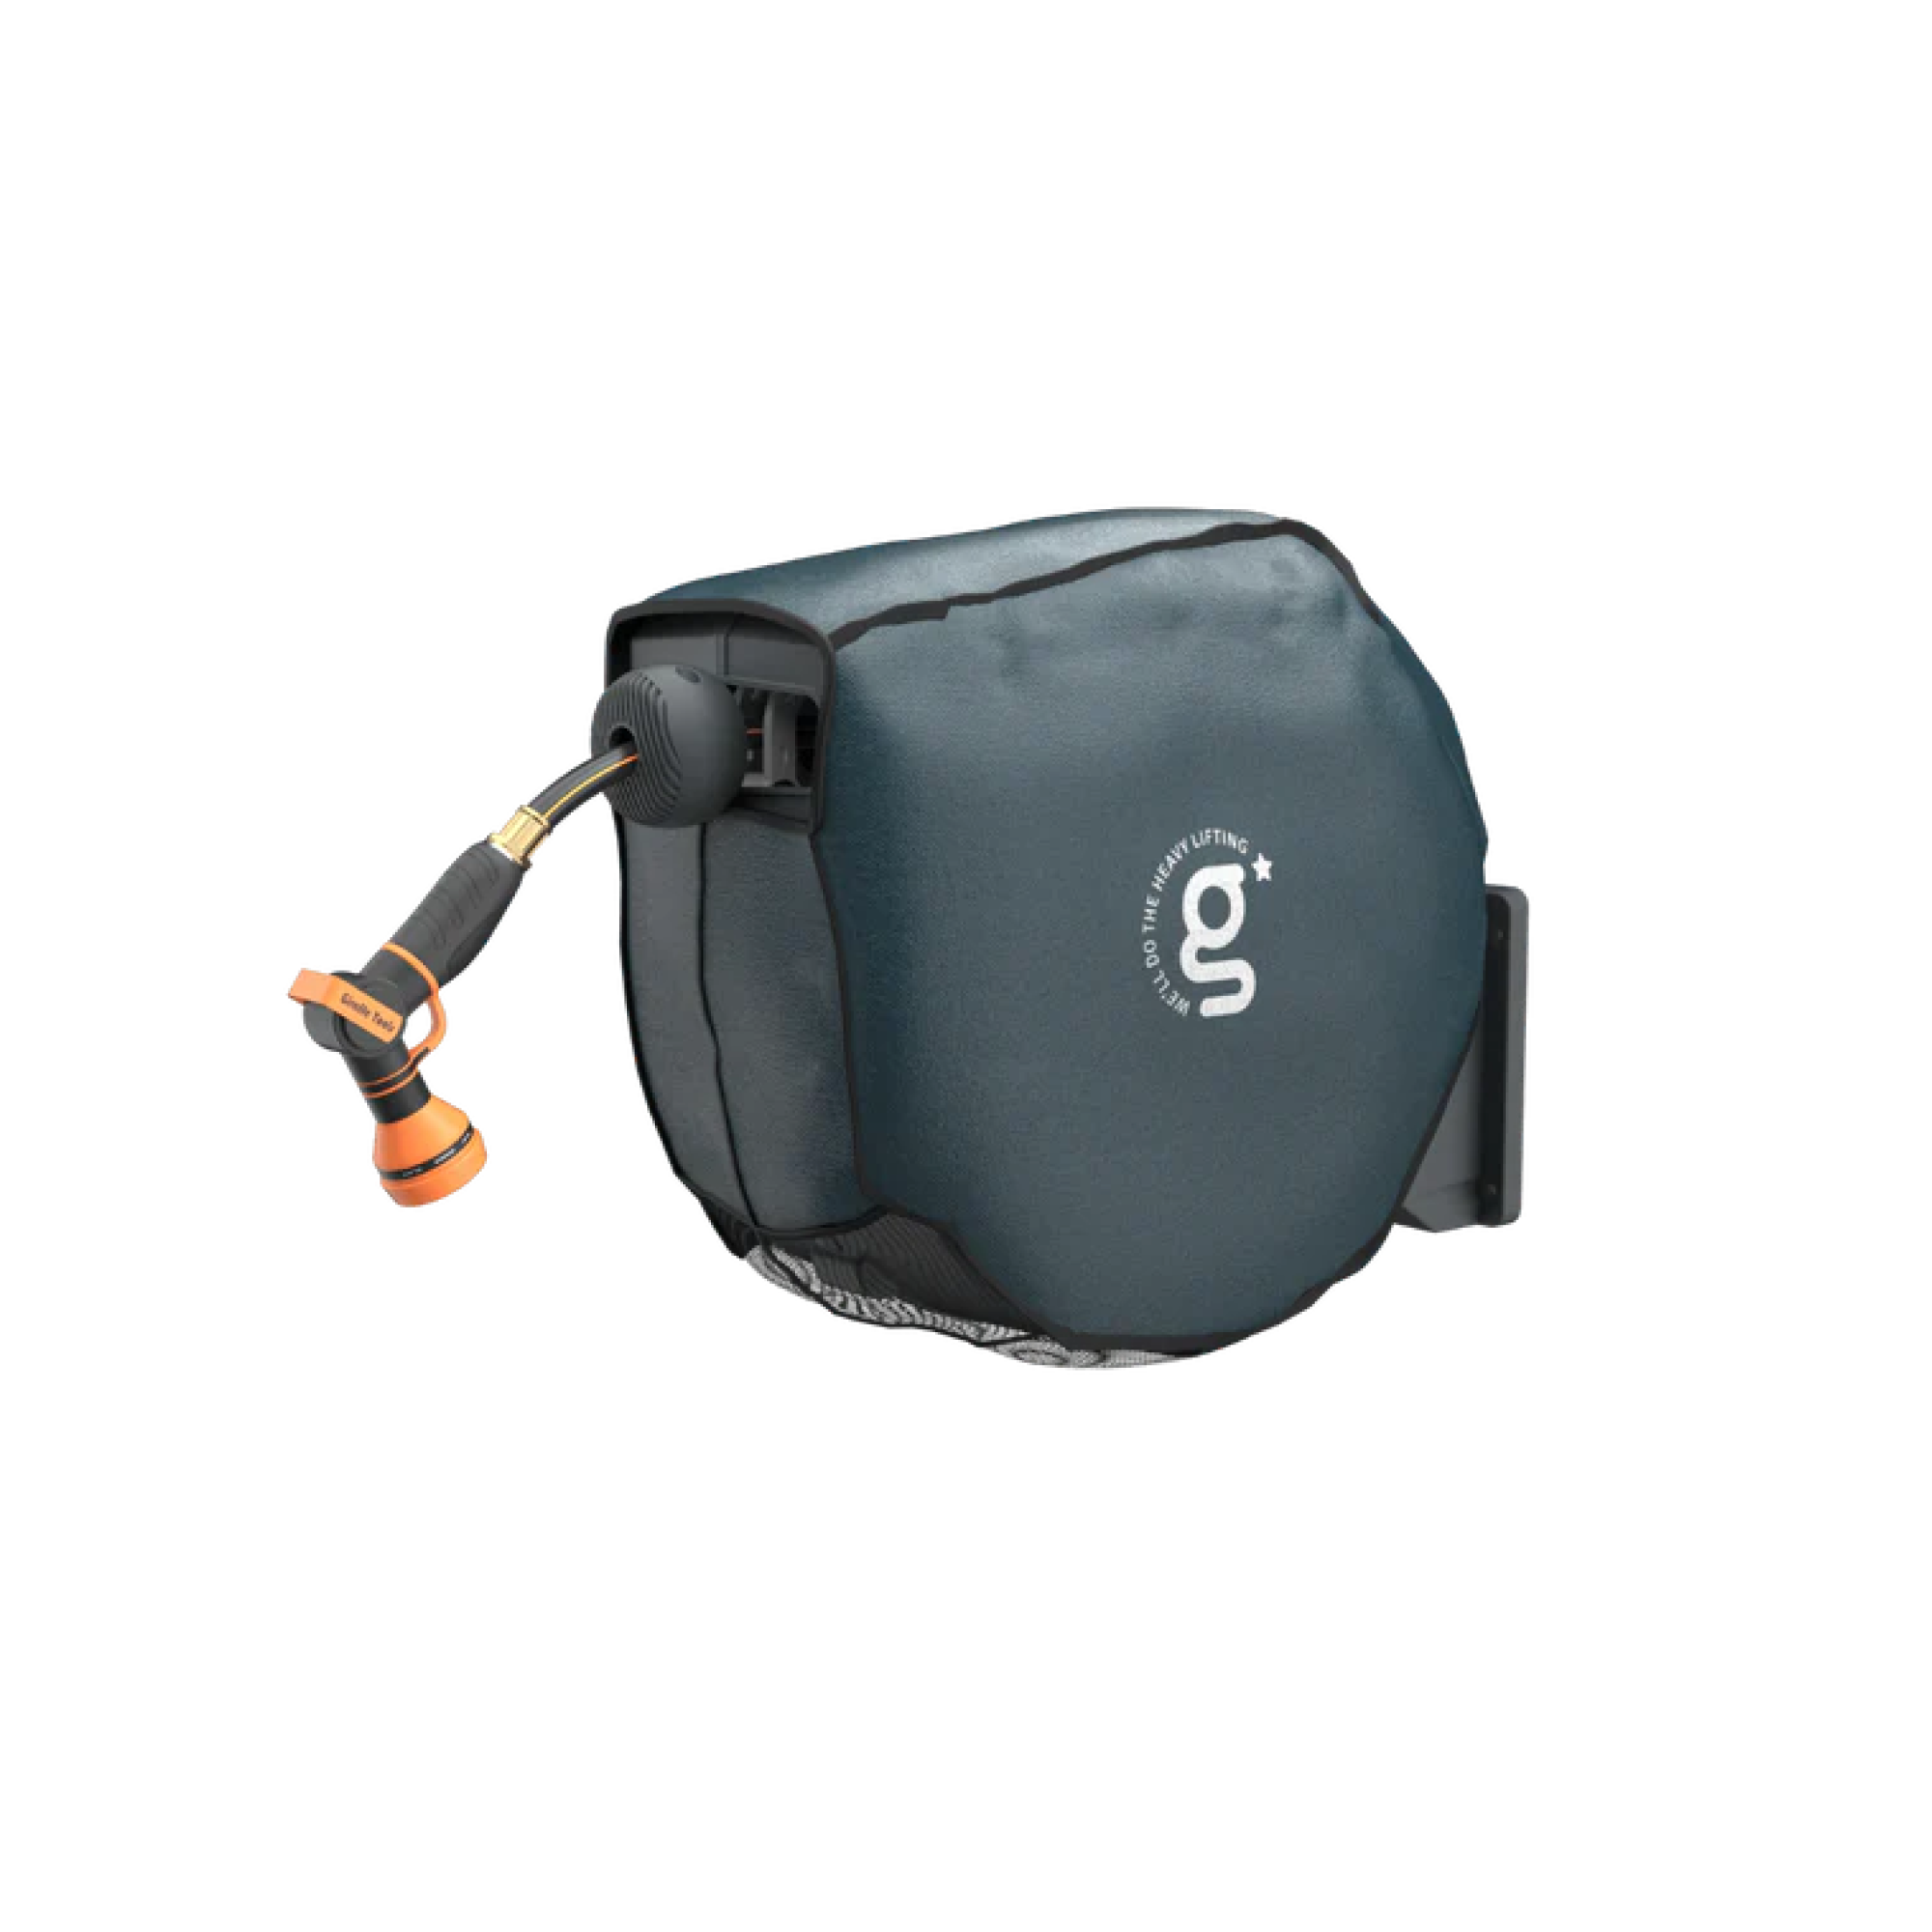
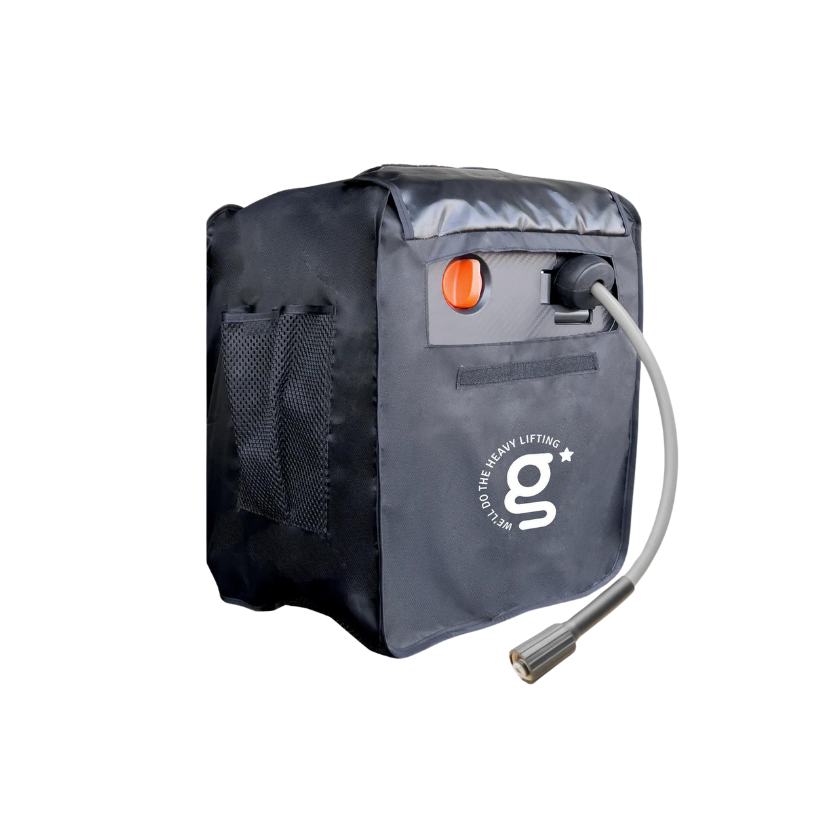
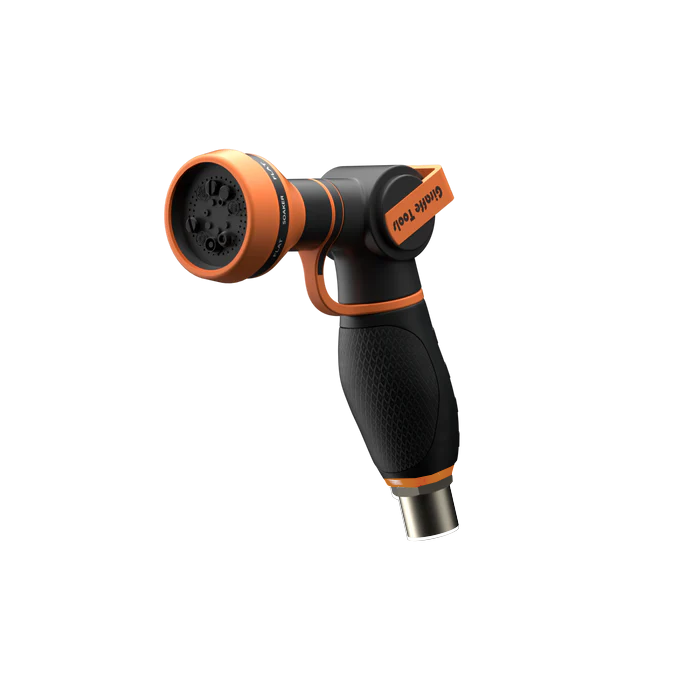
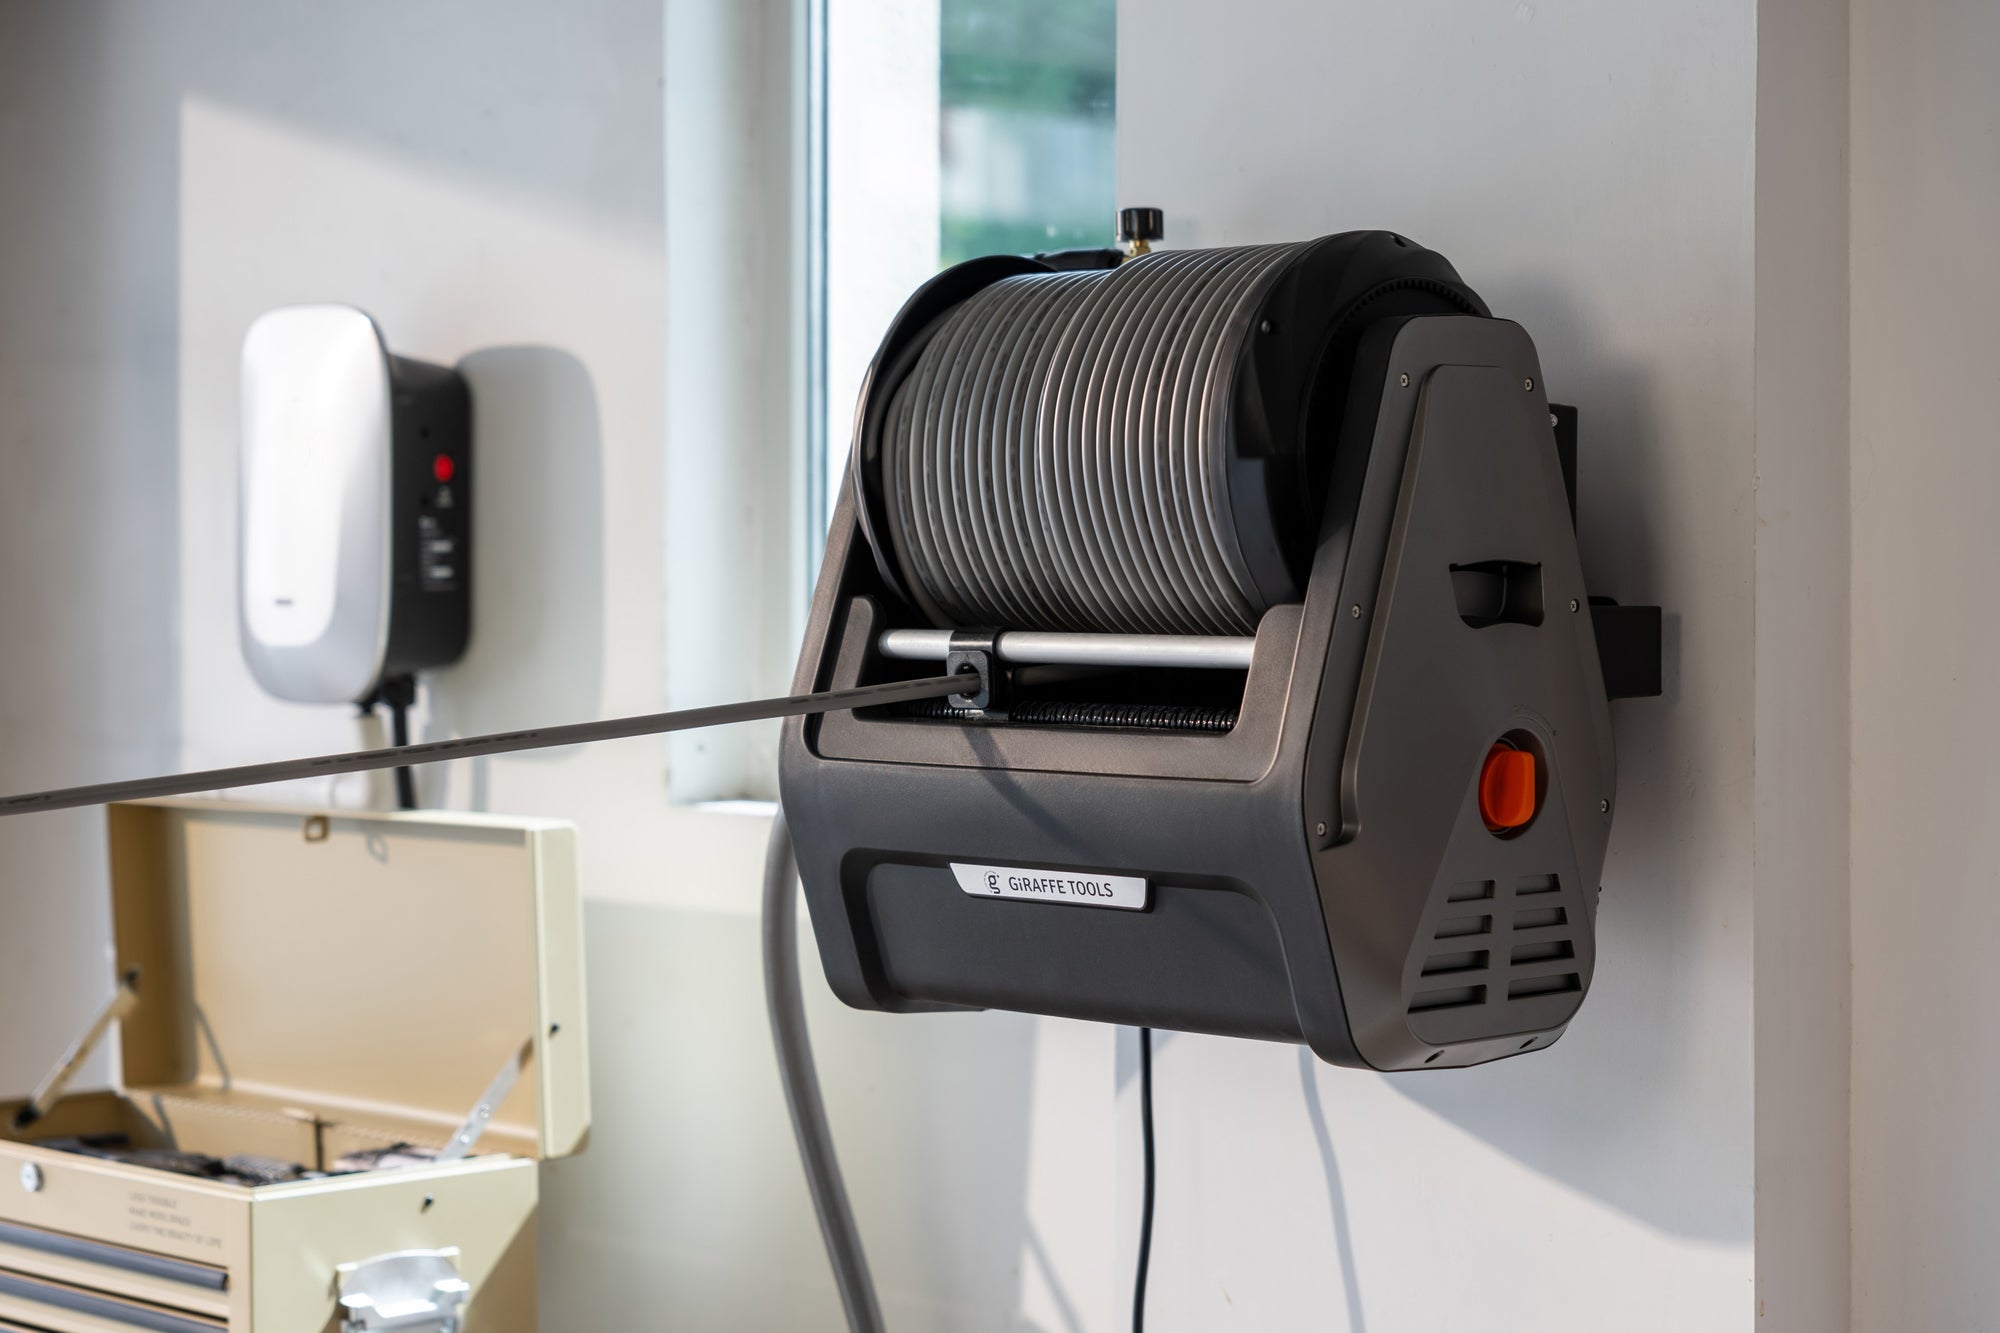
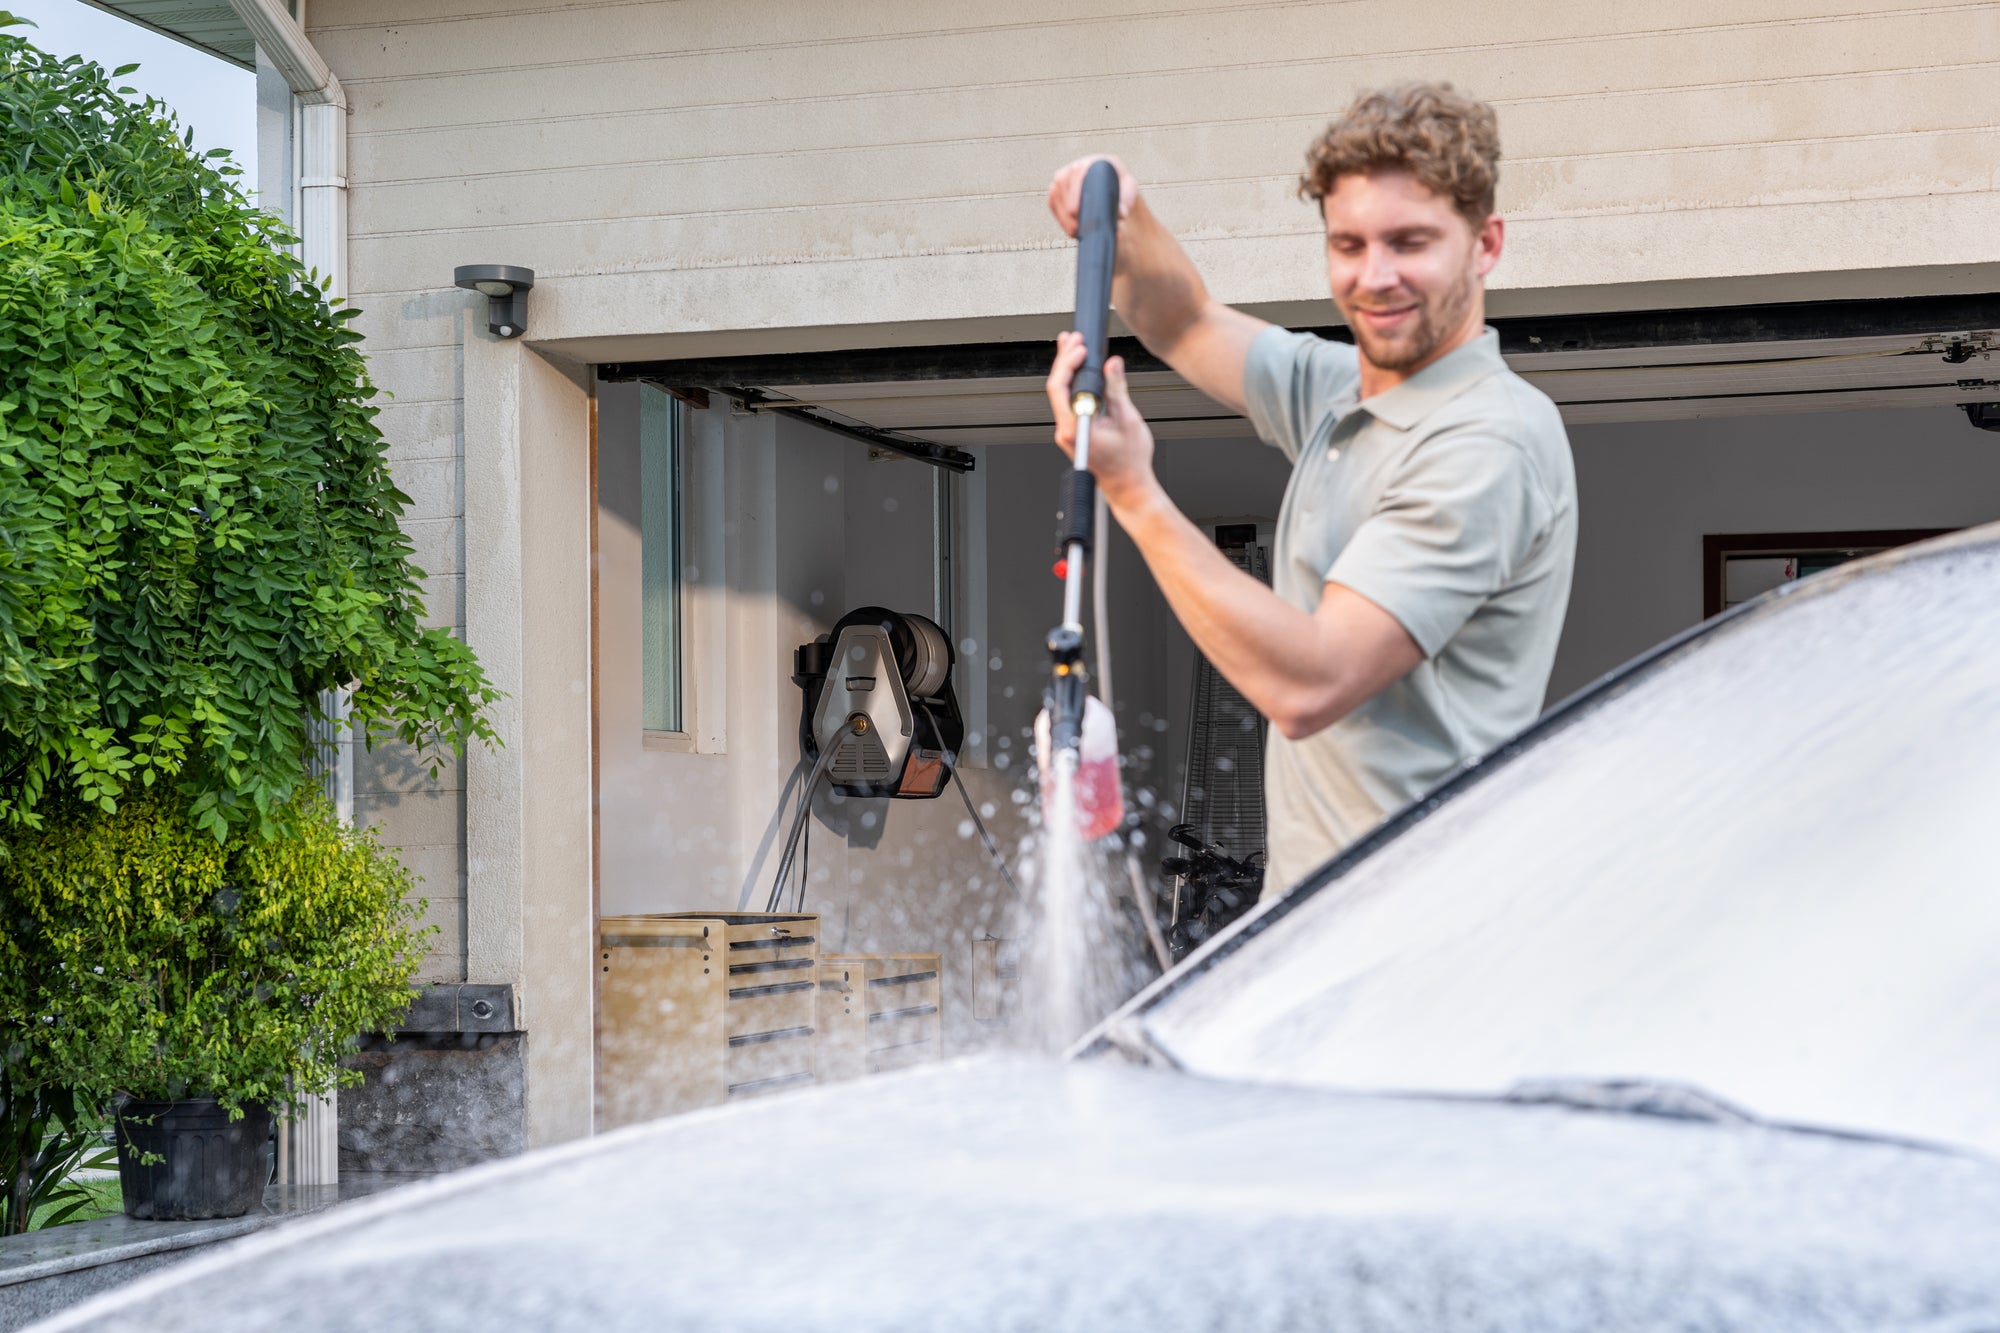
Cleaning is a foundational step in the installation process. Any residue, such as oil, dirt, or debris, can compromise the adhesive’s bond to the concrete. An electric pressure washer, paired with a Pressure Washer Surface Cleaner, is a powerful tool for simplifying this step. These tools provide thorough and even cleaning across large areas while minimizing effort.
How to Use an Electric Pressure Washer with a Surface Cleaner:
- Remove Stubborn Stains:The pressure washer’s strong yet adjustable water stream, combined with the surface cleaner’s rotating head, quickly lifts oil, grime, and dust.
- Prepare the Surface:The tools work together to ensure the surface is clean and slightly textured, enhancing the adhesive’s grip.
Tip:
If you don’t have a surface cleaner attachment, an electric pressure washer on its own is still highly effective for cleaning and preparing the concrete surface.
Step 3: Select the Right Materials
Choosing high-quality materials is critical to the success of your driveway project. Use polymer-modified adhesive or thin-set mortar designed for outdoor applications, which offer excellent adhesion and weather resistance. Opt for thin pavers with a thickness of 1 to 2 inches, ensuring practicality and visual appeal.
Customizable Designs:
Thin pavers come in a variety of colors, textures, and patterns, allowing you to tailor your driveway’s look to your style. Whether you prefer sleek modern lines or rustic charm, pavers can meet your aesthetic needs.
Consider Drainage:
Ensure the new height aligns with existing drainage systems to prevent pooling water. If needed, adjust slopes or integrate drainage pathways into your design.
Step 4: Lay the Thin Pavers Accurately
Start laying the thin pavers from one corner of the driveway, working systematically to ensure uniform spacing. For edges or irregular areas, use a cutter to trim pavers to the appropriate size.
Tips for Precision:
-
Control Adhesive Application:Use a trowel to spread adhesive evenly without excess spillage.
-
Quick Cleanup:If adhesive overflows onto the surface, clean it immediately using the low-pressure mode of your electric pressure washer to maintain a neat appearance.
Design Highlight:
Arrange the pavers in patterns like herringbone, basket weave, or running bond to add a personalized touch.
Step 5: Fill the Gaps and Secure the Pavers
After laying the pavers, fill the joints with polymeric sand, which hardens when activated with water to lock the pavers in place and prevent weed growth. An electric pressure washer’s spray mode is ideal for this step, as it distributes water evenly across the surface without washing away the sand.
Safety Benefit:
Properly filled joints create a slip-resistant surface, enhancing safety in wet conditions while ensuring stability.
Step 6: Maintain Your Driveway
Thin paver driveways require minimal maintenance. Regular cleaning with an electric pressure washer helps remove debris, stains, and moss, keeping the surface in top condition. For tougher stains, mild detergents or specialized cleaning agents can be used.
Maintenance Tips:
-
Use moderate pressure settings to avoid damaging the paver surface.
-
Replace individual pavers if damaged without disrupting the entire structure, saving time and money.
Eco-Friendly Advantage:
Thin pavers are made from sustainable materials, and their durability reduces the need for frequent replacements, lowering environmental impact over time.


