


A retractable hose reel keeps your garden tidy and your watering effortless, but only if it is mounted right. Learning how to install a hose reel is a straightforward DIY project, and this guide covers both a wall-mounted setup (180-degree swivel) and a ground-mounted option (360-degree rotation, no wall drilling).
How do you install a hose reel? Choose the right hose length, mount a bracket near your faucet or anchor a ground base on lawn, concrete, or another suitable outdoor surface, connect the inlet hose with the 3/4-inch GHT fitting, and test the lock and retraction.

What Length Garden Hose (and Reel Size) Do You Need?
First, you will need to figure out what length garden hose is right for your space. Simply walk from your outdoor faucet to the farthest spot you want to water, then add about 10 to 20 percent extra for routing around flower beds, corners, and slopes.
Here is a quick size guide based on Giraffe Tools models available in Canada:
| Yard or Use Case | Recommended Reel Size |
|---|---|
| Balcony or small yard | 5/8 in x 65 ft |
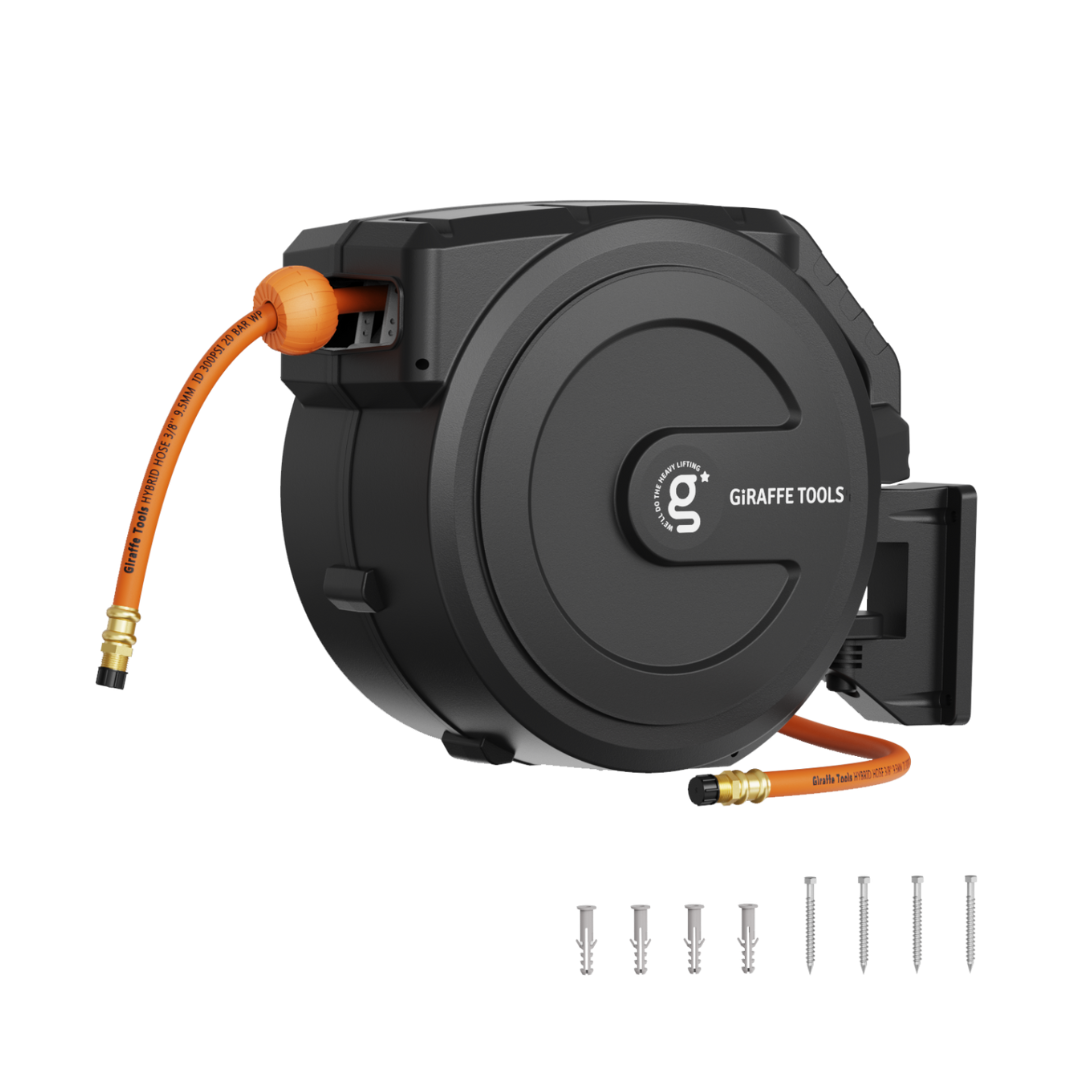
| Average front and back yard | 1/2 in x 100 ft (our bestselling wall-mount) |
| Large property | 5/8 in x 115 ft for better flow over distance, or 1/2 in x 130 ft for a lighter pull |
| No suitable wall | Ground-Mounted 82 ft to 130 ft with 360-degree swivel |
A 5/8-inch hose delivers more flow and loses less pressure over longer runs, great for sprinklers and long-distance watering. A 1/2-inch hose is lighter and easier to pull. The longer your run, the more a wider diameter helps.
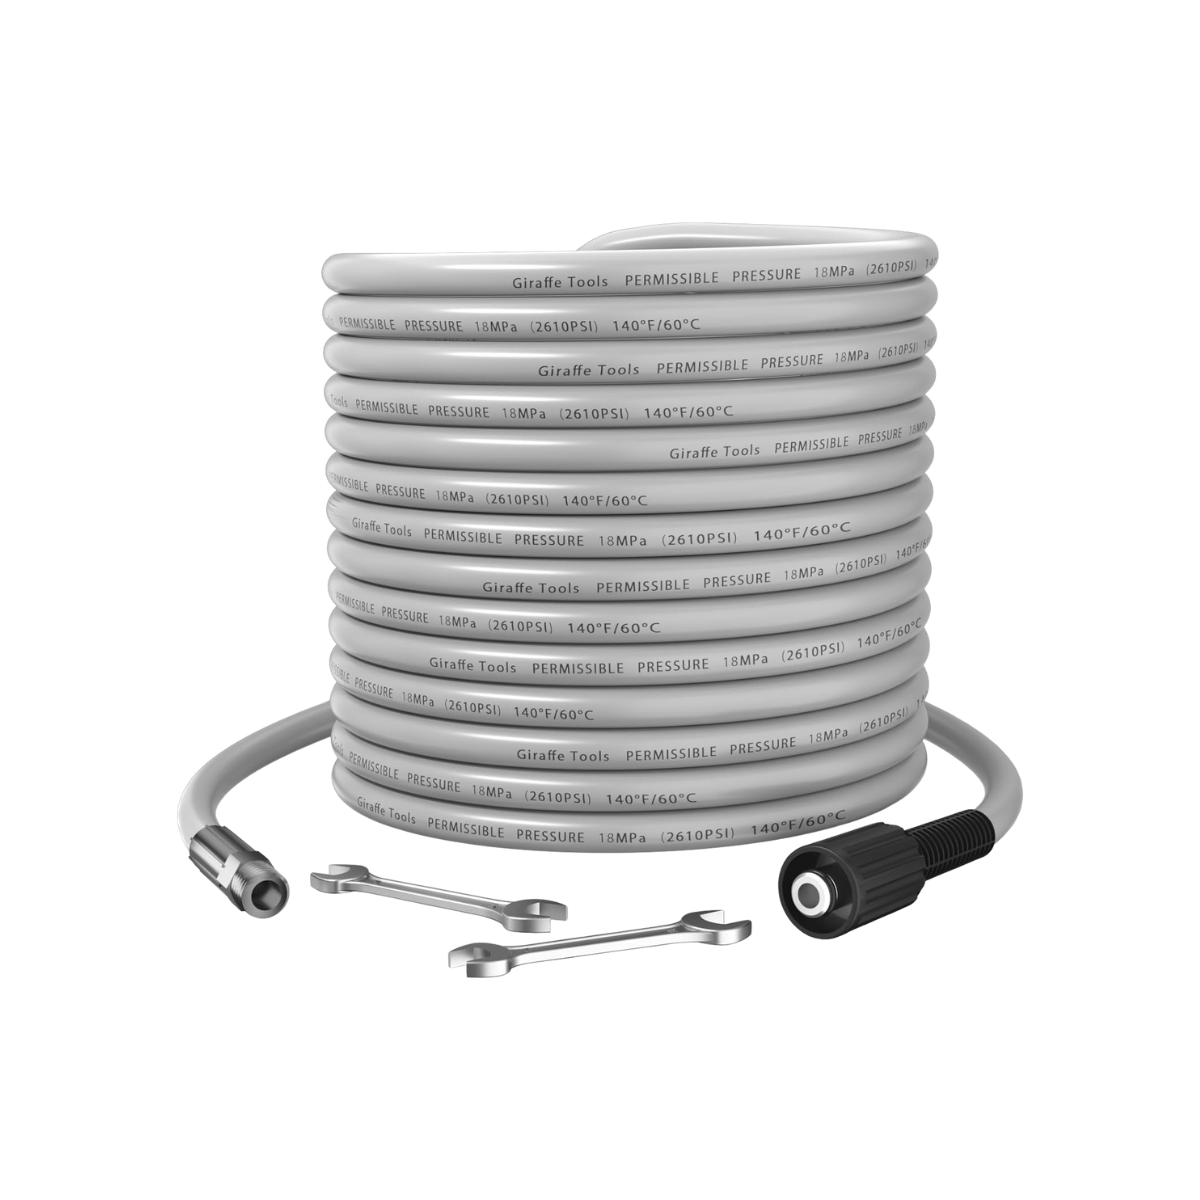
The retractable models covered in this guide include the hose, so you do not need to buy one separately.
Tools You'll Need Before Installing
Make sure you have these tools ready before you start:
-
Power drill with the correct bit
-
Masonry bit for brick or concrete, or a standard bit for wood
-
Screws and wall anchors matched to your wall material
-
Level, tape measure, and pencil
-
Stud finder for wood-frame or vinyl-clad walls
-
Mounting block for vinyl siding
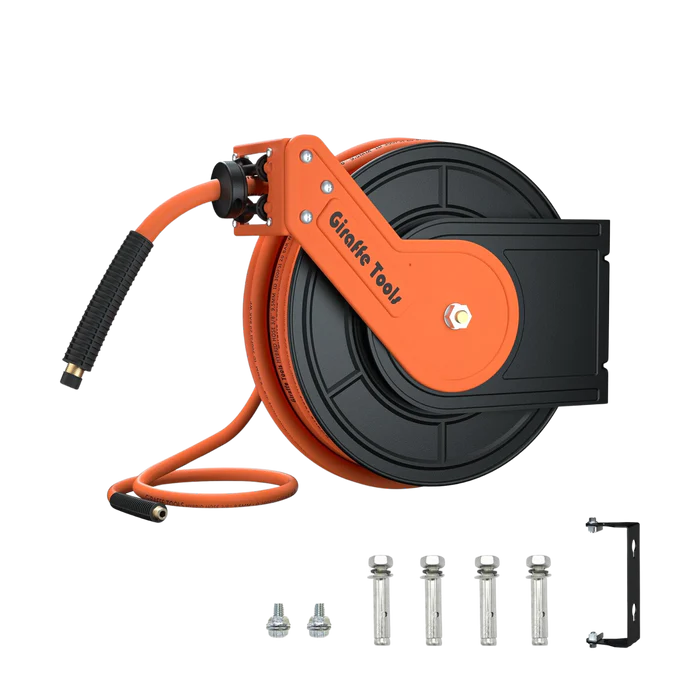
For wall-mounted models, the box includes the support base and basic mounting hardware. Always match anchors and fasteners to your wall material. Wall-mount brackets come in two versions: PP plastic (80 lb) for standard use, or heavy-duty metal (300 lb) for windy spots or heavier reels.
How to Install a Wall-Mounted Hose Reel: Step by Step
Follow these six simple steps to install a hose reel on a suitable solid mounting surface.
Step 1: Choose the Location
Find a spot close to your outdoor faucet. Leave enough room for the reel's 180-degree swivel to move freely, and mount it high enough so the hose hangs clear of the ground when retracted.
Step 2: Mark the Holes
Hold the support base flat against the wall and use a level to make sure it is horizontal. Then mark all four bolt holes with a pencil. A level mount is important; a crooked bracket puts uneven stress on the reel over time.
Step 3: Drill and Anchor
Drill into your marked points using the right bit. For brick or concrete, use a masonry bit and insert heavy-duty expansion anchors. For wood studs, pre-drill pilot holes to avoid splitting. When drilling into brick or concrete, avoid placing holes too close to an edge or corner. A little extra edge distance helps reduce cracking, spalling, and weak anchor hold.
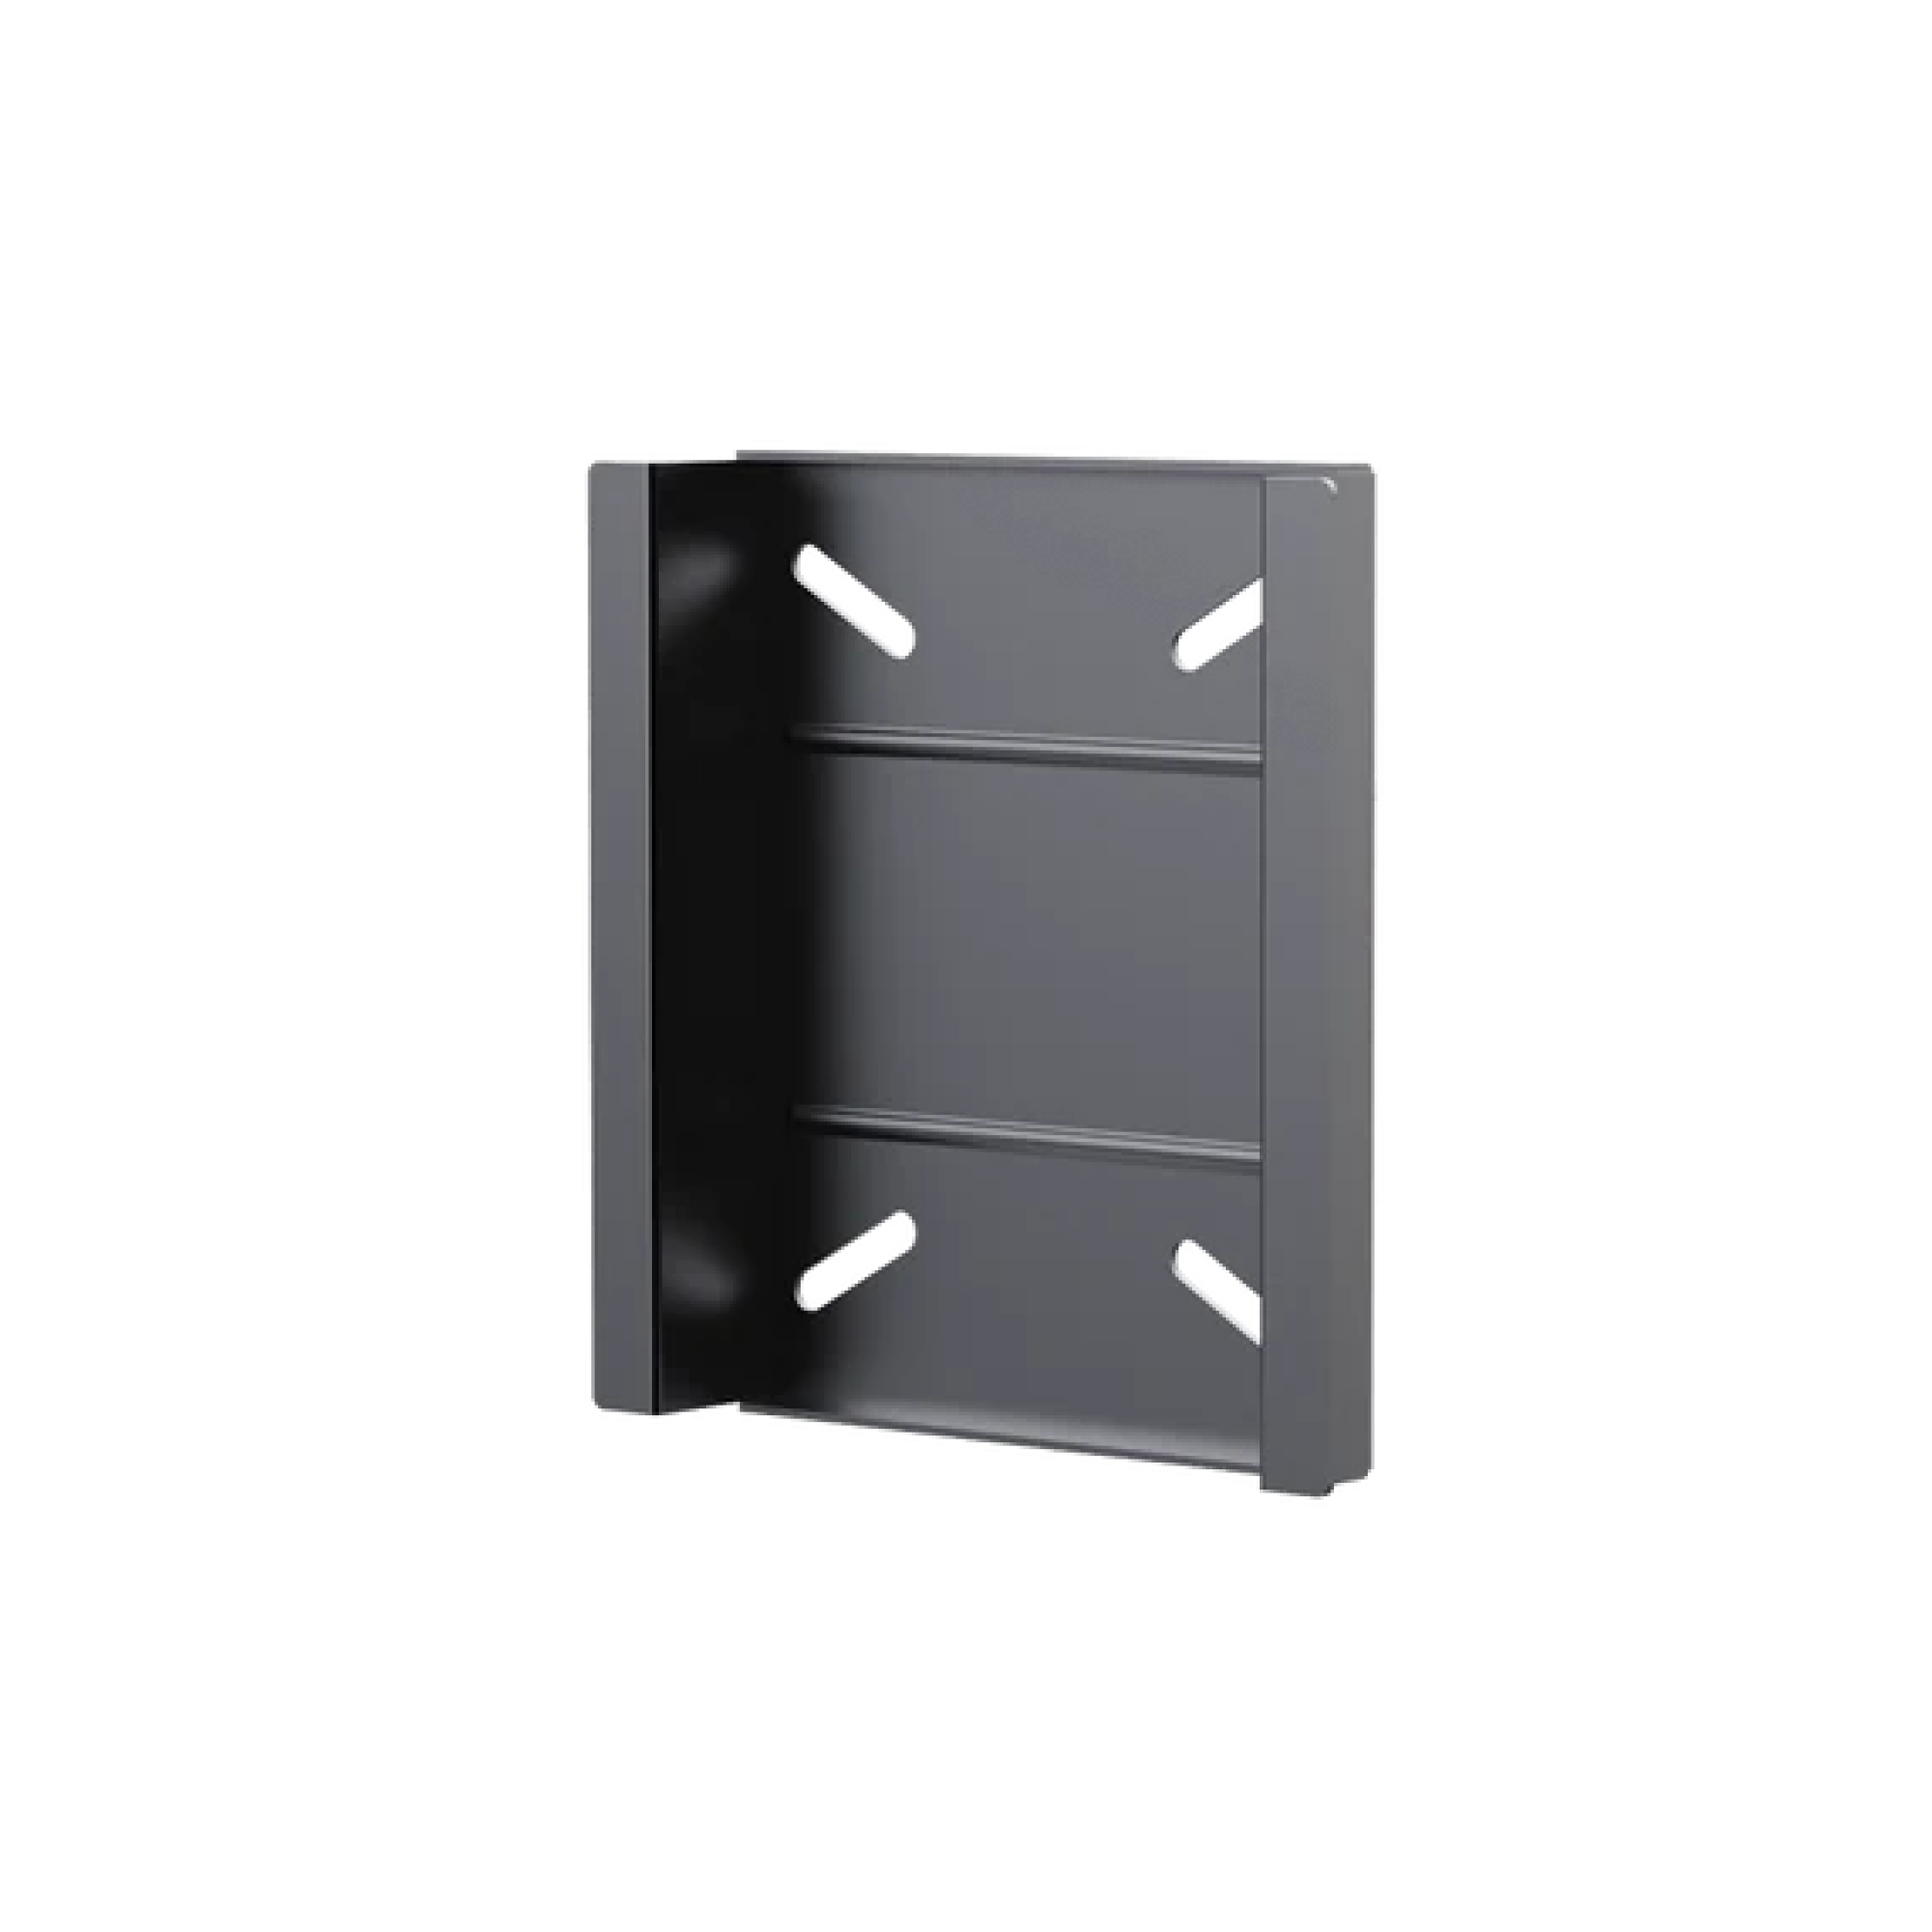
Step 4: Fasten the Support Base
Drive the screws through the support base and tighten firmly. The Giraffe Tools metal bracket (300 lb capacity) uses a C-slot design with a short moment arm, transferring the load directly into the wall. The plug-in base helps distribute force evenly and reduce wobbling when the reel is mounted correctly.
Step 5: Mount the Reel and Connect the Hose
Slide the reel onto the support base until it clicks into place. Connect the inlet hose to your faucet with the standard 3/4-inch GHT fitting and hand-tighten.
Step 6: Test It
Turn on the water and pull the hose out to the length you need. Stop when you hear or feel the click; the any-length lock holds the hose in place. To retract, give a short tug to unlock, hold the hose, and walk it back steadily so it rewinds evenly.
Safety note: Never open the reel housing or attempt to access the internal spring mechanism. The spring is under high tension and can cause serious injury if released. If you need a repair, contact Giraffe Tools customer service.
For more daily-use tips, check out How to Use a Retractable Garden Hose Reel.
Can You Mount a Hose Reel on Vinyl Siding?
Yes, but never fasten directly to the vinyl alone; it cannot support the weight. You need to drive screws through the siding into the structural framing (studs) behind it. Another option is to install a mounting block first to create a flat, solid surface for the bracket.
For concrete or structural brick, use a masonry bit with heavy-duty expansion anchors. For stucco, check what is behind it first; some stucco is applied over masonry, while other types cover wood framing that requires pass-through mounting. For solid wood siding or a 4x4 post, screw directly into the wood; this is the most secure option.
No suitable wall? The ground-mounted option below is the way to go.
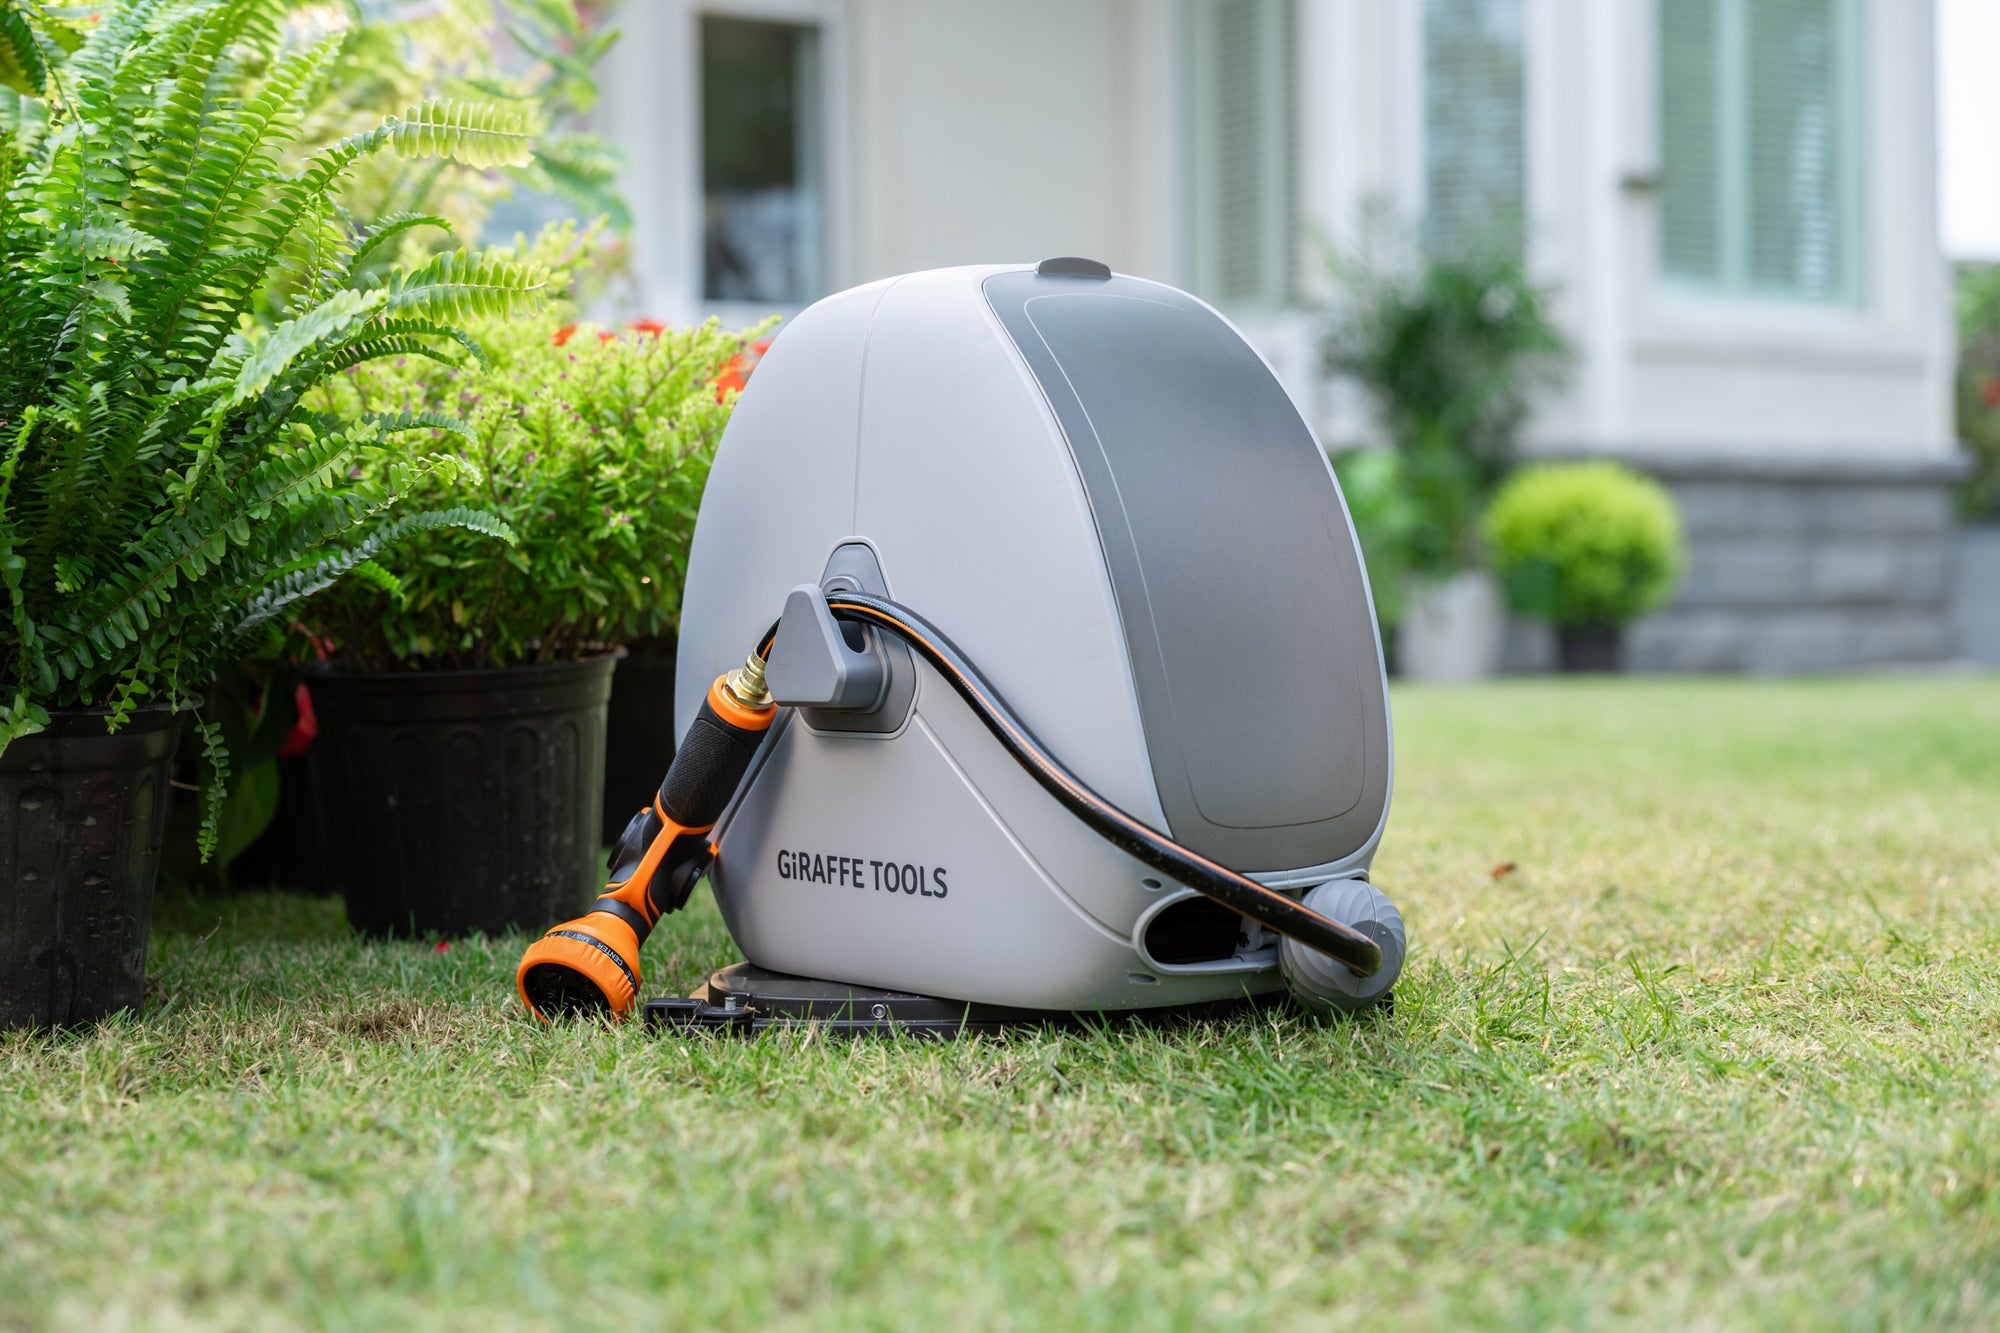
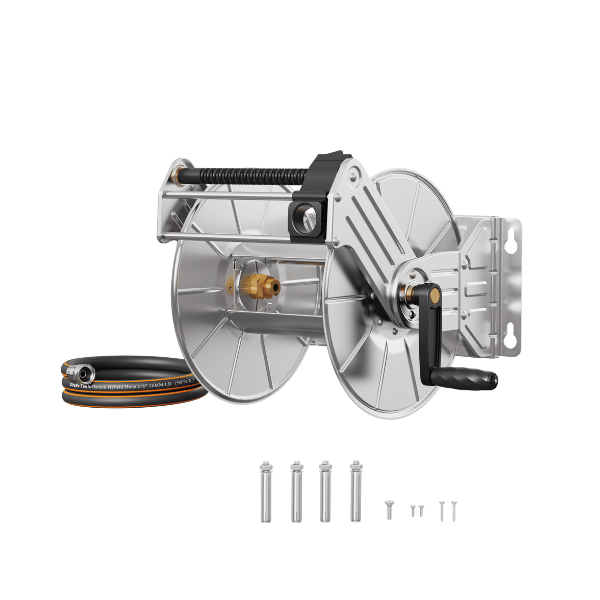
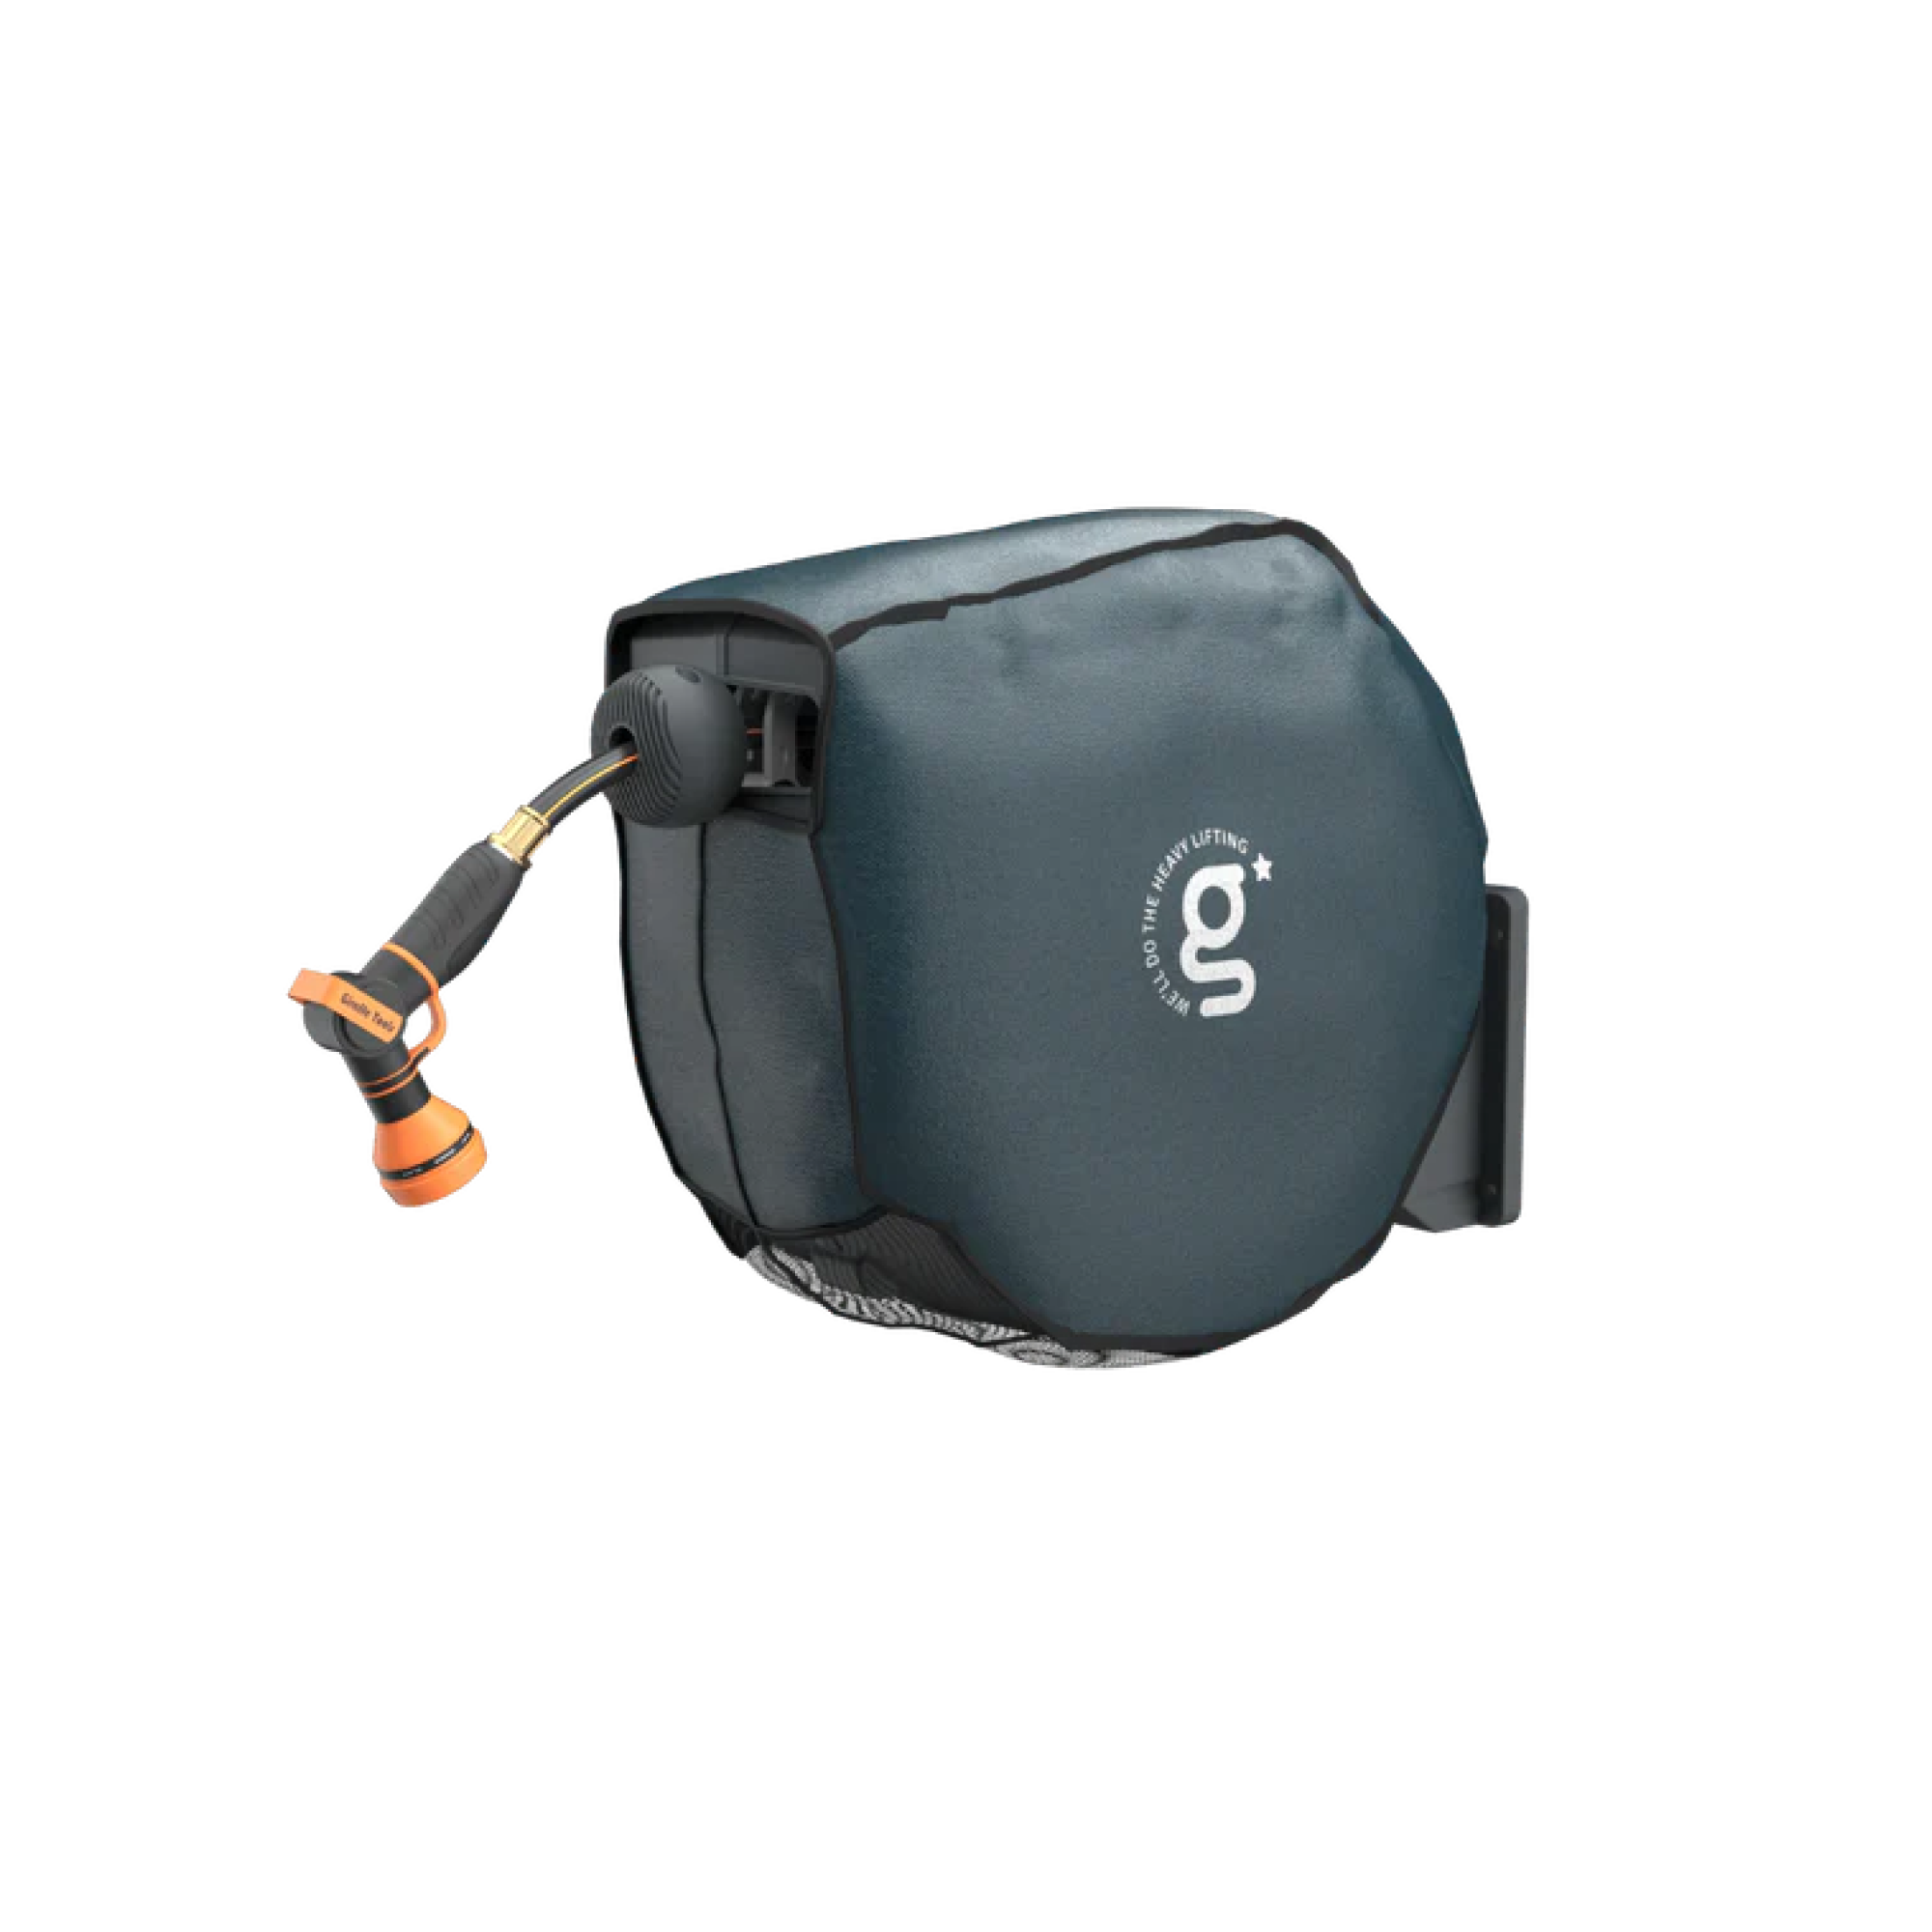
How to Secure a Hose Reel to the Ground (No Drilling Into Walls)
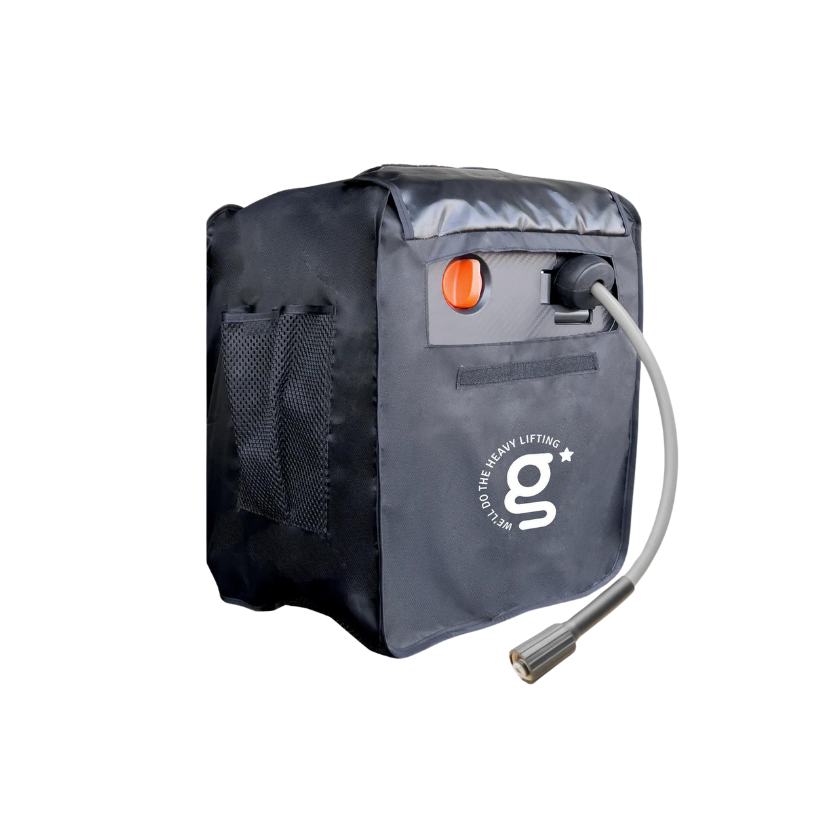
If wall mounting is not an option, the Ground-Mounted Retractable Hose Reel (82 ft--130 ft) is a great alternative. It sits on any flat surface with no wall drilling needed. Just anchor the base, connect to your nearest faucet, and start watering.

This model offers 360-degree rotation, so you can pull the hose in any direction, a clear advantage over the wall-mount's 180-degree arc.
Here is how to secure it:
-
Lawn or grass: use the included garden pins
-
Concrete patio: use the included ribbed plastic anchors and screws
-
Wood deck: use suitable exterior fasteners into the deck structure, and confirm the surface can support the reel and pulling force
On lawn or grass, push all included garden pins fully into firm, level soil. Avoid soft soil, slopes, or loose gravel, because the reel needs a stable base when the hose is pulled.
Once secured, connect the inlet hose to your faucet. The any-length lock and auto-retraction work the same as the wall-mount version.
This setup is perfect for renters, homes with brick facades you prefer not to drill, or watering points far from any wall.
Have more than one area to water? If your front yard, back yard, lawn, and flower beds all need coverage, a Dream Garden bundle lets you pair a ground-mounted reel with a wall-mounted one, or combine wall-mounts in different lengths. You drag less hose across the yard, and each reel can be placed and mounted wherever it works best for that spot.
How to Roll Up a Hose Without a Reel (and Easier Storage Tips)
If you do not have a reel yet, you can still roll up a hose without a reel and keep it tidy. Drain the hose completely, then coil it using the over-under method: alternate one clockwise loop with one counter-clockwise loop to prevent twisting. You can also try the figure-eight wrap around your forearm and elbow.
These methods work, but they take time, and hoses tend to re-tangle the moment you set them down.
A retractable reel makes this much easier. Give a short tug to unlock, and the G-Self-Layering system helps guide the hose back evenly, reducing tangles and pile-ups. Hold the hose and walk it back steadily during retraction to prevent tangles and sudden hose movement.
Getting ready for a Canadian winter? Before the first frost, disconnect the inlet hose and drain all water from the reel. Giraffe Tools' 3-layer hybrid hose is built for durability, but standing water inside can still freeze, expand, and crack fittings, so draining is essential. For more seasonal tips, see How to Handle Auto-Retractable Hose Issues.
FAQ
How High Should You Mount a Hose Reel?
Aim for waist to chest height, roughly 3 to 4 feet. This keeps the hose easier to reach, helps it clear the ground when retracted, and makes daily use more comfortable.
Wall-Mounted Vs Ground-Mounted: Which Should You Choose?
Solid wall near the faucet and want a clean look? Go wall-mounted (180-degree). Renting, no good wall, or need multi-direction watering? Choose ground-mounted (360-degree).
Can You Leave a Retractable Hose Reel Outside over a Canadian Winter?
For short periods, yes. Before the first hard frost, disconnect the water and drain completely. For long-term storage, move it into a garage or shed; standing water that freezes can crack fittings.
Ready to Install?
Discover our full Garden Hose Reel collection at Giraffe Tools Canada: wall-mounted, ground-mounted, and bundle options all in one place. The retractable wall-mounted and ground-mounted models featured here include the hose, making setup straightforward from the start.