


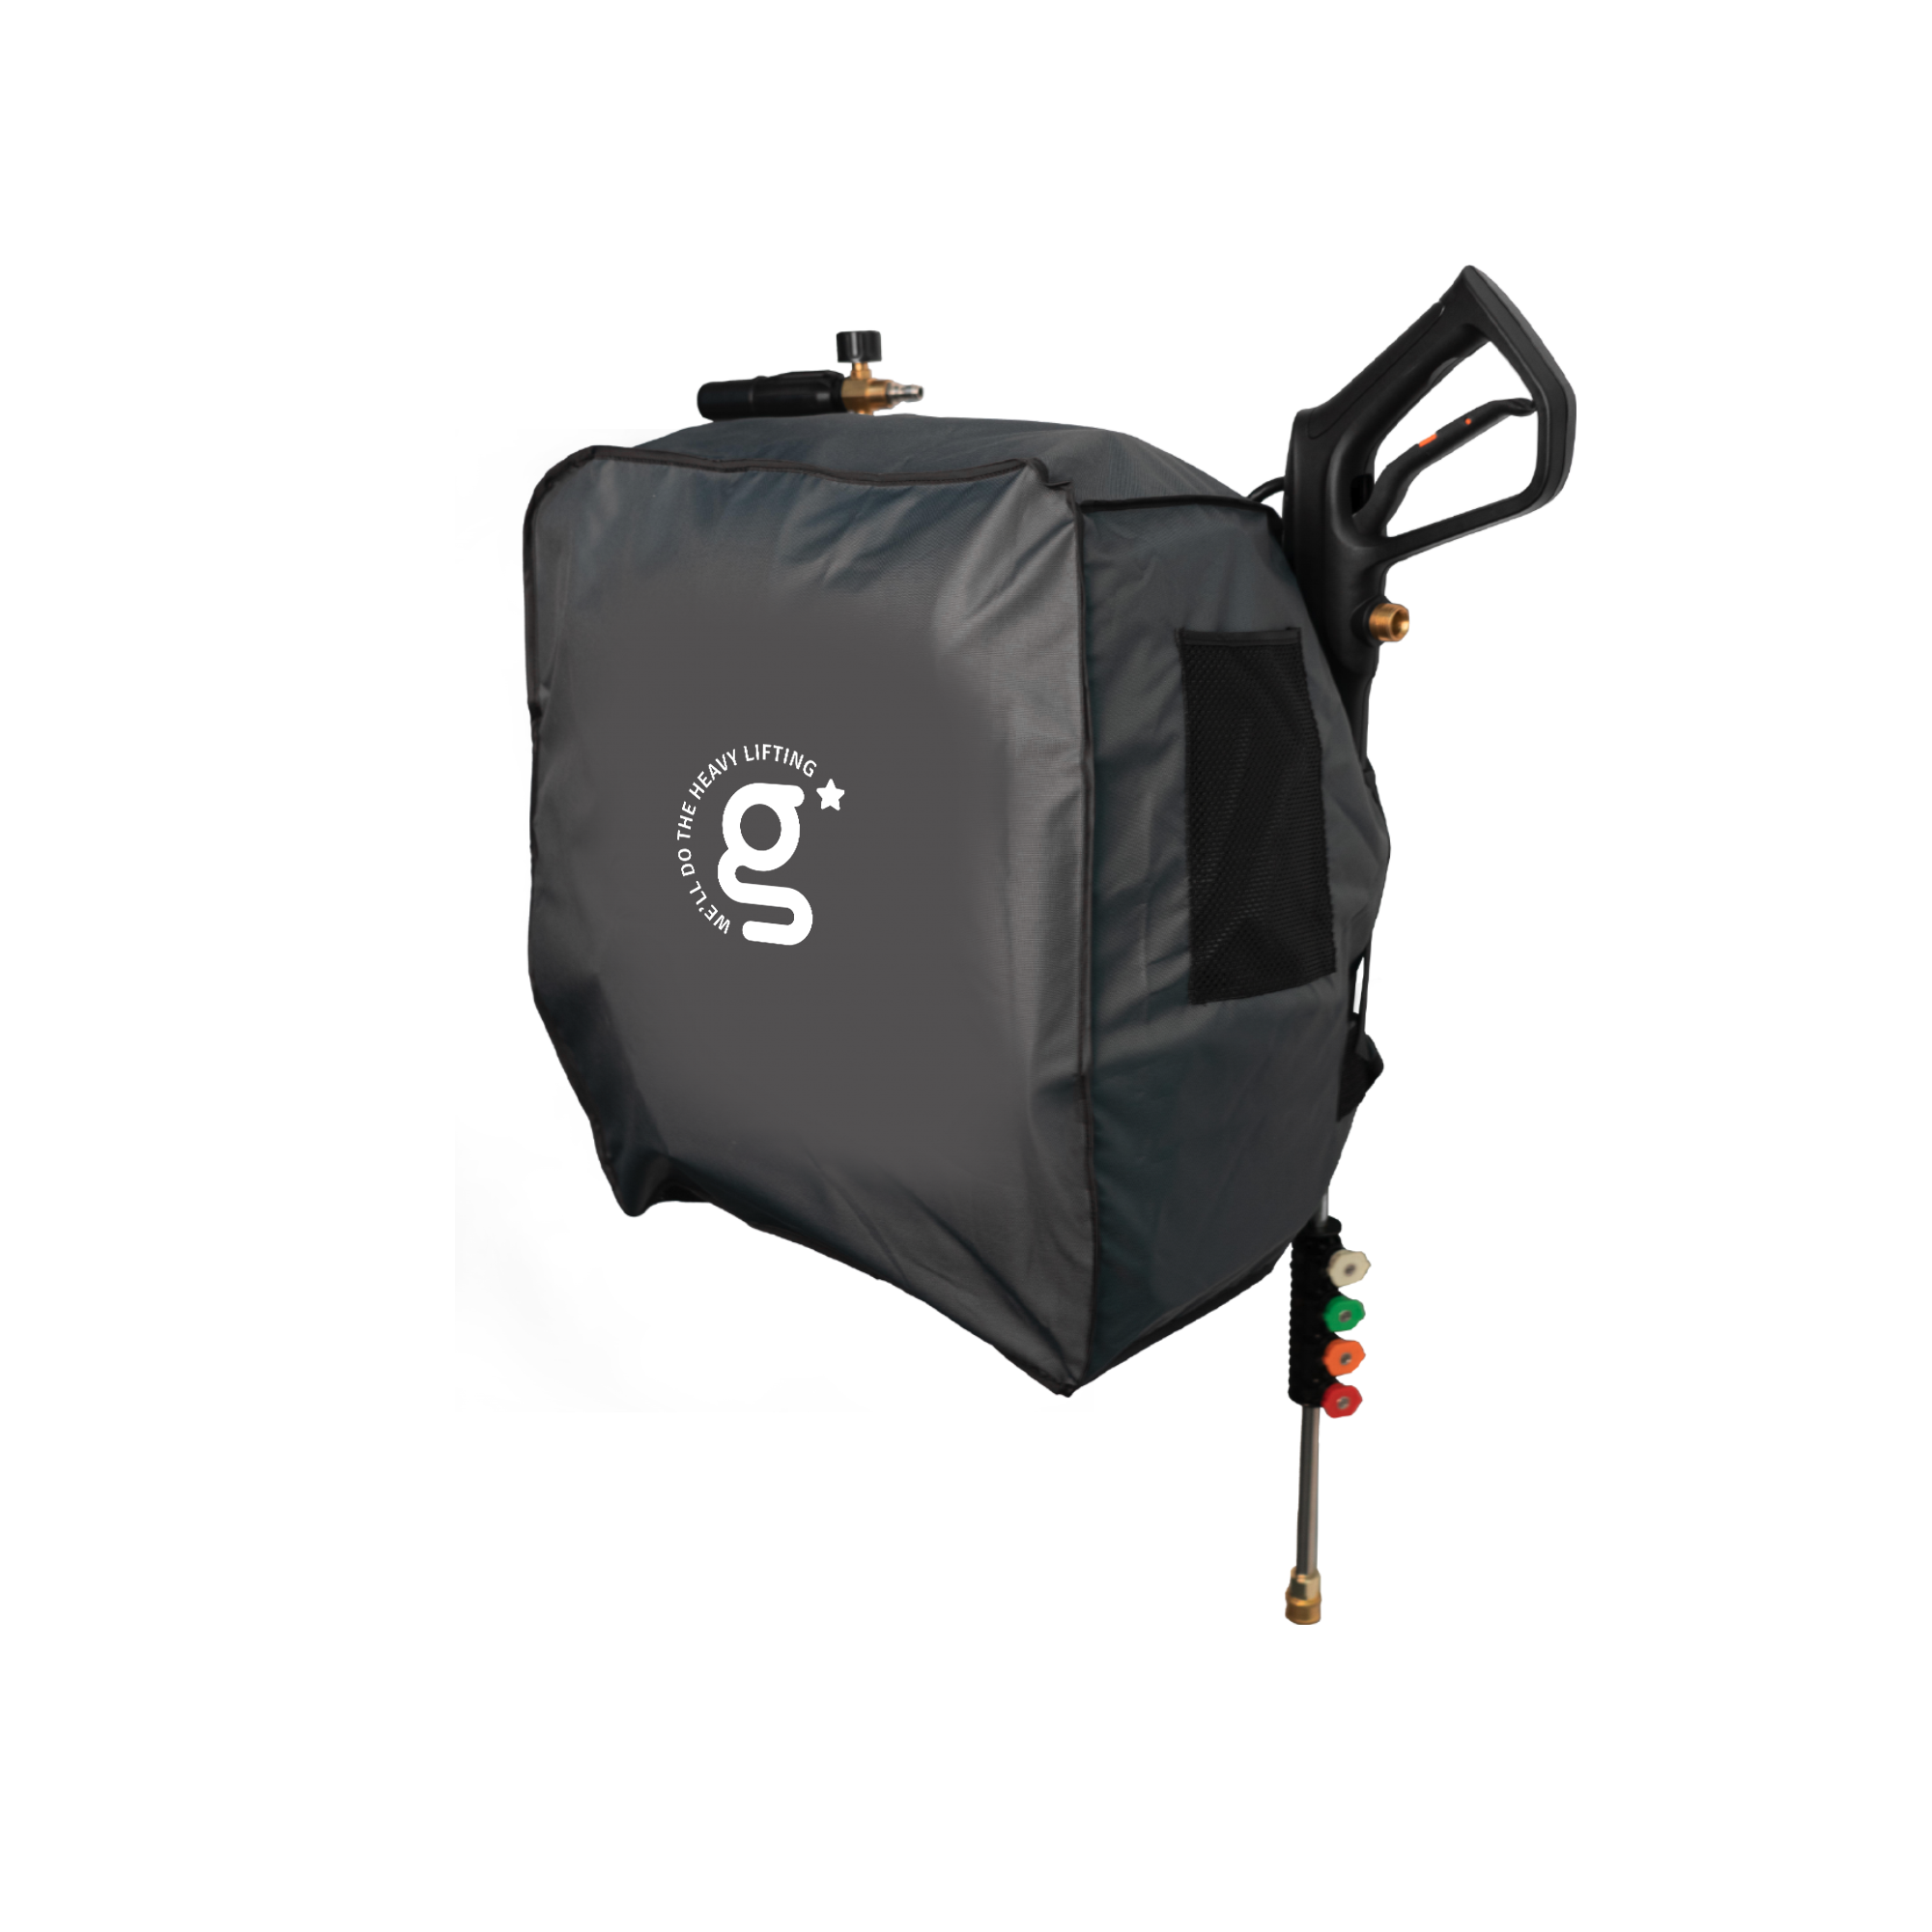


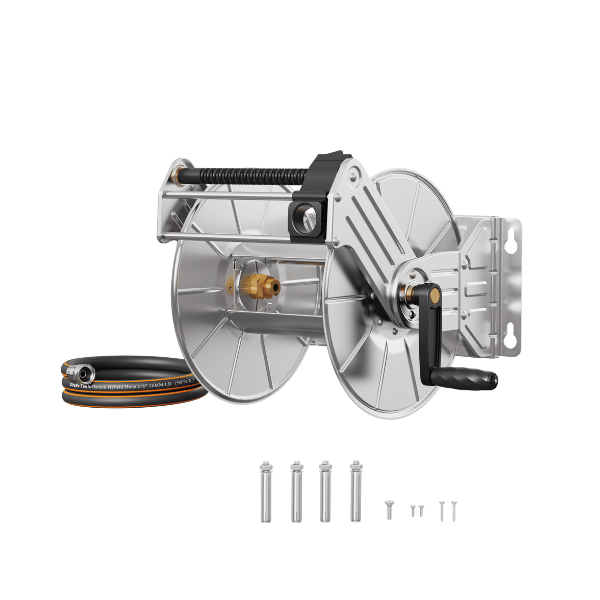






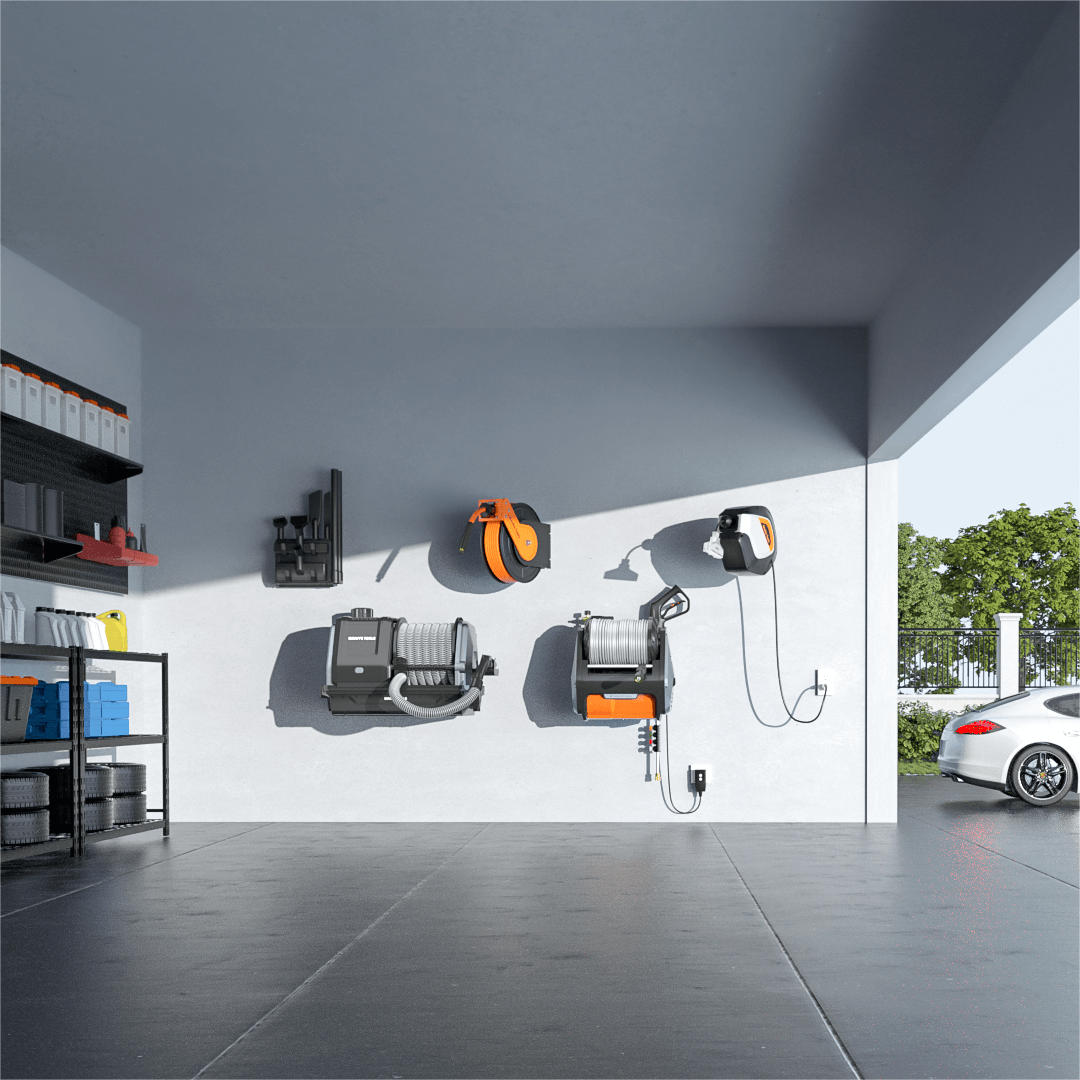


To install a wall mount vacuum, first choose a dry location where the hose reaches the garage, driveway and vehicle without stretching. Confirm that the wall can support the full unit, fasten the bracket to solid framing or masonry with suitable hardware, hang and secure the vacuum, fit the accessory holders, connect the hose and test the system. The product manual and its drilling template control the exact hole size, spacing and mounting height.
What Should You Check Before Installing a Wall Mount Vacuum?
Unpack every component and match it to the manual: the vacuum, mounting and accessory brackets, hose, wands, nozzles, filters and hardware.
Inspect the housing, power cord, hose and brackets before drilling. Do not install a damaged unit, and do not copy hole spacing or fasteners from another model.
If you are still deciding between a fixed system and a portable shop vacuum, compare the reach, wet and dry capability, filtration and storage design across the garage vacuum range before committing to a mounting position. A wall-mounted system works best when one location can cover the areas you clean most often.

Where Is the Best Place to Mount a Garage Vacuum?
Choose the Location by Hose Reach
Measure from the mounting point to the farthest place you plan to clean, including the back of the vehicle or driveway edge. The hose should reach with slack; pulling it to its limit strains the reel and bracket.
Keep Power, Access and Airflow in Mind
Choose a position near a grounded outlet so the cord reaches without crossing the floor. Leave room to remove the dustbin, clean the filter and lift off the unit. Keep the air outlet clear and avoid damp or direct-spray areas.
Use a Wall That Can Carry the Load
The bracket must transfer the unit’s weight and hose-pulling force into solid support. Use studs or structural backing on a framed wall, and rated anchors on concrete or masonry. Do not rely on ordinary drywall anchors alone.
Before choosing the final spot, it also helps to review how hose length, suction and accessory storage affect daily use. This guide to choosing a retractable vacuum explains the features worth checking before the holes become permanent.
Which Tools and Hardware Do You Need?
For a typical installation, prepare:
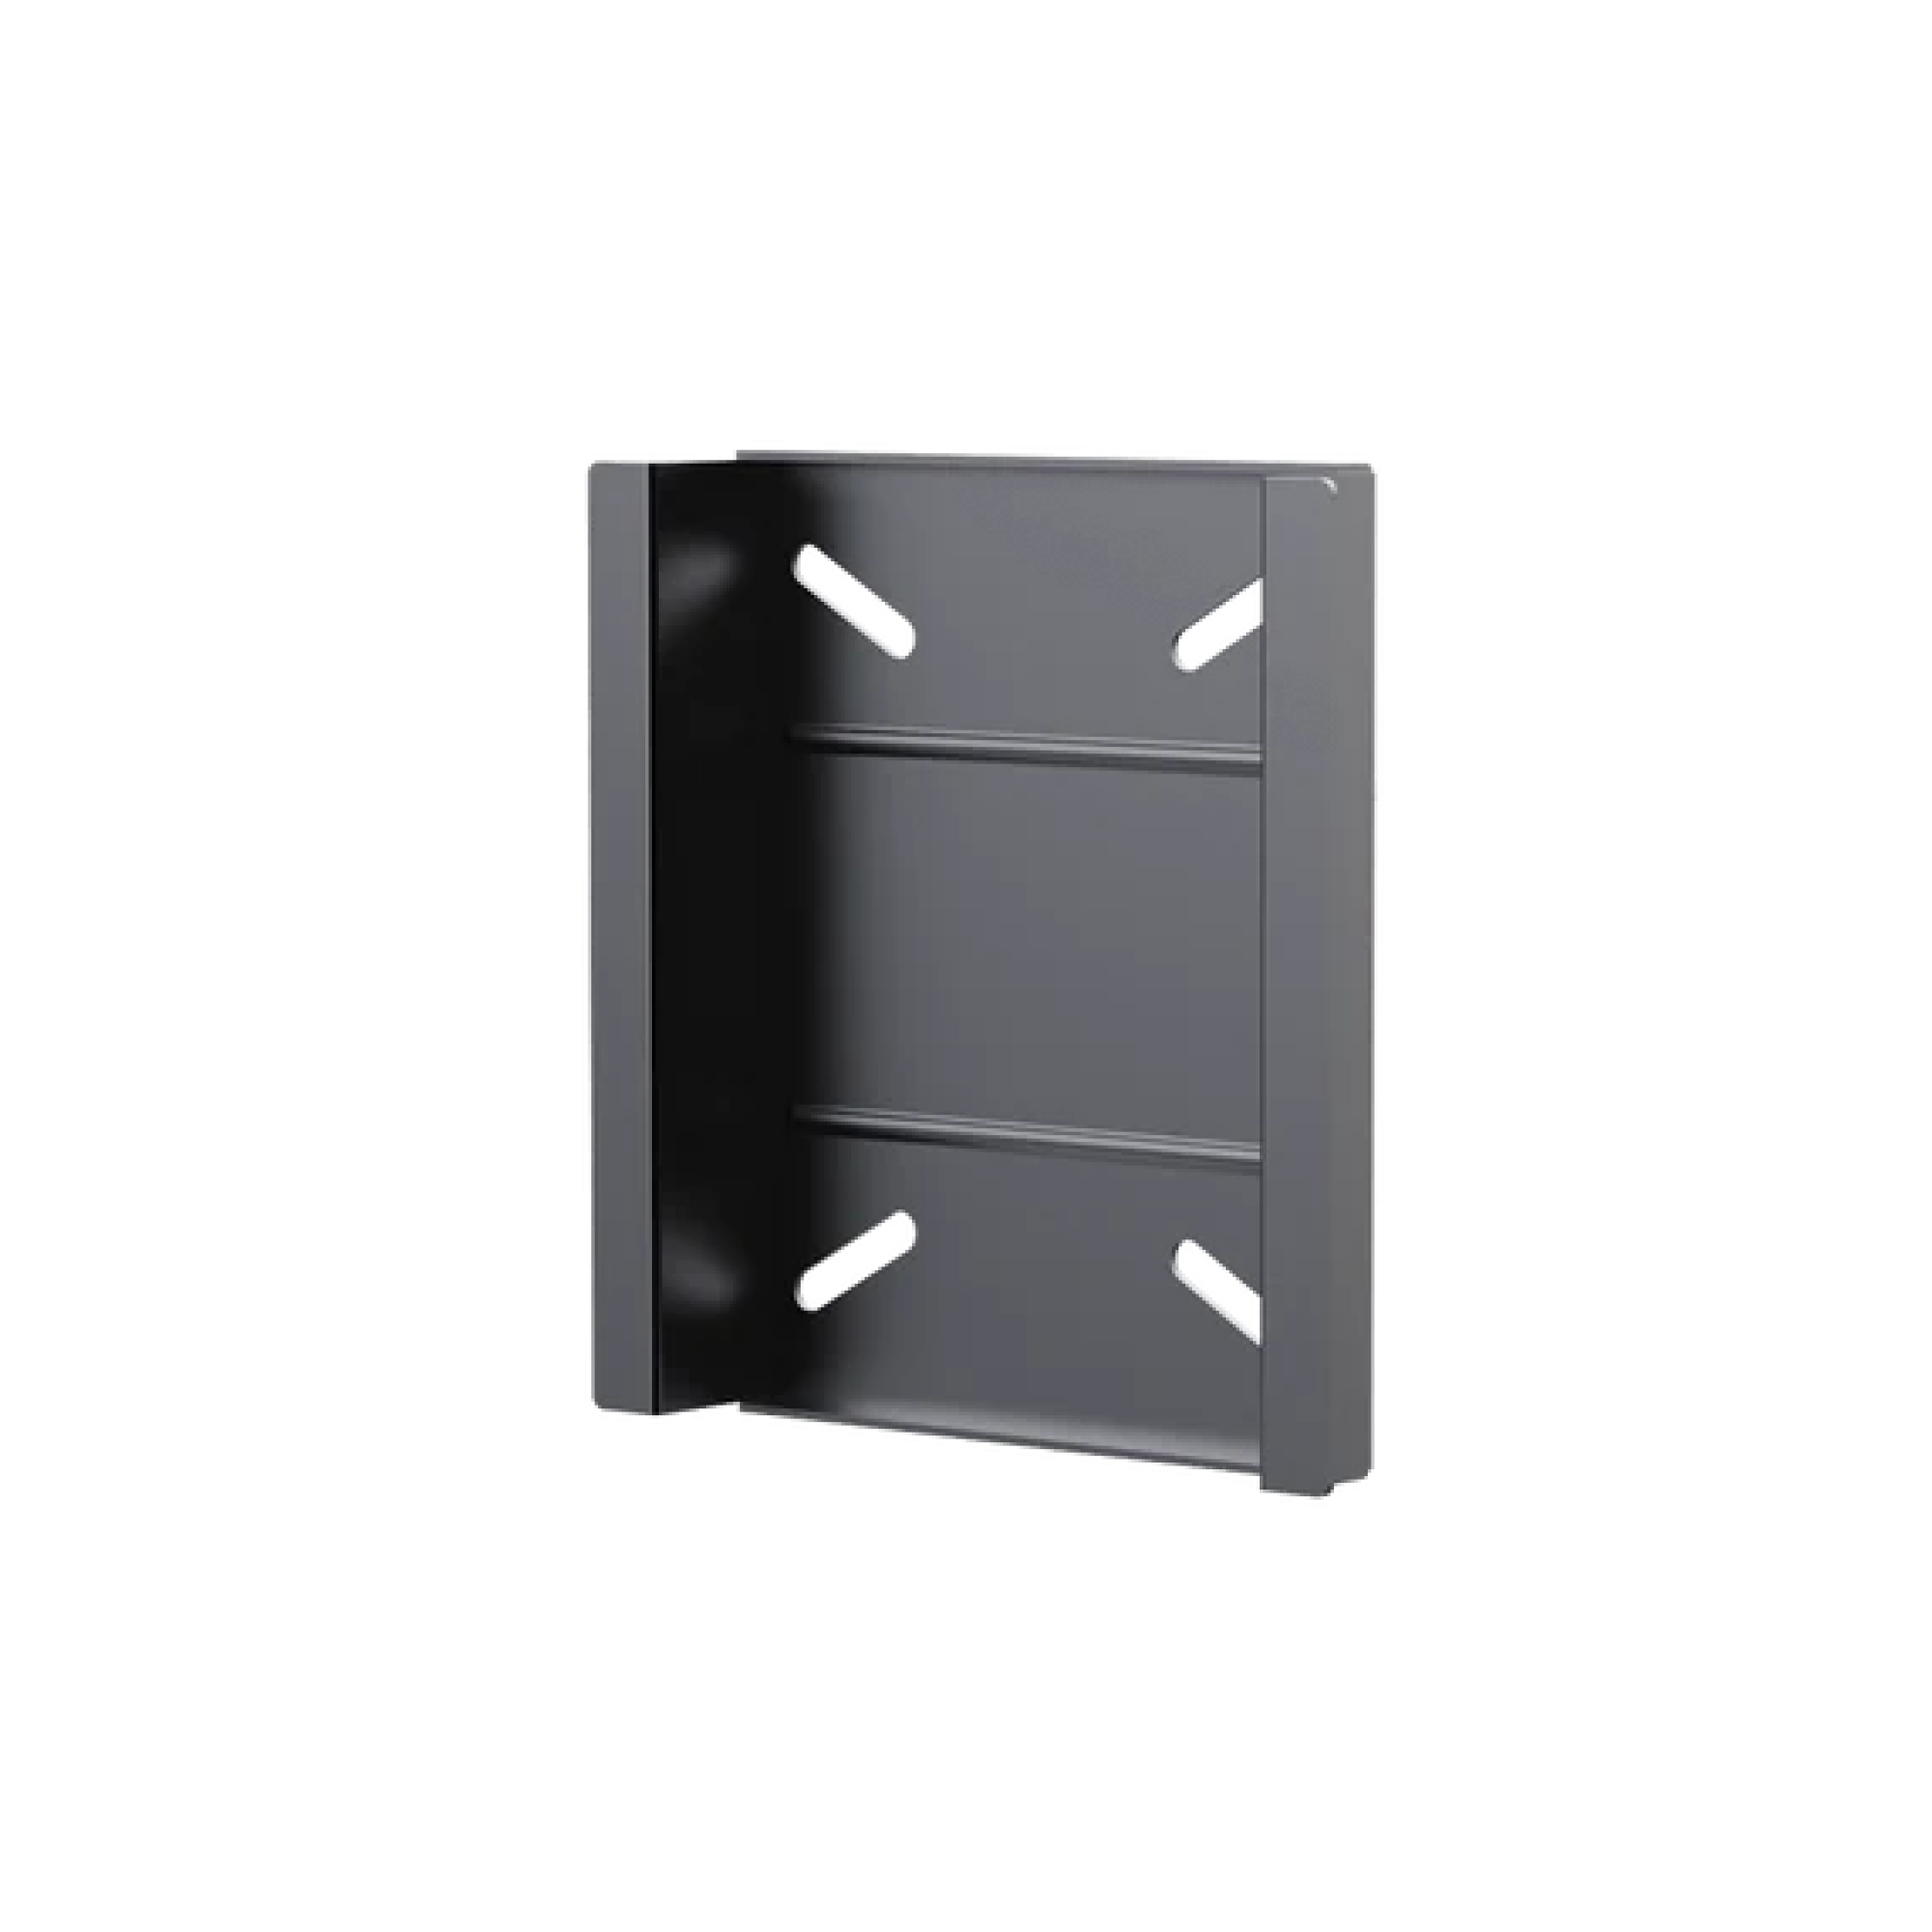
- The supplied bracket, screws, anchors and full-size drilling template
- A stud finder for a framed wall, or a detector suitable for the wall material
- A tape measure, pencil and spirit level
- A drill with the correct wood or masonry bit
- A socket or screwdriver that fits the supplied fasteners
- Eye protection and a vacuum or brush for drilling dust
- A second person to lift and steady the unit
Use included anchors only on the wall types named in the instructions. Hollow block, steel framing, tile or an unknown wall build-up needs a fastening method rated for that construction.
How Do You Install a Wall Mount Vacuum Step by Step?
1. Mark the Vacuum Position
Hold the full-size template against the wall at the manual’s recommended height. Use a level to make it straight, then tape it in place. Confirm hose reach, cord reach, bin clearance and nearby doors one last time. Mark the centre of every mounting hole; do not estimate the spacing from the bracket by eye.
2. Check Behind Every Drill Point
Check for electrical cables, plumbing, gas lines and other hidden services. Move the installation if a safe drilling path cannot be confirmed, and switch off the relevant circuit near known wiring.
3. Drill the Pilot or Anchor Holes
Select the drill bit and depth stated in the model instructions. Keep the drill square to the wall and remove dust from each hole. For the Grandstorm installation, the Canadian product page directs owners to the 1:1 instruction sheet and page 9 of the manual; use those dimensions instead of copying measurements from another vacuum.
4. Fasten and Level the Main Bracket
Place the bracket upright and start every fastener before tightening them evenly. Check the level again. Stop if an anchor spins or the wall surface begins to crush.
5. Install the Accessory Bracket and Wand Holder
Place accessory storage where tools stay visible without blocking the hose, dustbin or garage door. Fit its hooks and holders before hanging the vacuum.
6. Hang and Secure the Vacuum
Ask another person to steady the machine. Align its rear mounting points, lower it fully into position and confirm that both sides are seated. Fit every retaining part before letting go.
7. Connect the Hose, Filter and Accessories
Check that the correct dry or wet filter is fitted for the first task. Connect the hose firmly to the vacuum port, assemble the wand and place the remaining nozzles in their holders. Route the power cord so it does not touch the retracting hose or cross a walking path.
Once the unit and accessory holders are on the wall, the benefit should be clear in daily use: you can pull out enough hose for the job, leave the vacuum in place and return the hose without winding it by hand. That is why hose reach, retraction and accessible tool storage should be considered during installation rather than after it.
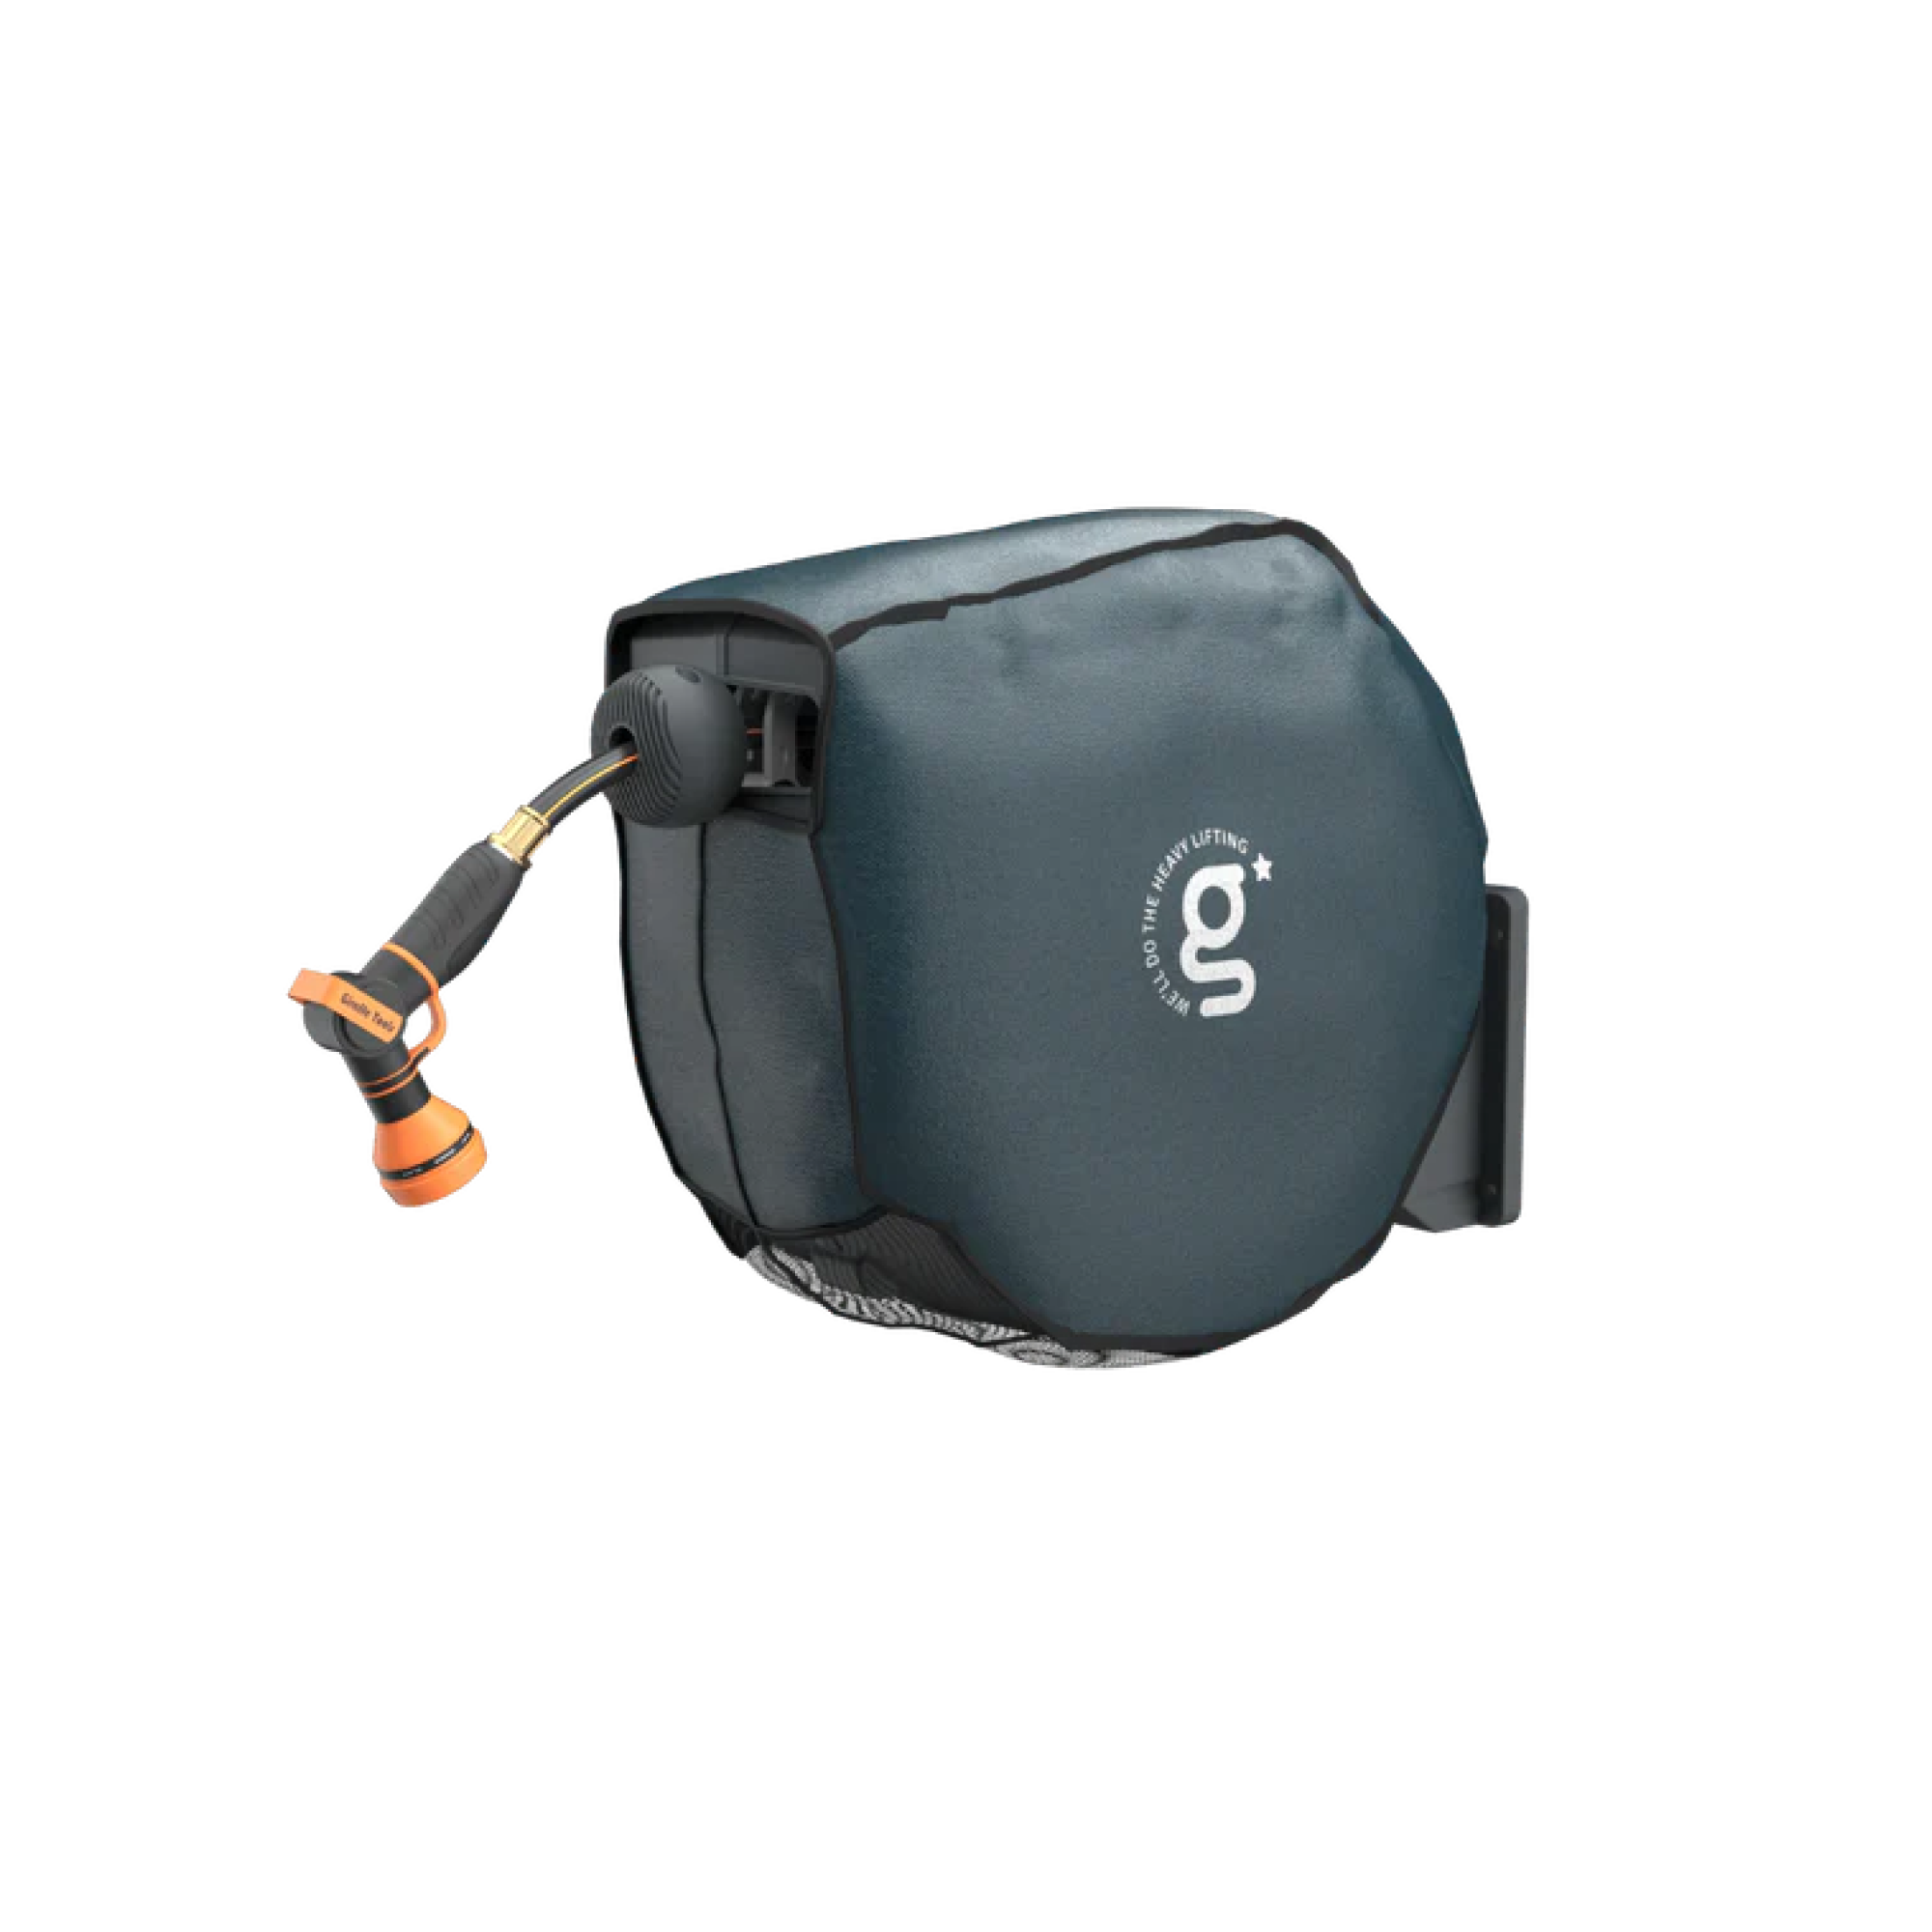
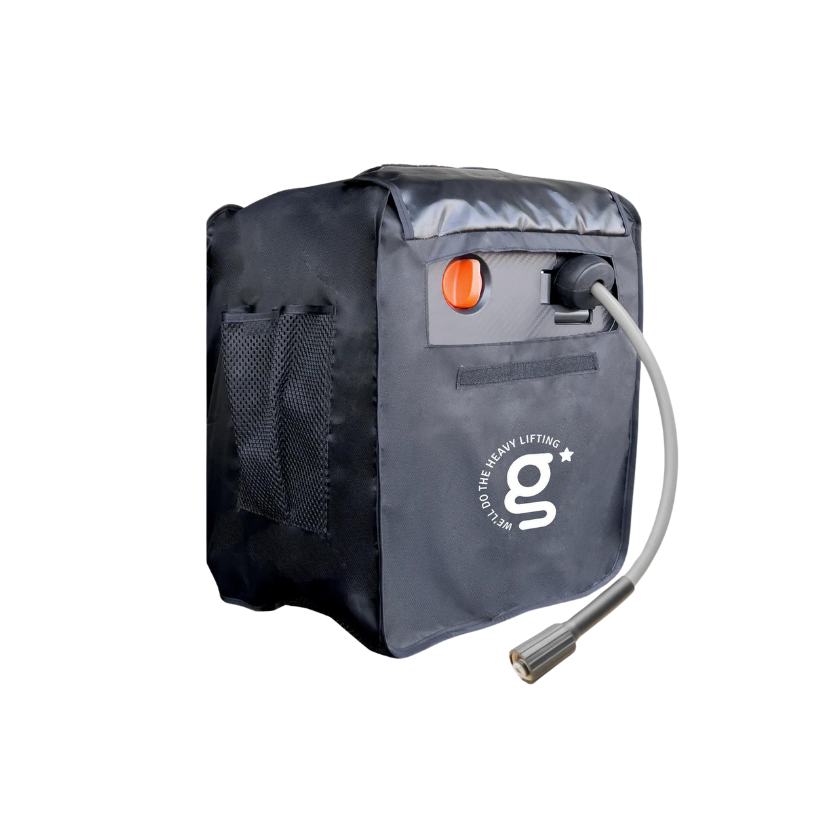
 For this type of setup, the Grandstorm Retractable Vacuum Cleaner uses a 30 ft auto-retracting hose to reach vehicles, concrete floors and workbenches while the main unit stays off the floor. It also provides at least 20 kPa suction, wet and dry pickup and six attachments, so the wall location can serve several garage-cleaning jobs. The upgraded version adds control from the wand; the standard version uses the switch on the machine.
How Do You Test the Installation Safely?
Before plugging in, apply a controlled downward and outward check. The bracket must not shift, flex or pull from the wall, and the unit must remain fully seated.
Connect the vacuum to the correct outlet and perform a short dry test. Pull the hose out in the direction used for normal cleaning, stop at several lengths and check that the lock holds. Retract it with one hand guiding the hose; do not release it to snap back. Listen for rubbing and confirm that the hose does not strike shelving, a vehicle or the accessory rack.
Finish with a pickup test using a small amount of ordinary dry debris. Check suction at the nozzle, airflow at the outlet and the seal around the dustbin. Stop immediately if the unit vibrates against the wall, the bracket moves, the motor sounds abnormal or the hose fails to lock and retract smoothly.
Which Installation Mistakes Should You Avoid?
- Choosing the position before measuring the farthest hose reach
- Mounting into drywall alone instead of solid framing or rated backing
- Using masonry anchors in hollow drywall or the wrong fastener for the wall
- Drilling without checking for hidden wires, pipes and other services
- Mounting so high that the bin, filter or retaining parts cannot be reached
- Placing the accessory rack in the hose’s pull-and-retract path
- Hanging the unit before the bracket is level and fully tightened
- Testing the retracting hose beside a vehicle or another fragile surface
How Should You Check the Mount After Installation?
Check the bracket and fasteners after the first few cleaning sessions, then include them in regular vacuum maintenance. Tighten only as the manual permits; repeated loosening signals a wall or fastener problem that requires correction, not simply more torque. Keep the hose clean before retraction and empty the bin before its weight begins to affect handling.
Disconnect the vacuum before cleaning filters, clearing a blockage or removing the unit from the wall. A secure installation should stay firm, keep its service points accessible and allow the hose to travel freely every time you clean.
FAQs
Can You Mount a Garage Vacuum on Drywall?
Yes, but the load must connect to wall studs or approved structural backing behind the drywall. Do not hang a heavy wall vacuum from ordinary drywall anchors alone.
How High Should a Wall Mount Vacuum Be?
Use the height on the model’s template or manual. The Grandstorm installation guidance places the unit at about 120 cm from the floor, while still requiring clearance for the bin, hose and accessories.
Can You Install a Wall Mount Vacuum on Concrete?
Yes. Use a masonry bit and anchors rated for the concrete, the vacuum’s weight and the pulling load from the hose. Follow the hole diameter and depth in the product manual.
Does a Wall Mount Vacuum Need a Dedicated Outlet?
The Grandstorm uses 120 V, draws 10 A and should connect to a suitable grounded outlet. Whether that circuit can serve other loads depends on its rating and what else operates at the same time; do not overload it.
Can One Person Install a Wall Mount Vacuum?
One person can measure and mount the brackets, but two people should lift and seat a 19.2 kg Grandstorm unit. The second person steadies the vacuum while the mounting points engage and the retaining parts are secured.


