











To set up an electric pressure washer, connect the water inlet and spray gun, install a suitable nozzle, turn on the water and hold the trigger until the flow is steady. Only then should you plug in and switch on the machine. Begin with a wide spray and extra distance, test a hidden area, then clean in steady overlapping passes. When the job is finished, switch off, unplug, close the water supply and squeeze the trigger to release pressure before disconnecting anything.
What Should You Check Before You Start?
Read the model manual before the first use. Confirm the required voltage, inlet-water range, operating temperature and approved detergent method. Inspect the power cord, GFCI plug, garden hose, high-pressure hose, gun, wand, nozzles and O-rings. Replace damaged parts before pressurizing the system.
Sweep away stones, branches and loose debris; move furniture and planters; close doors and windows; and keep people and pets away. Avoid outlets and delicate fixtures. Check for loose paint, cracks, rotten wood or failing mortar before spraying.
Place the machine on stable ground without running hoses or cords across the main walking path. Use a grounded, GFCI-protected outlet, keep plugs dry and wear eye protection with closed-toe footwear.
How Do You Set Up an Electric Pressure Washer?
1. Connect the Water Supply
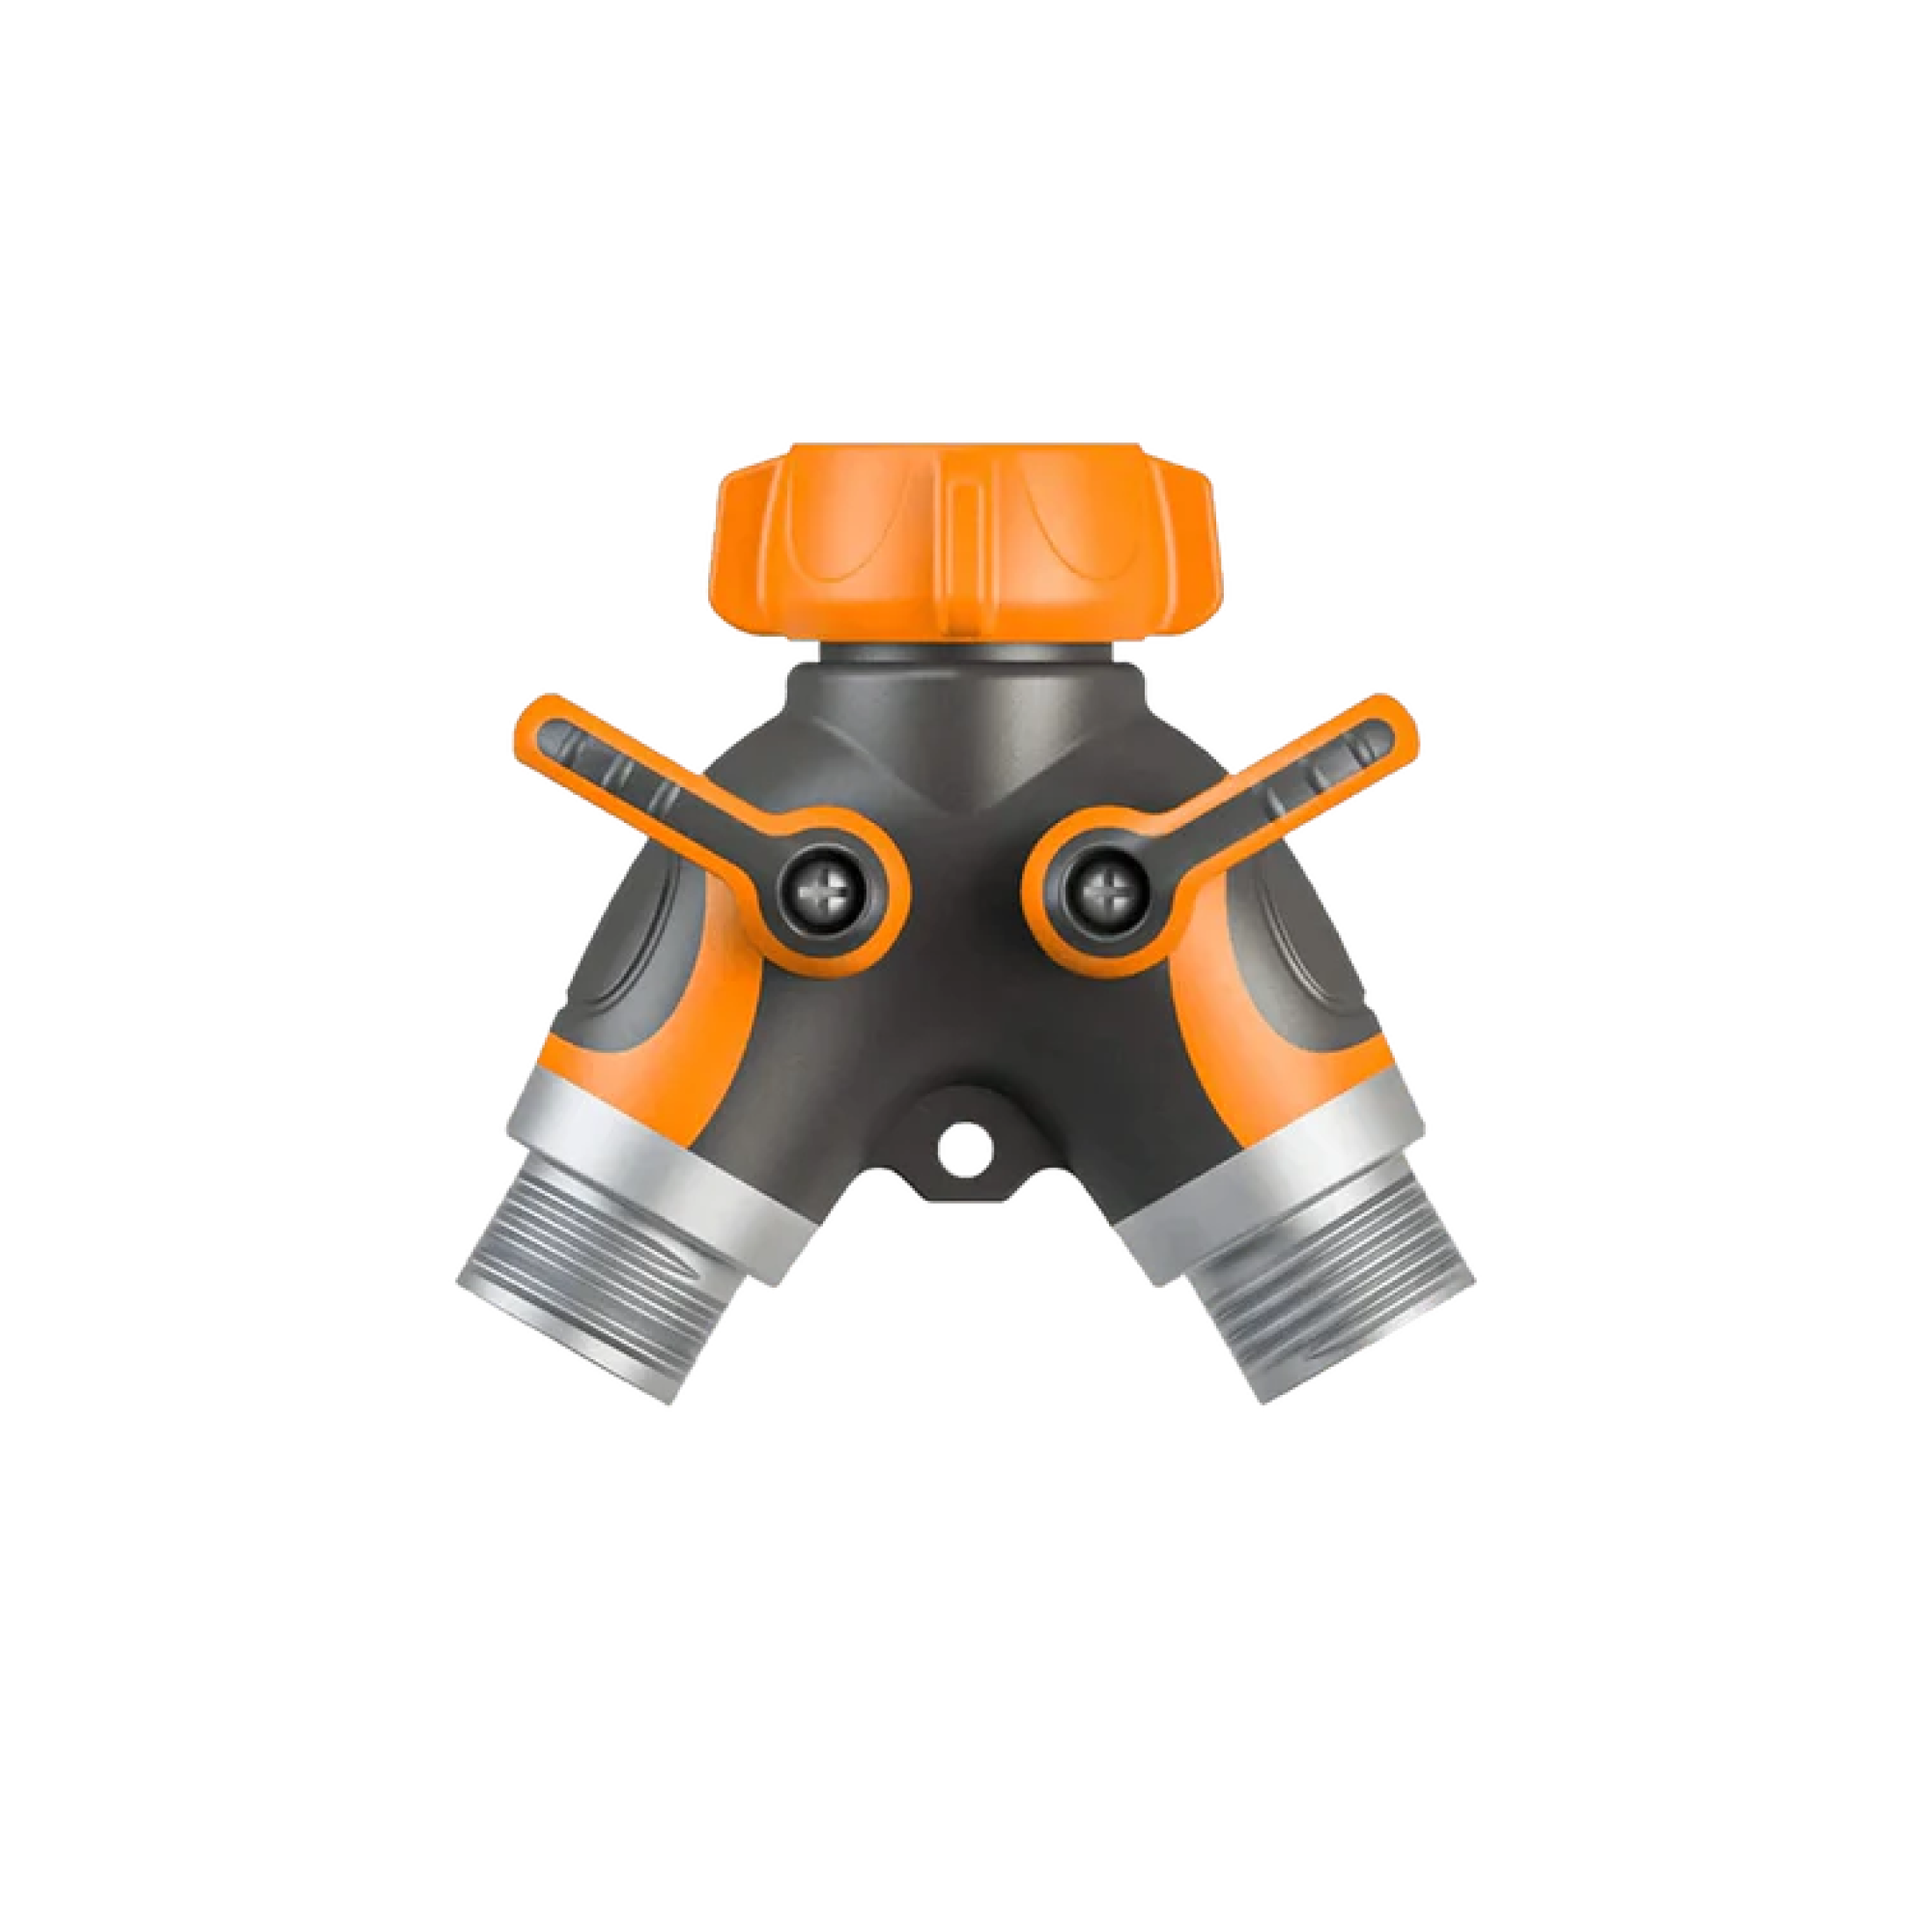
Flush the garden hose briefly before attaching it so grit does not enter the inlet. Check that the inlet screen is clean, connect the hose firmly and straighten every kink. Use a water supply that meets the flow and pressure requirements in the manual; the pump cannot make up for an inadequate inlet supply.
2. Connect the Spray Gun and Wand
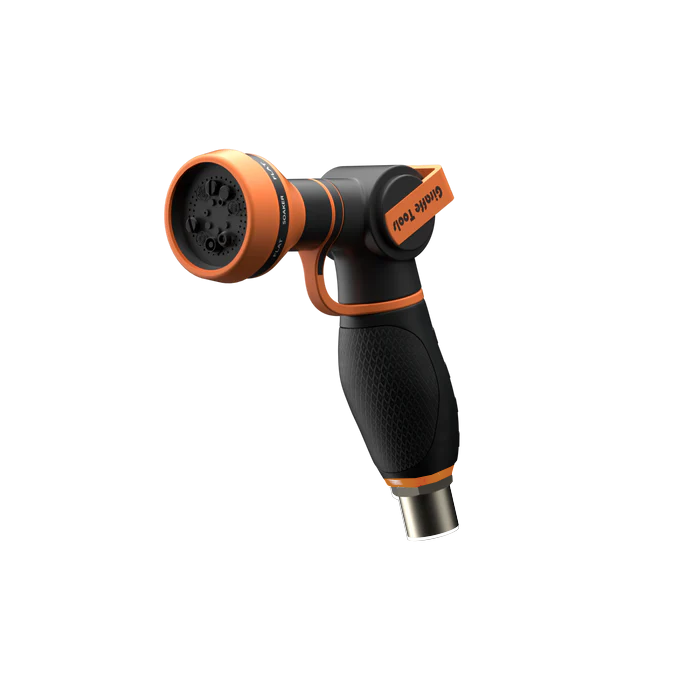
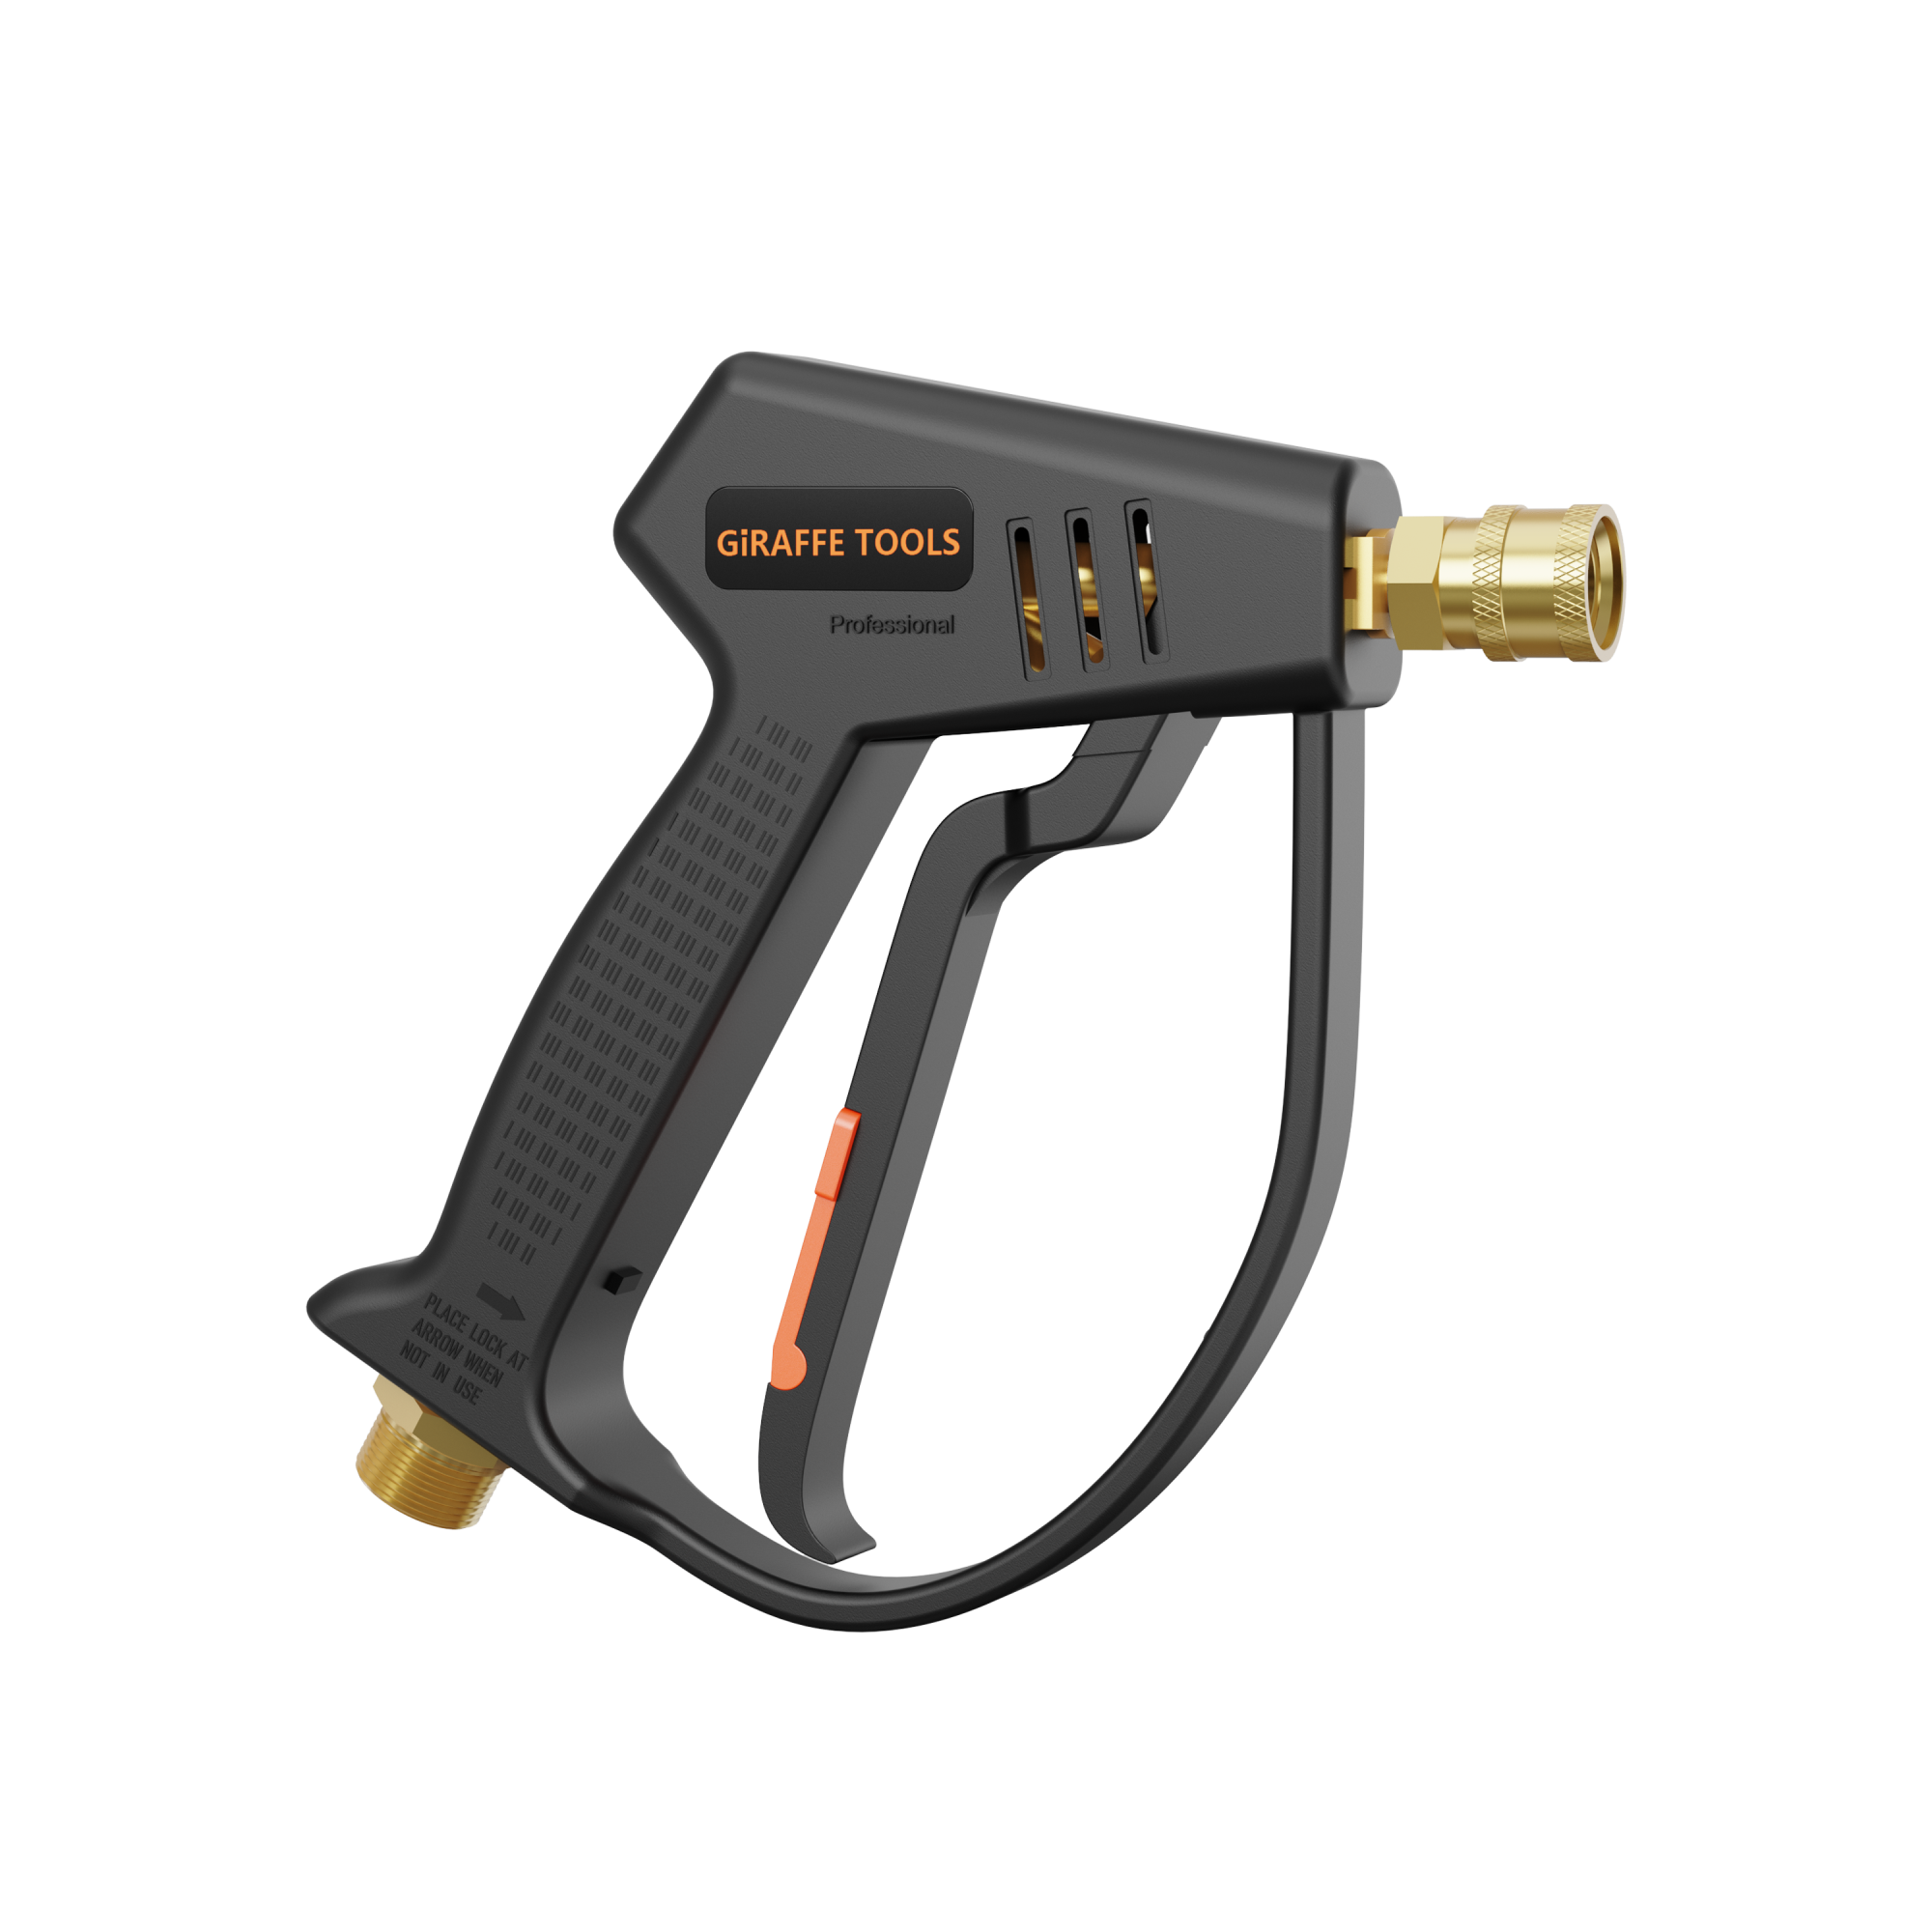
Attach the high-pressure hose to the outlet and gun when required. Lock the wand into the gun and tug each fitting to confirm it is seated. Never use an ordinary garden hose on the high-pressure side.
3. Install a Wide-Angle Nozzle
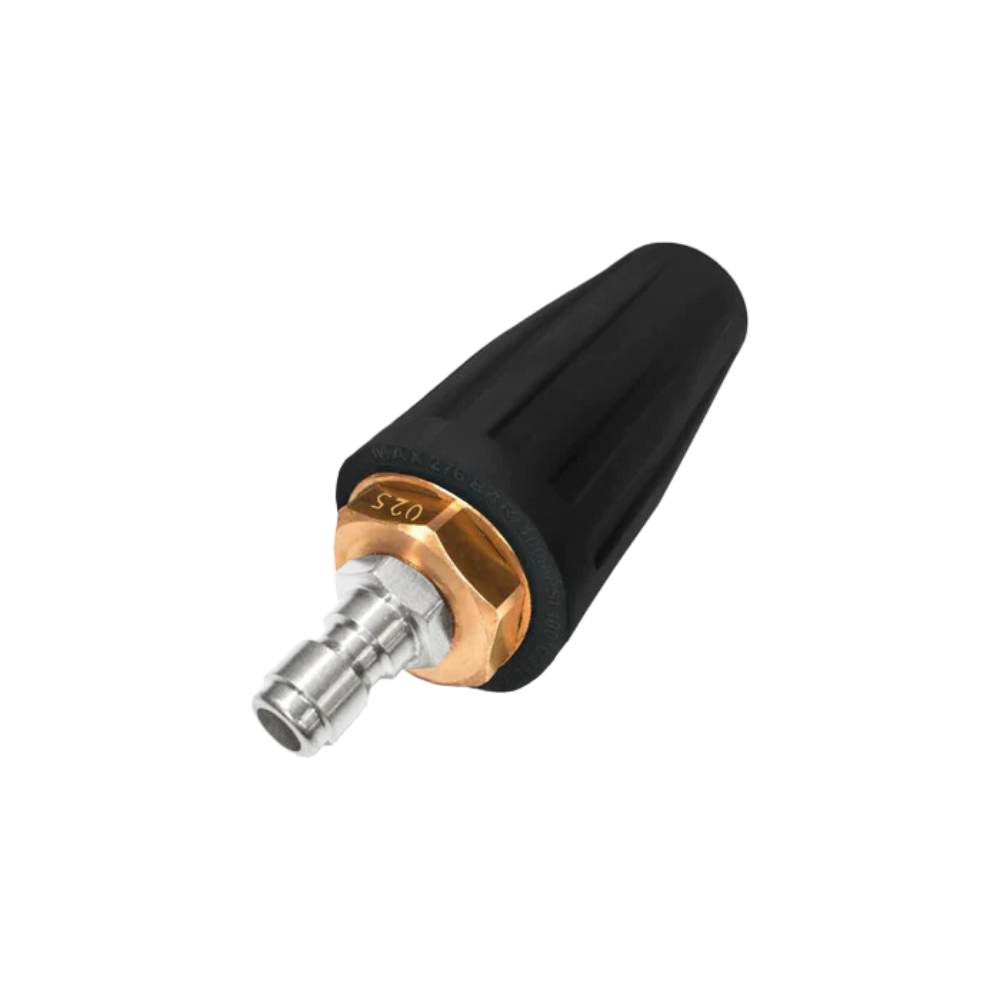
With the trigger locked and the machine off, pull back the quick-connect collar, insert the nozzle and release the collar. Tug the nozzle once. A 40-degree tip is a sensible first test because it spreads force over a wider area; move to a narrower angle only when the surface and stain require it.
4. Turn On the Water and Purge Air
Open the tap fully. Point the gun in a safe direction, release the trigger lock and hold the trigger until water flows evenly without sputtering. This fills the hose and pump before the motor starts. Never run the pressure-washer pump without water.
5. Connect Power and Start the Machine
Release the trigger, lock it and plug the unit into the correct GFCI-protected outlet. Test and reset the GFCI plug as the manual directs, then switch on the washer. Keep the cord behind you and away from pooled water, the spray and moving vehicles.
6. Test the Spray Before Cleaning
Stand back, hold the wand with both hands and unlock the trigger. Test a hidden area using the wide nozzle. Move closer in small steps only when more cleaning force is needed. If the surface fibres, coating or joints begin to lift, stop and increase the distance.
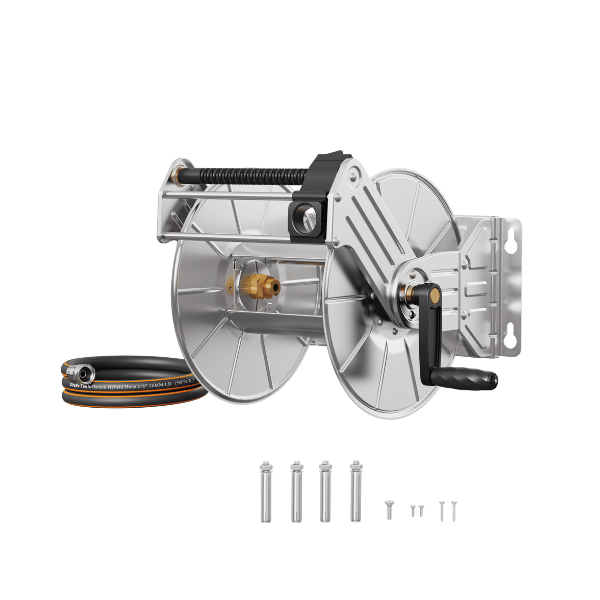
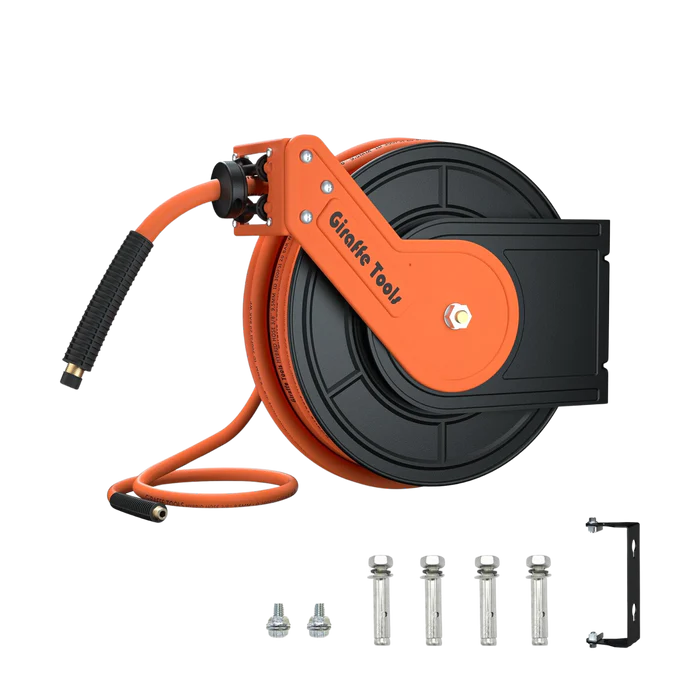
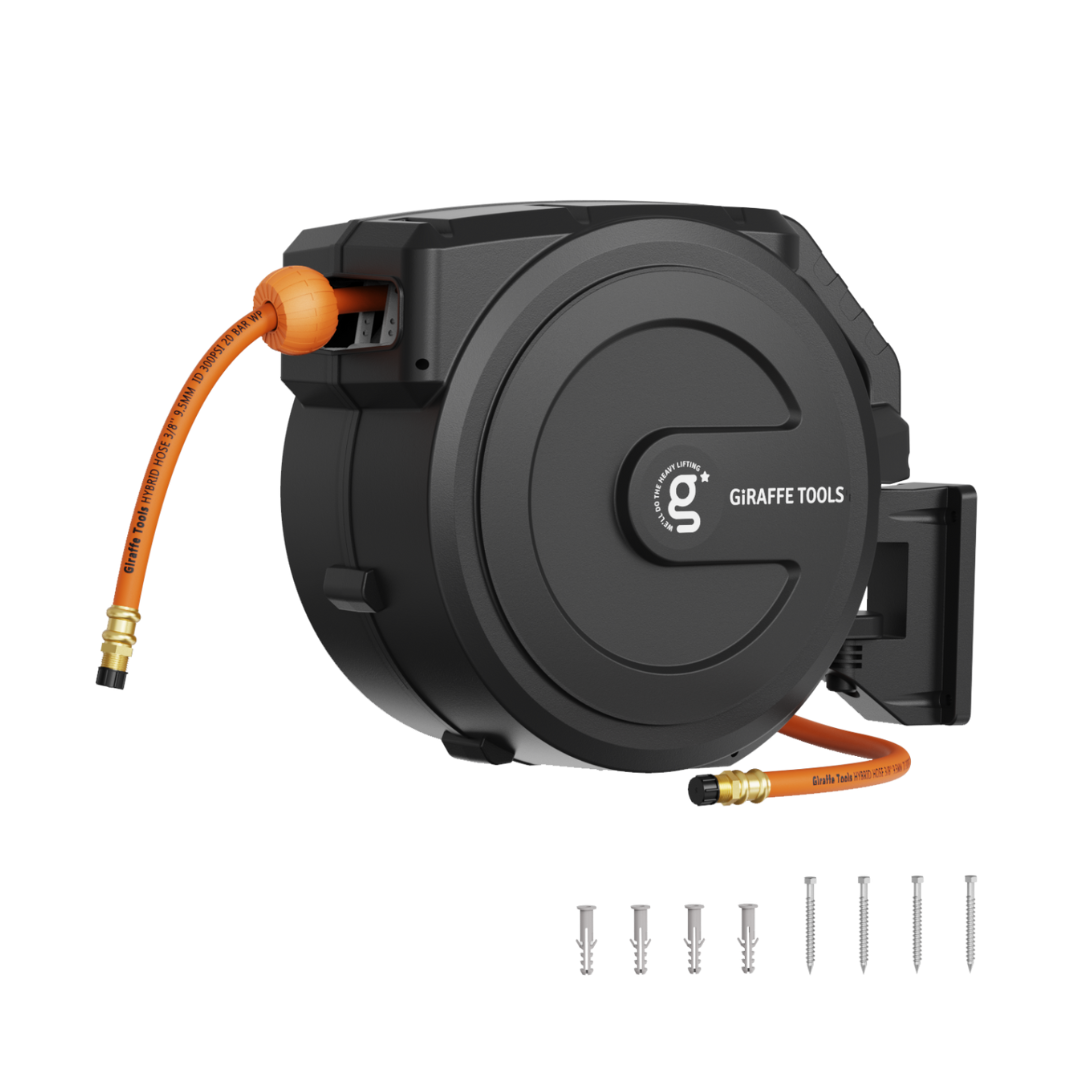
A long high-pressure hose lets one fixed machine reach several cleaning areas without repeated reconnecting. When that reach, wall storage and automatic rewind suit your routine, compare a retractable pressure washer by usable hose length, rated cleaning performance, nozzle set and mounting location before installation.
Which Nozzle and Detergent Should You Use?
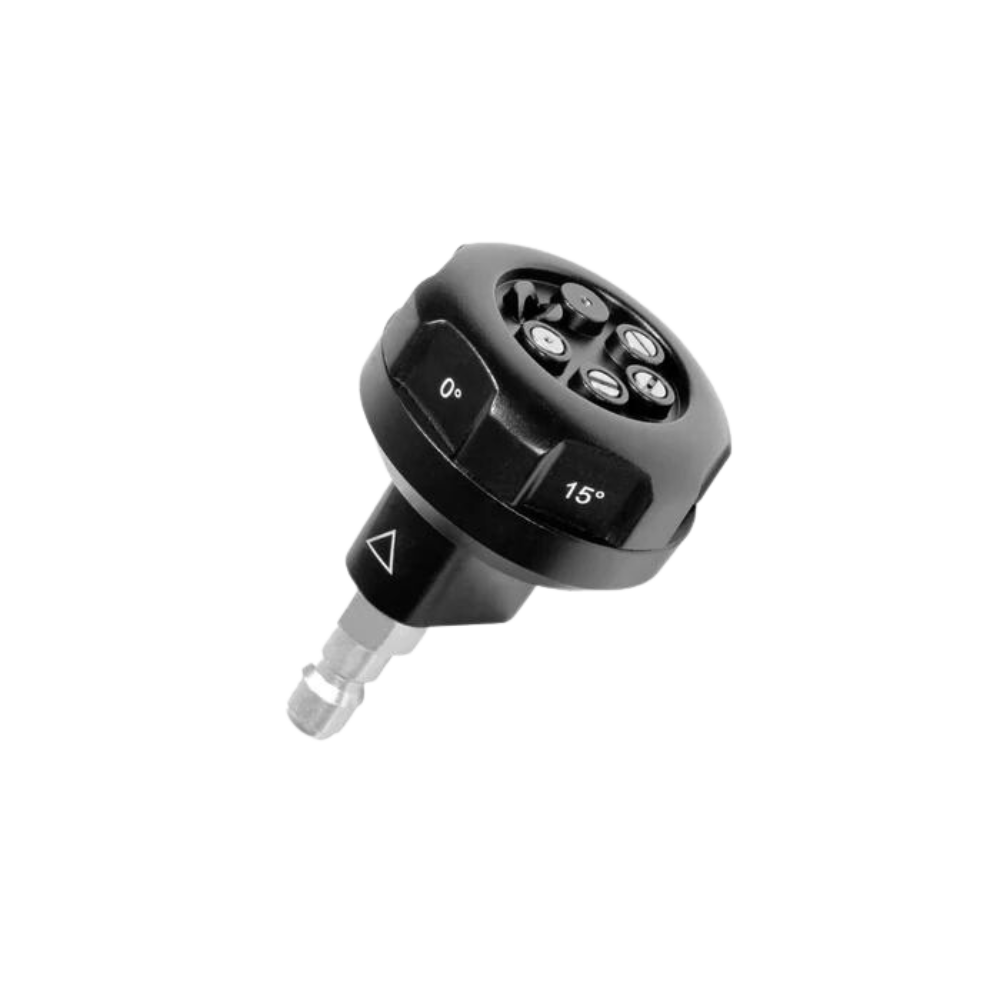
Nozzle angle changes how concentrated the spray feels at the surface. The colours below are common, but always confirm the markings supplied with your machine:
- 40-degree: the starting point for vehicles, outdoor furniture and other surfaces that need a broad, gentler rinse.
- 25-degree: general cleaning on sound patios, walkways, fencing and many outdoor surfaces after a test.
- 15-degree: concentrated cleaning for durable masonry or stubborn deposits, used with extra care.
- 0-degree: a pinpoint jet with a high risk of surface damage; beginners rarely need it.
- Soap or foam setting: applies approved detergent at the pressure required by the machine.
A spray tip is only part of the decision: surface material, distance and water flow also change the result. Use the pressure washer PSI guide to match the cleaning force to common jobs before moving to a narrower nozzle.

Use only pressure-washer detergent approved for the surface and the machine. Add it through the built-in tank, siphon tube or foam bottle specified in the manual. Apply detergent in manageable sections and do not let it dry. Change back to the correct rinse nozzle before removing the loosened dirt.
If a job calls for a replacement tip, pivoting connector or other fitting, choose pressure washer accessories that match the model and connection size.
How Should You Pressure Wash Without Leaving Streaks?
Work in small sections. Keep a consistent distance and steady speed, overlapping each pass slightly. Pausing in one spot can leave a bright mark or cut softer material.
On walls, fences and siding, rinse from top to bottom so dirty water moves onto areas that have not received the final rinse. On concrete and patios, work toward a drain or open edge instead of pushing dirty water back across the cleaned area. Keep the wand angle consistent to prevent alternating light and dark bands.
Control cleaning force by changing one thing at a time: start farther away, use the wider nozzle and move closer only after the test area looks sound. Do not compensate for slow progress by placing a narrow jet a few centimetres from the surface.
How Can You Make Repeat Cleaning Faster?
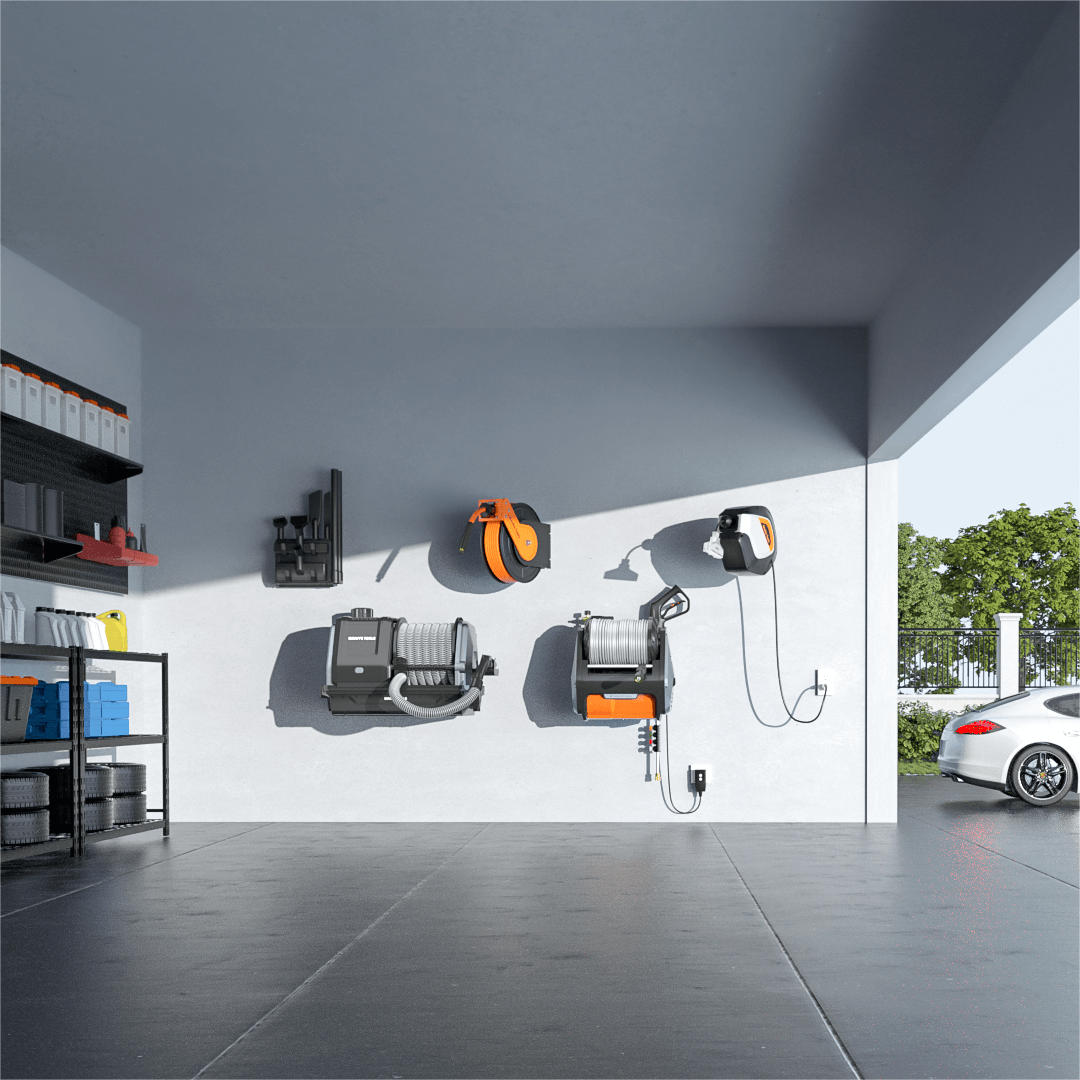
Repeat cleaning is faster when water, power, hose and nozzles have fixed positions. A wall-mounted unit stays off the floor, while a retractable hose removes manual winding and supplies only the length needed.
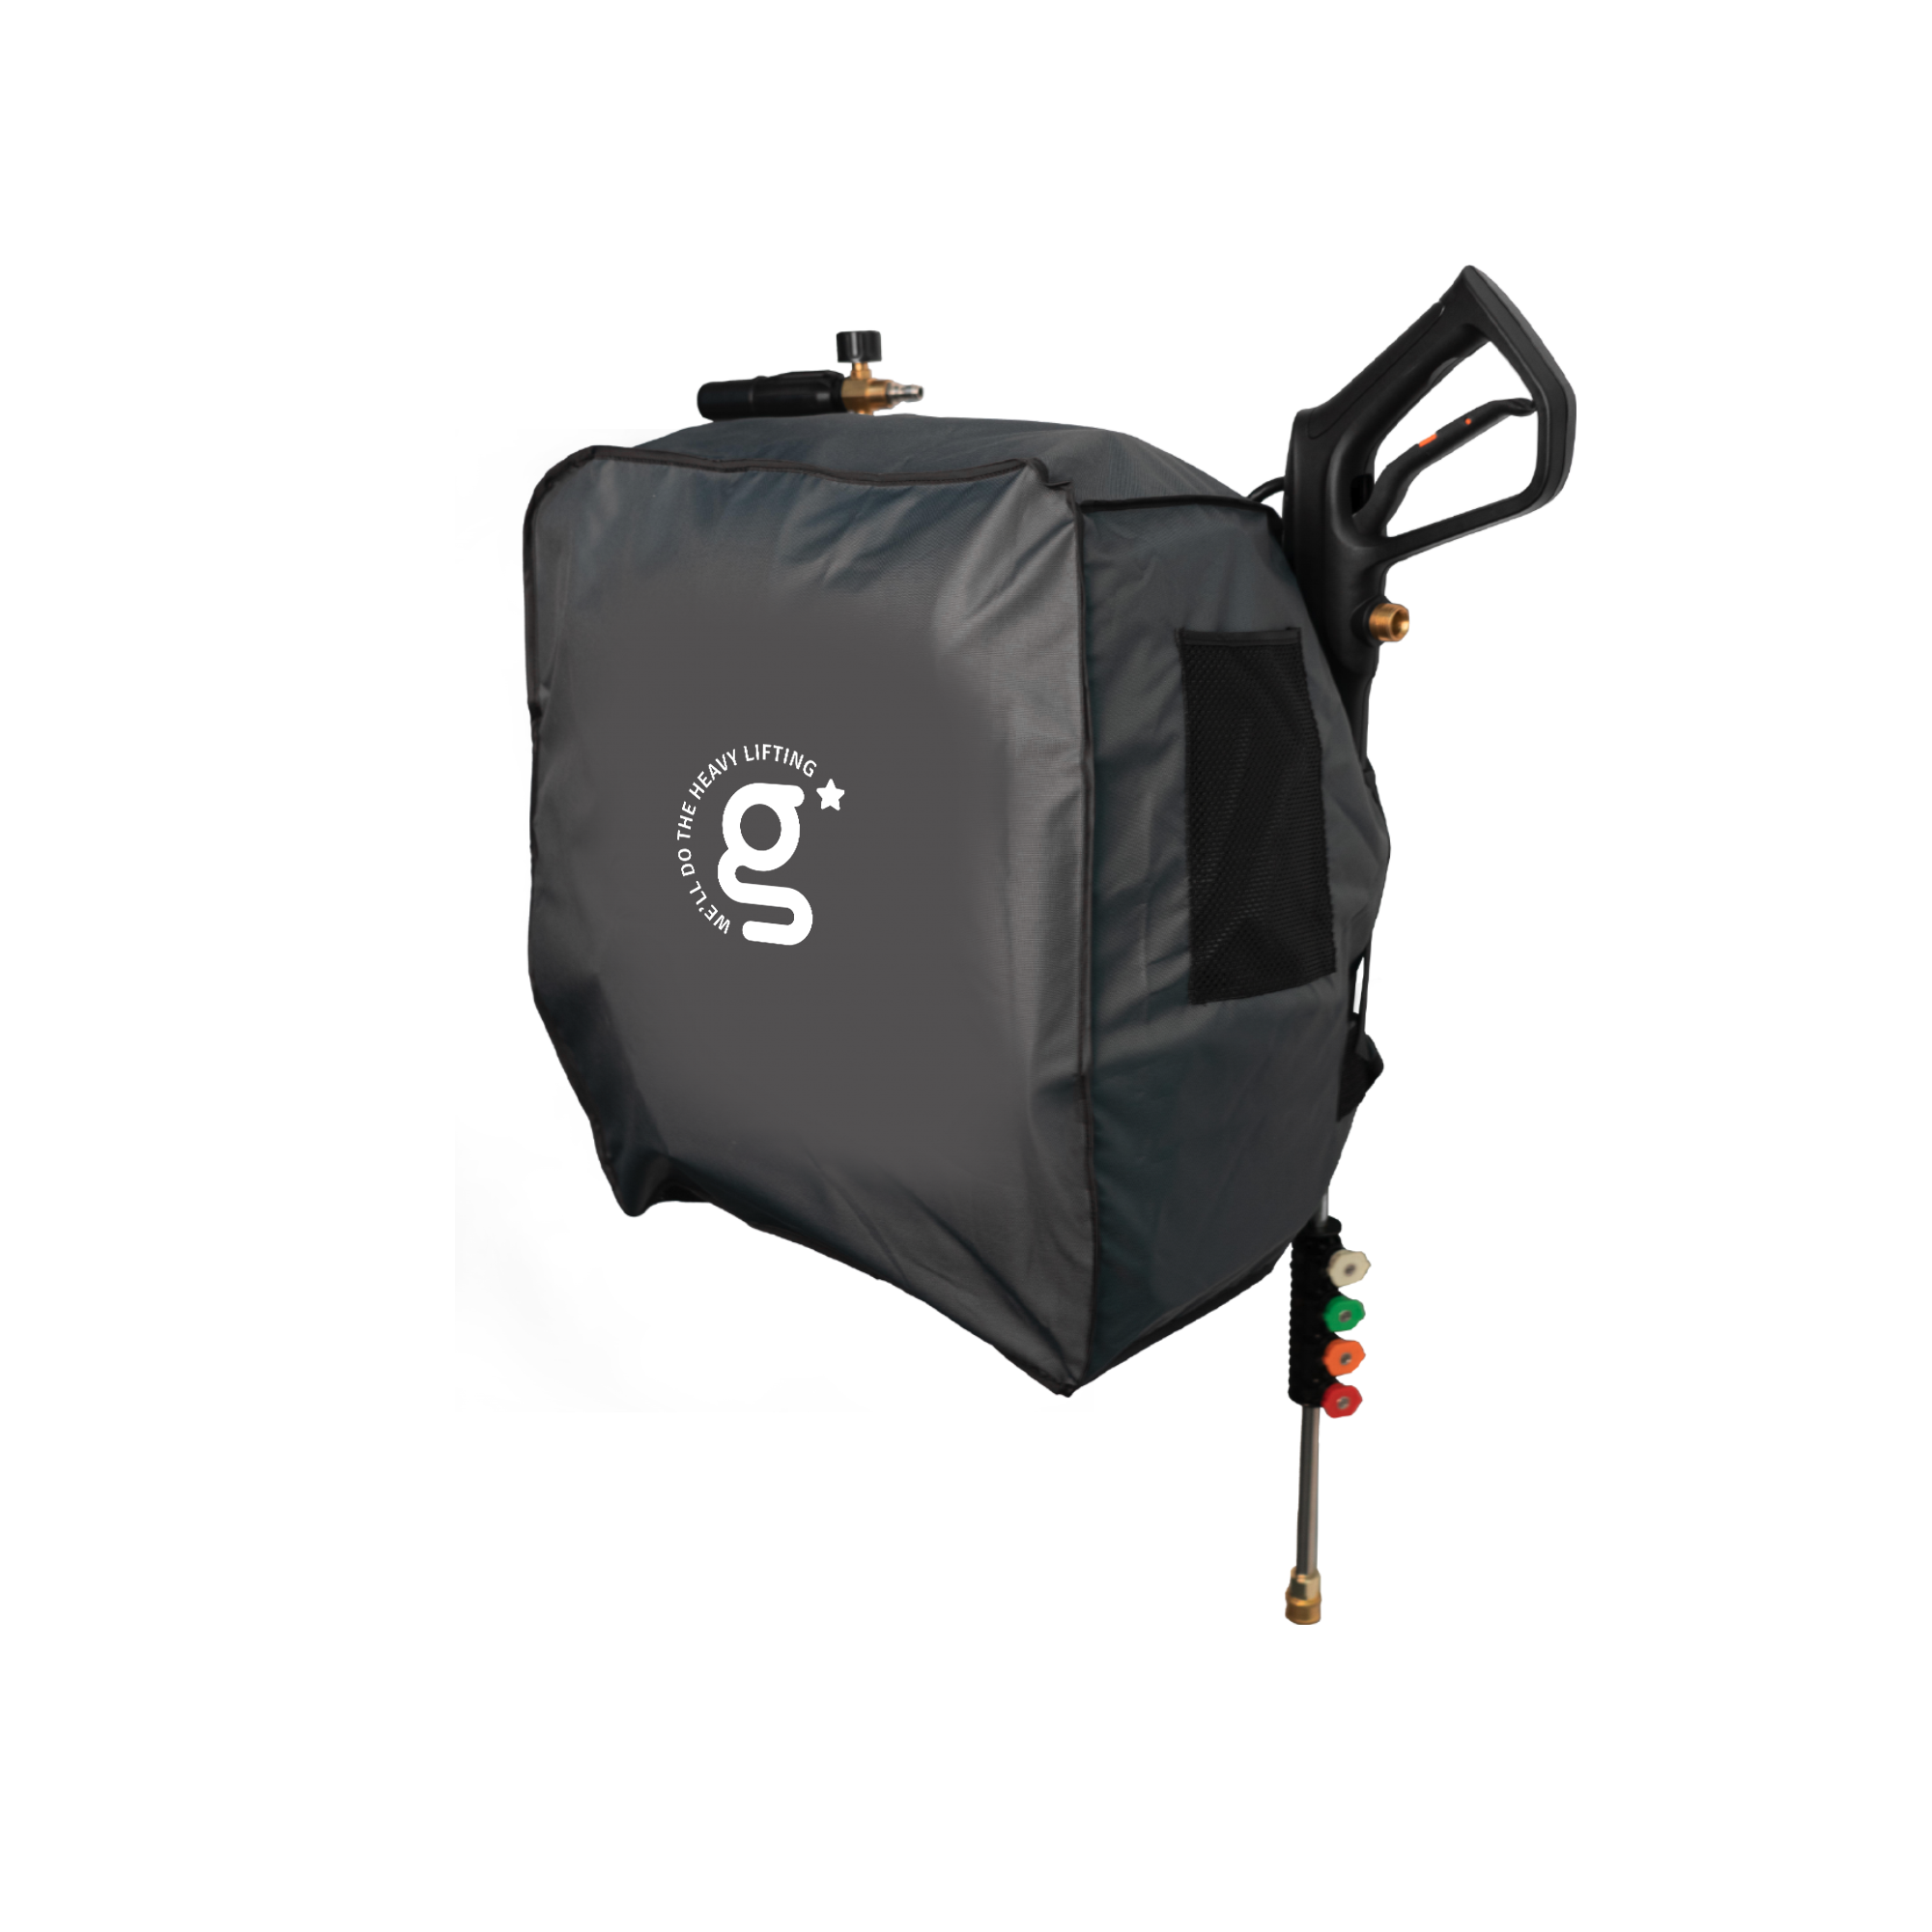
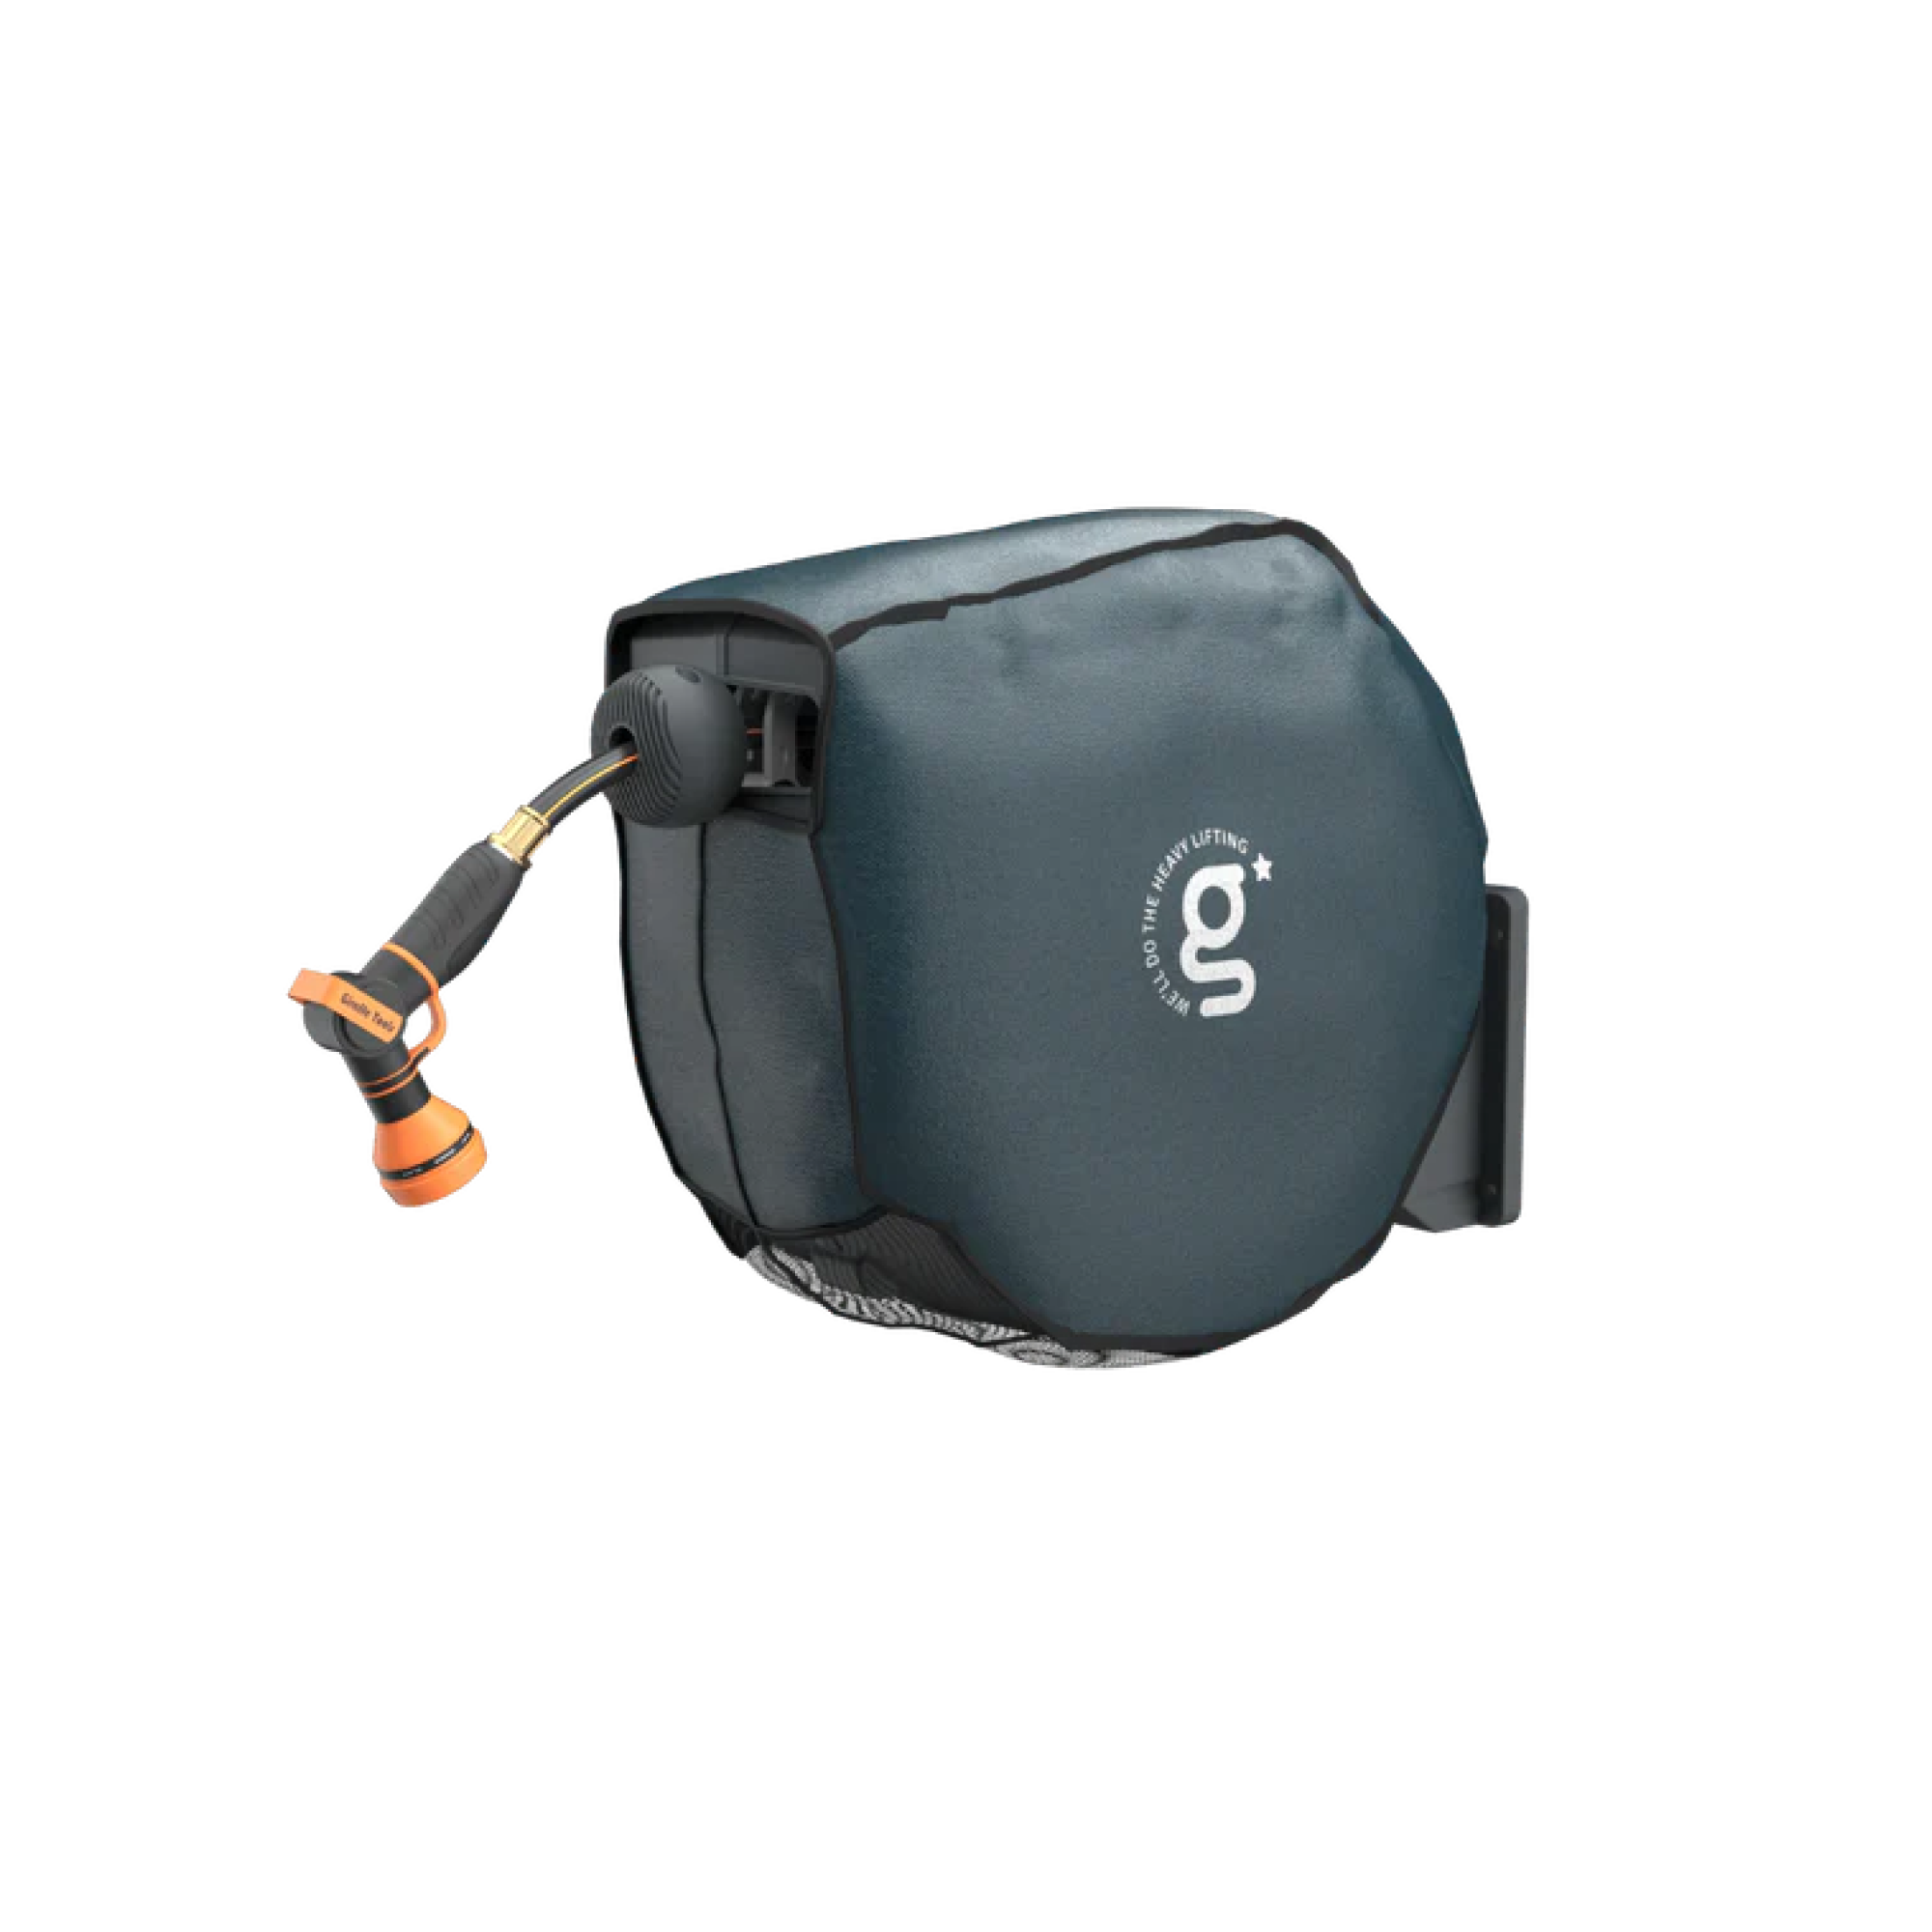
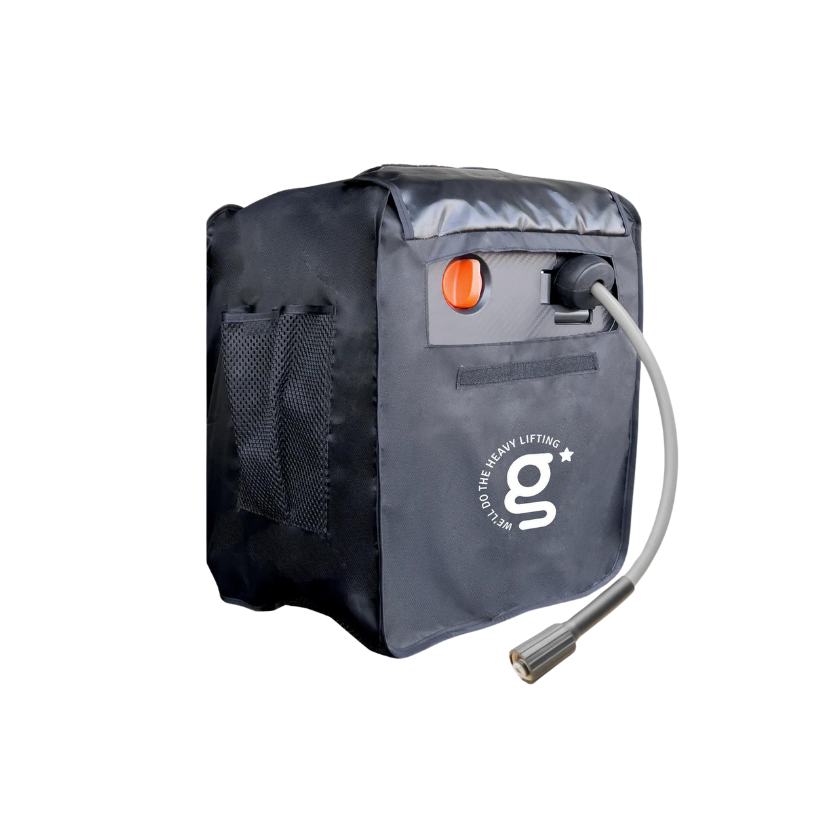
For larger driveways, vehicles and multi-area cleaning, the Grandfalls Retractable Pressure Washer Pro combines a 100 ft replaceable auto-retracting hose, four quick-connect nozzles and wall-mounted accessory storage. Its pre-installed hose and built-in reel reduce the connections required at the start and return the hose to organised storage after shutdown.
How Do You Shut Down and Store the Washer?
- Release the trigger and engage its safety lock.
- Switch off the pressure washer and unplug it with dry hands.
- Close the water supply.
- Point the gun safely and squeeze the trigger until trapped pressure is released.
- Disconnect the inlet hose, gun or accessories only after the system is depressurized.
- Drain hoses and attachments, wipe connectors and store nozzles where they will stay clean.
- Guide a retractable hose back at a controlled speed; never let it whip into the housing.
Flush detergent from the system before storage. If freezing temperatures are possible, follow the manual’s winterizing procedure and move the machine to a dry, frost-free place. A weather cover does not protect water trapped inside the pump from freezing.
Why Is the Pressure Washer Not Working After Setup?
The Motor Does Not Start
Confirm the outlet has power, reset the GFCI plug and check that the switch is on. Some electric models start the motor only when the trigger is pressed. Stop if the cord, plug or outlet becomes hot.
The Spray Pulses or Feels Weak
Open the tap fully, straighten the inlet hose and purge air again. Then inspect the inlet screen, nozzle and fittings for blockage or leakage. A restricted water supply is a common cause of pulsing pressure.
Detergent Does Not Draw
Confirm that the machine is using its soap nozzle or low-pressure detergent setting. Check the detergent level, pickup tube and connection, then rinse any dried cleaner from the injector path according to the manual.

Which First-Time Mistakes Should You Avoid?
- Starting the motor before turning on the water and purging air
- Using the narrowest nozzle as the default cleaning tip
- Changing a nozzle while the machine is running or the system remains pressurized
- Spraying people, pets, electrical equipment or unstable surfaces
- Holding the jet still or beginning too close to the material
- Letting detergent dry before rinsing
- Disconnecting a hose before switching off and releasing pressure
FAQs
Do You Turn the Water On Before Starting a Pressure Washer?
Yes. Connect the supply, turn the water on fully and hold the trigger until the flow is steady. Start the motor only after the pump and hose are filled with water.
How Do You Use a Pressure Washer for the First Time?
Read the manual, inspect the equipment, connect water and the spray gun, fit a wide nozzle, purge air, connect power and test a hidden area from a safe distance before cleaning.
Where Do You Put Soap in a Pressure Washer?
Use the detergent tank, siphon tube or foam bottle specified by the model. Do not pour detergent into the water inlet or pump, and use only an approved pressure-washer cleaner.
Do You Pressure Wash From Top to Bottom or Bottom to Top?
Rinse vertical surfaces from top to bottom. If a detergent label directs bottom-up application to reduce streaks, follow that instruction, then complete the final rinse from top to bottom.
Do You Need to Sweep Before Pressure Washing?
Yes. Remove stones, branches, leaves and loose debris first. Sweeping prevents projectiles, keeps the nozzle path clear and stops piles of debris from being pushed around by the spray.


