











A ground-mounted retractable hose reel needs a stable base, sealed connections and controlled retraction. Careful setup prevents wobbling and leaks; a short maintenance routine keeps it ready for watering, patio rinsing and garden beds throughout the season.
This guide covers only ground-mounted reels secured to lawn or concrete, including placement, installation, daily use, seasonal checks and simple troubleshooting.
Where Should You Place a Ground-Mounted Hose Reel?
Choose a flat, firm position close enough for the leader hose to reach the outdoor faucet without stretching. Before fixing the base, walk the actual watering route and check turns around garden beds and patio furniture.
-
Allow enough clearance for the housing to rotate through its intended 360-degree range.
-
Keep fences, planters, steps and shrubs away from the housing and hose path.
-
Consider a central position to shorten the required hose length and reduce sideways pull on the anchors.
Avoid slopes, loose gravel, freshly cultivated soil and low spots that stay wet after rain. Ground that feels secure at first may loosen after repeated pulling.
On concrete, choose a sound section away from cracked edges and confirm that drilling will not reach concealed services. For a broader explanation of mounting surfaces and hose length, the Canadian guide on how to install a hose reel covers both wall and ground options; the steps below stay specific to a ground base.
How Do You Install the Reel on Lawn or Concrete?
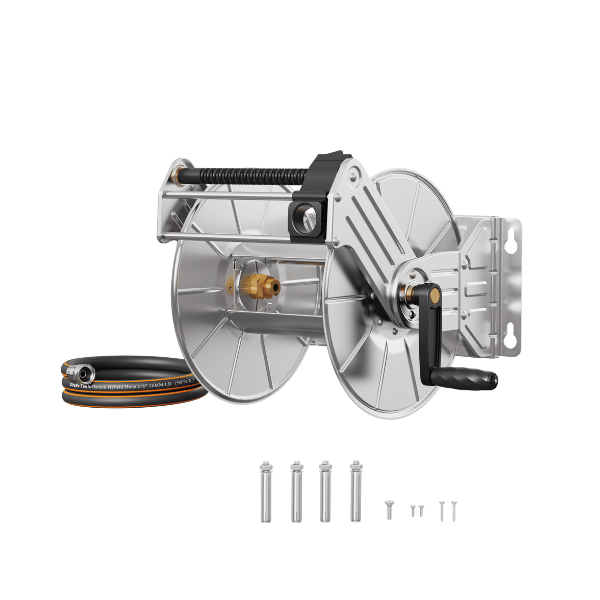
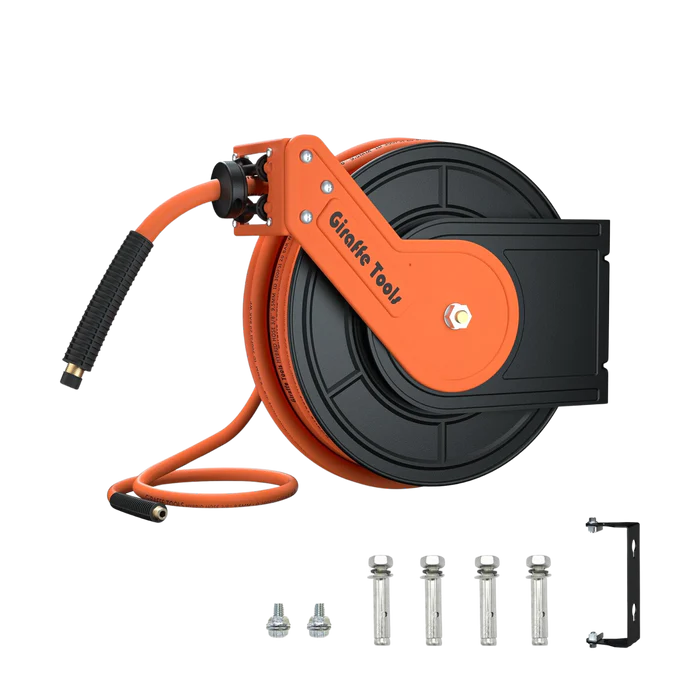
Read the manual for your exact model before drilling or driving pins because hardware and hole patterns can differ. Unpack the reel, leader hose, nozzle, hose holder and fasteners, then check for shipping damage.
Installing on a Lawn
-
Set the base on firm, level soil and rotate the housing to confirm it has clearance in every direction.
-
Mark the pin locations and check for irrigation tubing, lighting cable and other buried services before driving anything into the ground.
-
Drive every supplied pin straight and fully into the soil using the method in the manual. Do not rely on one or two pins, and stop if stones force a pin sideways.
-
Pull the hose a short distance in several directions. If the base rocks, choose firmer ground or correct the surface before connecting water.
-
Position the base, check its rotation clearance and mark every mounting hole.

Installing on Concrete
-
Use the specified drill-bit size and hole depth, keep clear of damaged edges and remove drilling dust.
-
Insert the anchors, align the base and tighten the screws evenly. The base should sit flat without being distorted by one over-tightened fastener.
-
Test for movement before connecting the leader hose. If the slab is thin, cracked or unsuitable, ask a qualified installer about an appropriate mounting solution rather than improvising anchors.
Connecting and Testing
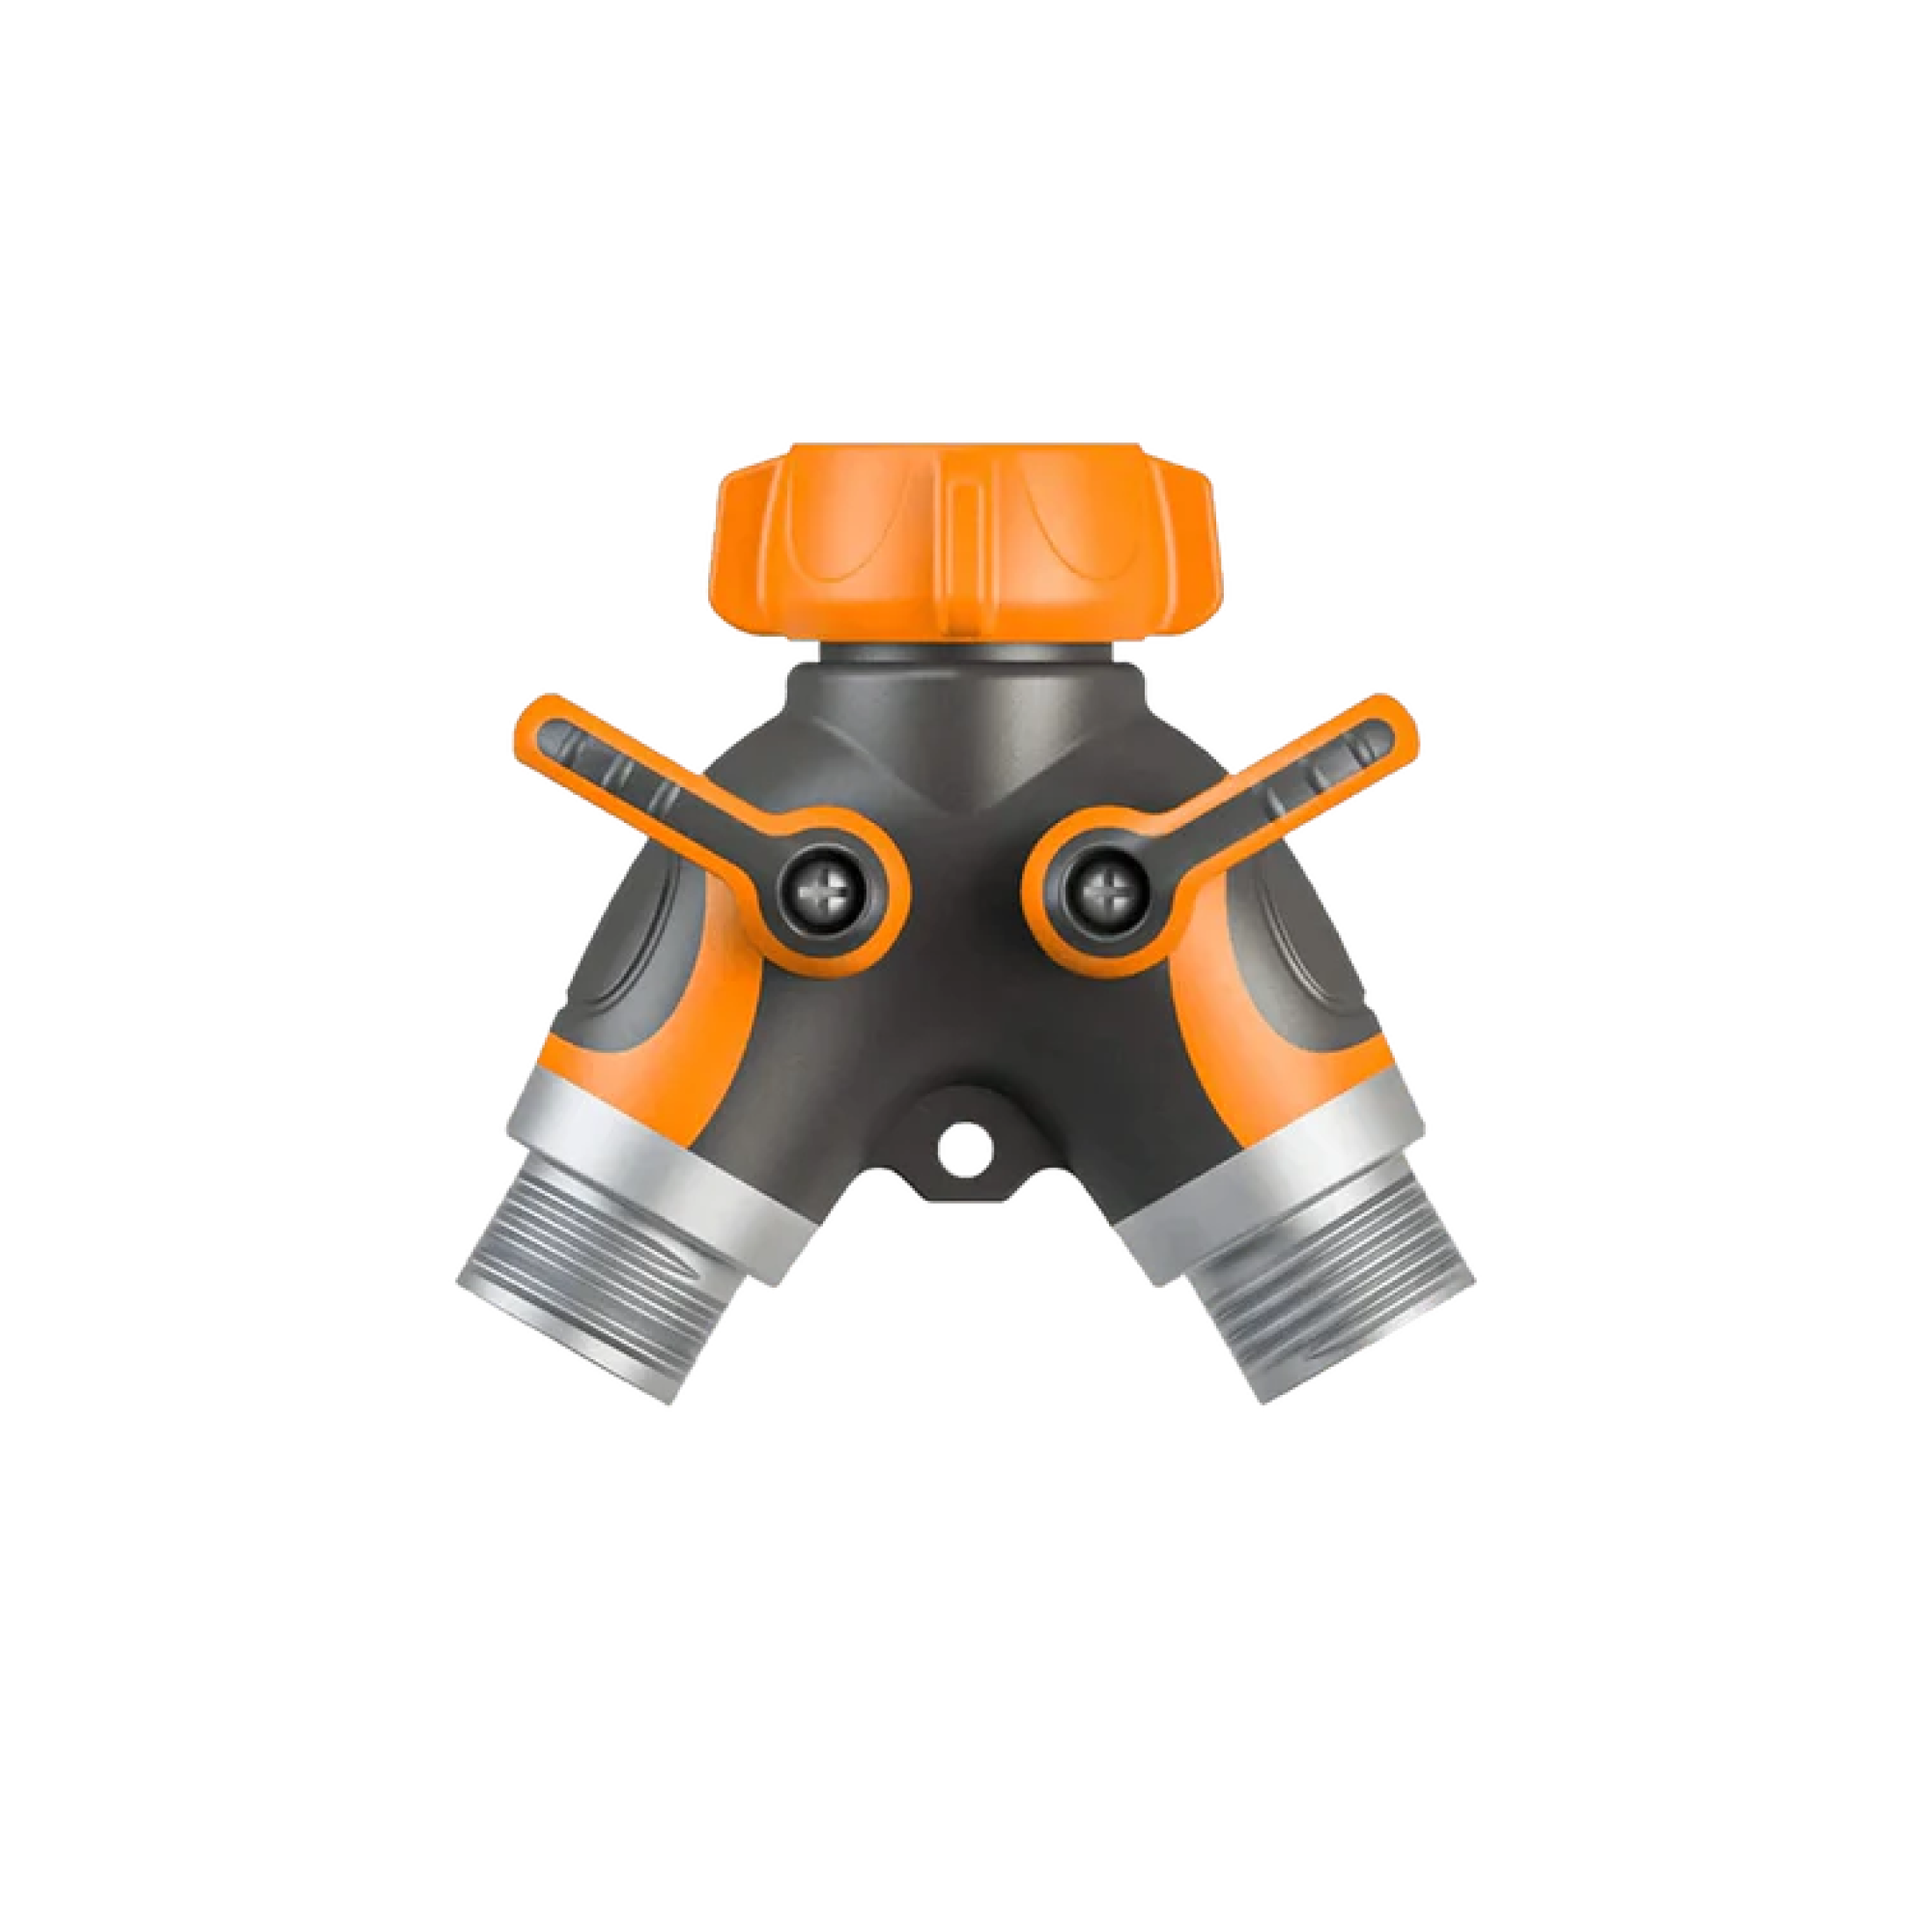
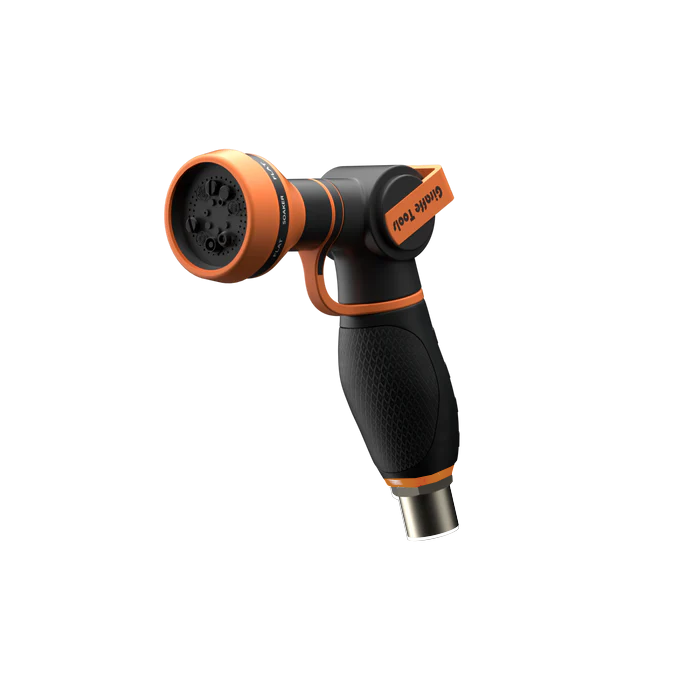
Check that the rubber washer or O-ring is seated in each applicable connector. Attach the leader hose to the reel and faucet, fit the nozzle by hand, then turn on the water slowly and inspect each joint.
Pull out a short section, test the lock, release pressure and guide the hose back. Extend it farther only after the base, connections and rewind action all work correctly. If the test reveals a coverage gap, the yard hose reel guide explains how to measure the real route before changing reel size.
How Do You Use Auto-Rewind Without Damaging It?
Pulling Out and Locking the Hose
Pull in the direction the reel is facing and let the base rotate with your path. Avoid sharp sideways jerks, stop before the maximum-length warning and let the lock engage. If it does not catch, pull a little farther and try again.
Releasing Pressure and Rewinding
After watering, turn off the faucet and squeeze the nozzle trigger to release pressure. Give the hose the short pull specified by the manual to unlock it, then walk toward the reel while controlling the return.
Never release the hose and let the nozzle fly toward the housing. A controlled return protects the nozzle, hose guide and nearby people while helping the hose layer evenly.
If you are comparing reach, hose diameter or mounting styles for another area, the Canadian garden hose reel collection shows the available ground- and wall-mounted formats. For this installation, keep all operation and maintenance decisions tied to the ground-mounted model you own.

What Maintenance Keeps a Ground Reel Working Smoothly?
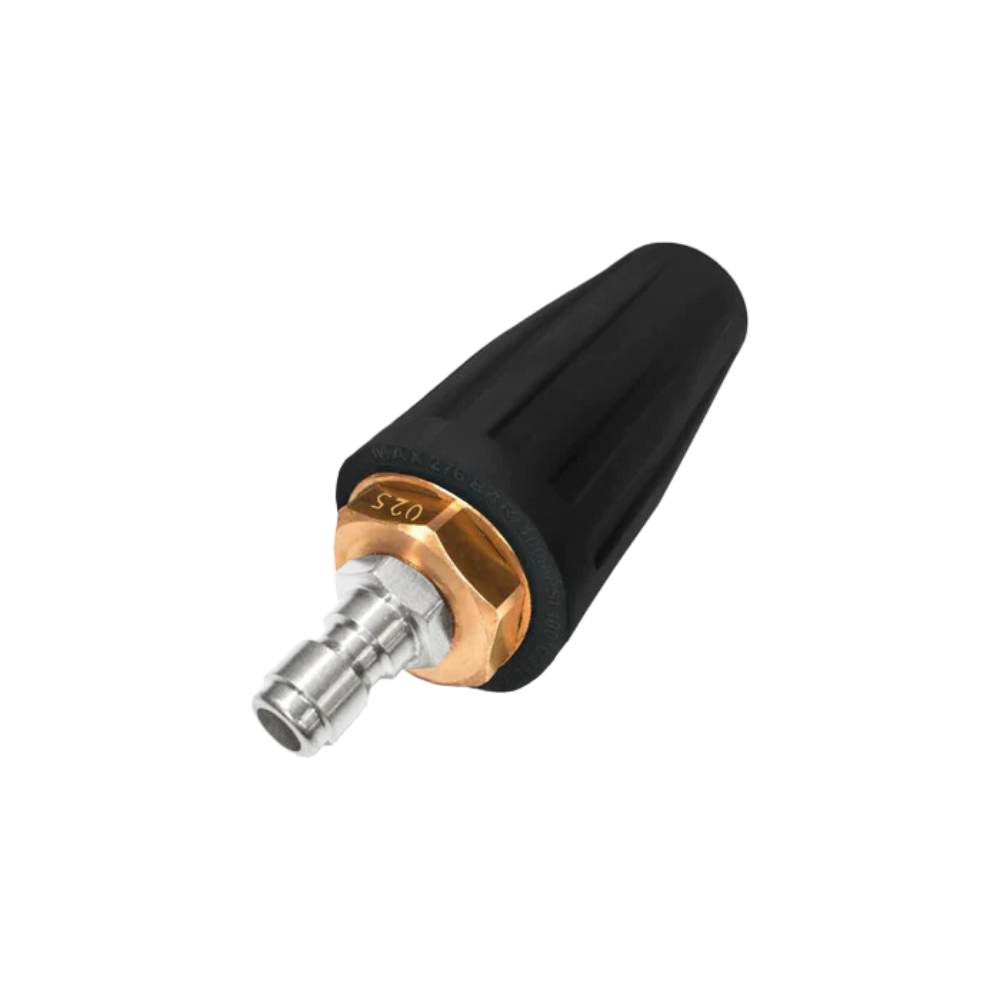
Keep soil, grass clippings and grit away from the hose guide and rotating base. Wipe the exposed hose with a damp cloth as it returns, check for flattened areas or abrasions, and remove debris from the nozzle. When a connection begins to drip, inspect the washer and replace a damaged seal with the correct part.
|
When |
What to check |
|
Before each use |
Confirm the base is firm; check the faucet, leader hose and nozzle connections for drips. |
|
After each use |
Turn off the water, release pressure, wipe away soil and guide the hose back at a controlled pace. |
|
Monthly in season |
Inspect the exposed hose, nozzle washer, connectors, fasteners and 360-degree rotation. |
|
Start and end of the season |
Re-level the base, tighten hardware, drain the system and prepare it for frost-protected storage. |
Why Recheck the Base After Winter?
Canadian freeze-thaw cycles can shift wet, frost-susceptible soil. There is no single 'Canadian soil': sandy, silty, loamy and clay-rich ground behave differently.
Inspect the installation at the start of the season. Confirm that the reel remains level, every lawn pin is secure, concrete anchors are tight and water does not collect around the base. Reposition it if thawed ground has become soft or uneven.
How Should You Prepare It for Freezing Weather?
Before freezing temperatures arrive, close the outdoor water supply, release pressure and disconnect the leader hose. Drain as much water as the manual directs, then clean the reel and allow it to dry.
If the unit can be removed, store it in a dry, frost-protected location when recommended for the model. Do not assume an unheated shed stays above 0°C or that an all-weather hose can safely hold frozen water.
What Problems Can You Fix Without Opening the Reel?
The Hose Does Not Retract Fully
Turn off the water and release pressure. Check the exposed hose for a kink, twist or object caught near the guide. Pull it out in a straight line, stopping before the end marker, then guide it back slowly.
Confirm that the base is level because a tilted reel can change the hose's path into the guide. If resistance remains, stop. Do not open the spring housing or attempt to reset an internal spring yourself.
The Reel Leaks at a Connection
Identify the joint, shut off the water and inspect the washer or O-ring. Reseat or replace the correct seal, clean the threads and reconnect by hand; excessive tightening can damage plastic fittings. Internal leaks, cracked connectors or damaged hose require manufacturer support.
Water Flow Is Lower Than Expected
Straighten kinks, open the faucet and remove the nozzle to test flow. Clean the nozzle screen where permitted. A long 1/2-inch hose may deliver less flow at distance than a wider hose, and a reel cannot correct low household pressure. Check for a crushed section, closed valve or debris if flow drops suddenly.
Which Ground-Mounted Reel Fits the Job?
When a 1/2-Inch Hose Makes Sense
Choose by the route you water, not simply the longest hose. A compact lawn, patio and nearby beds may favour a lighter 1/2-inch hose.
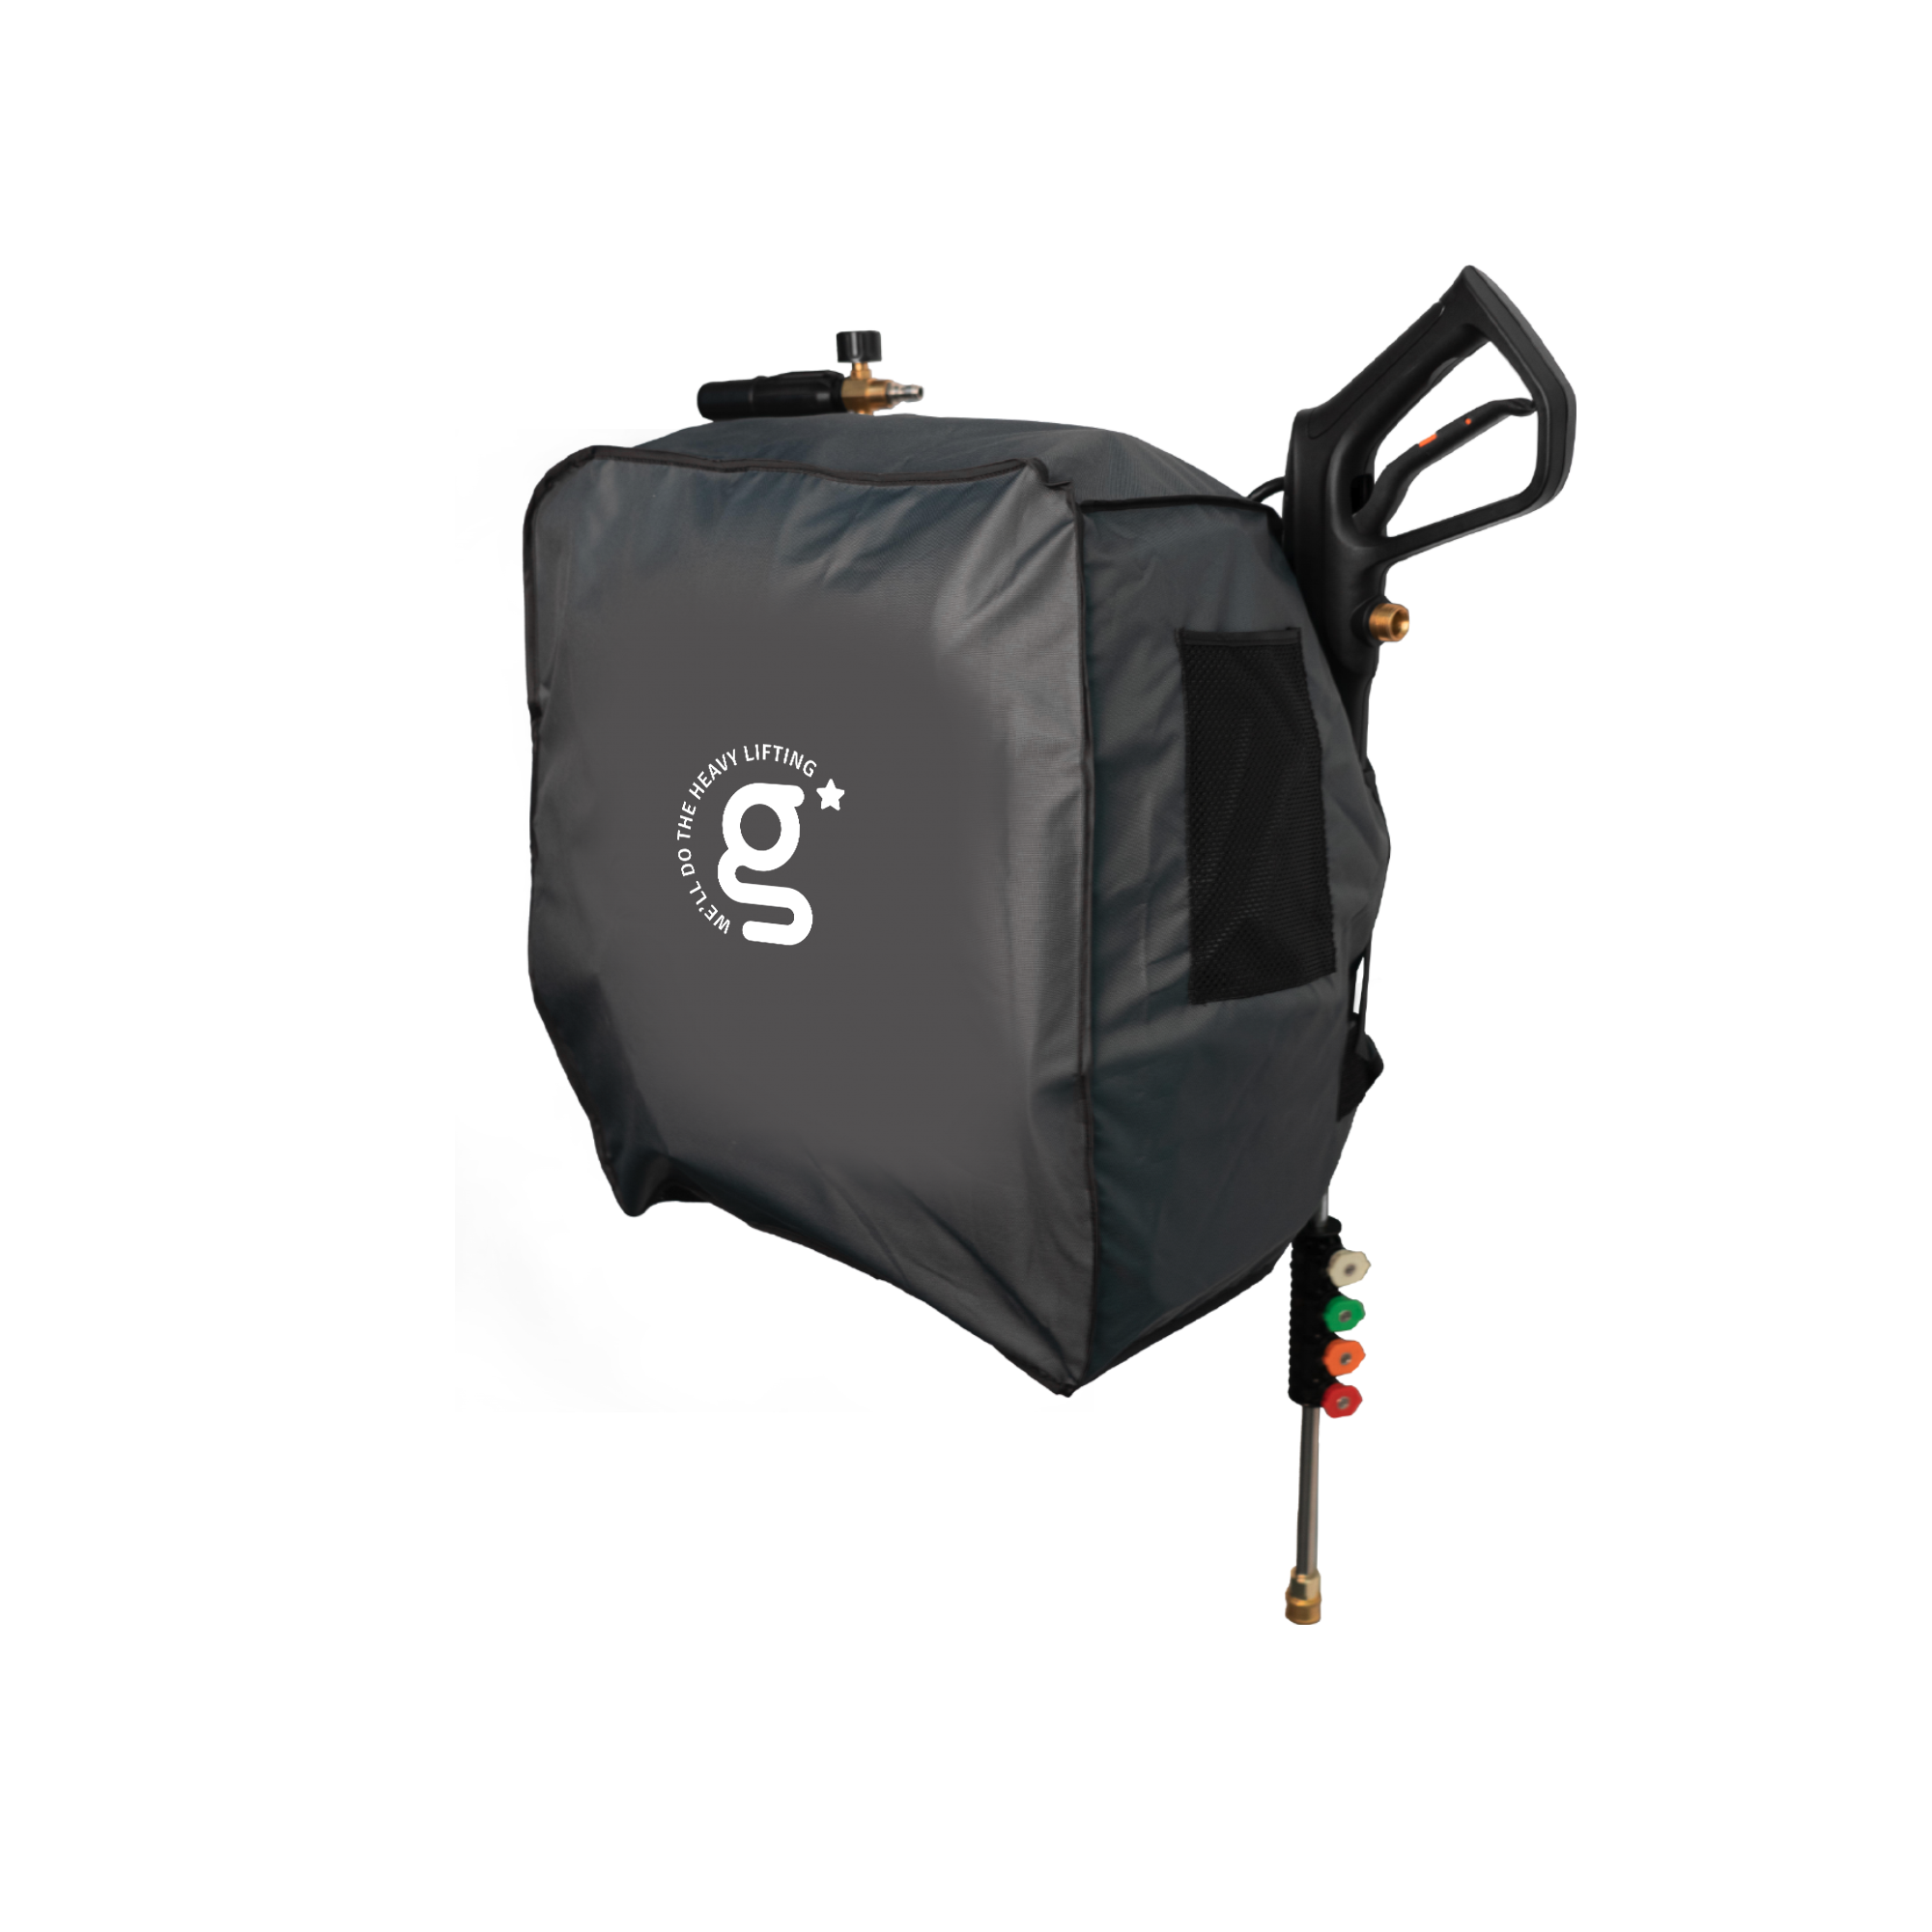
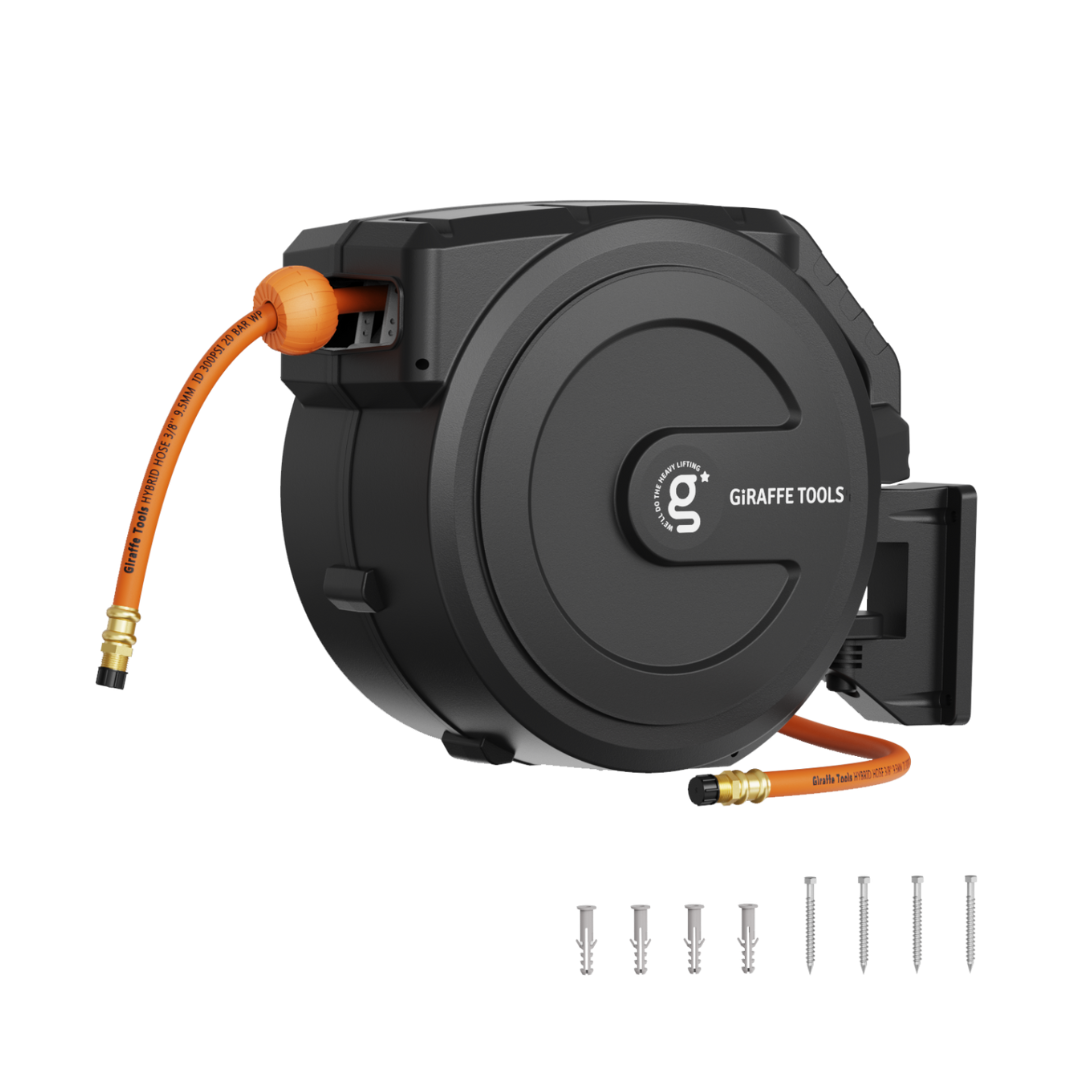
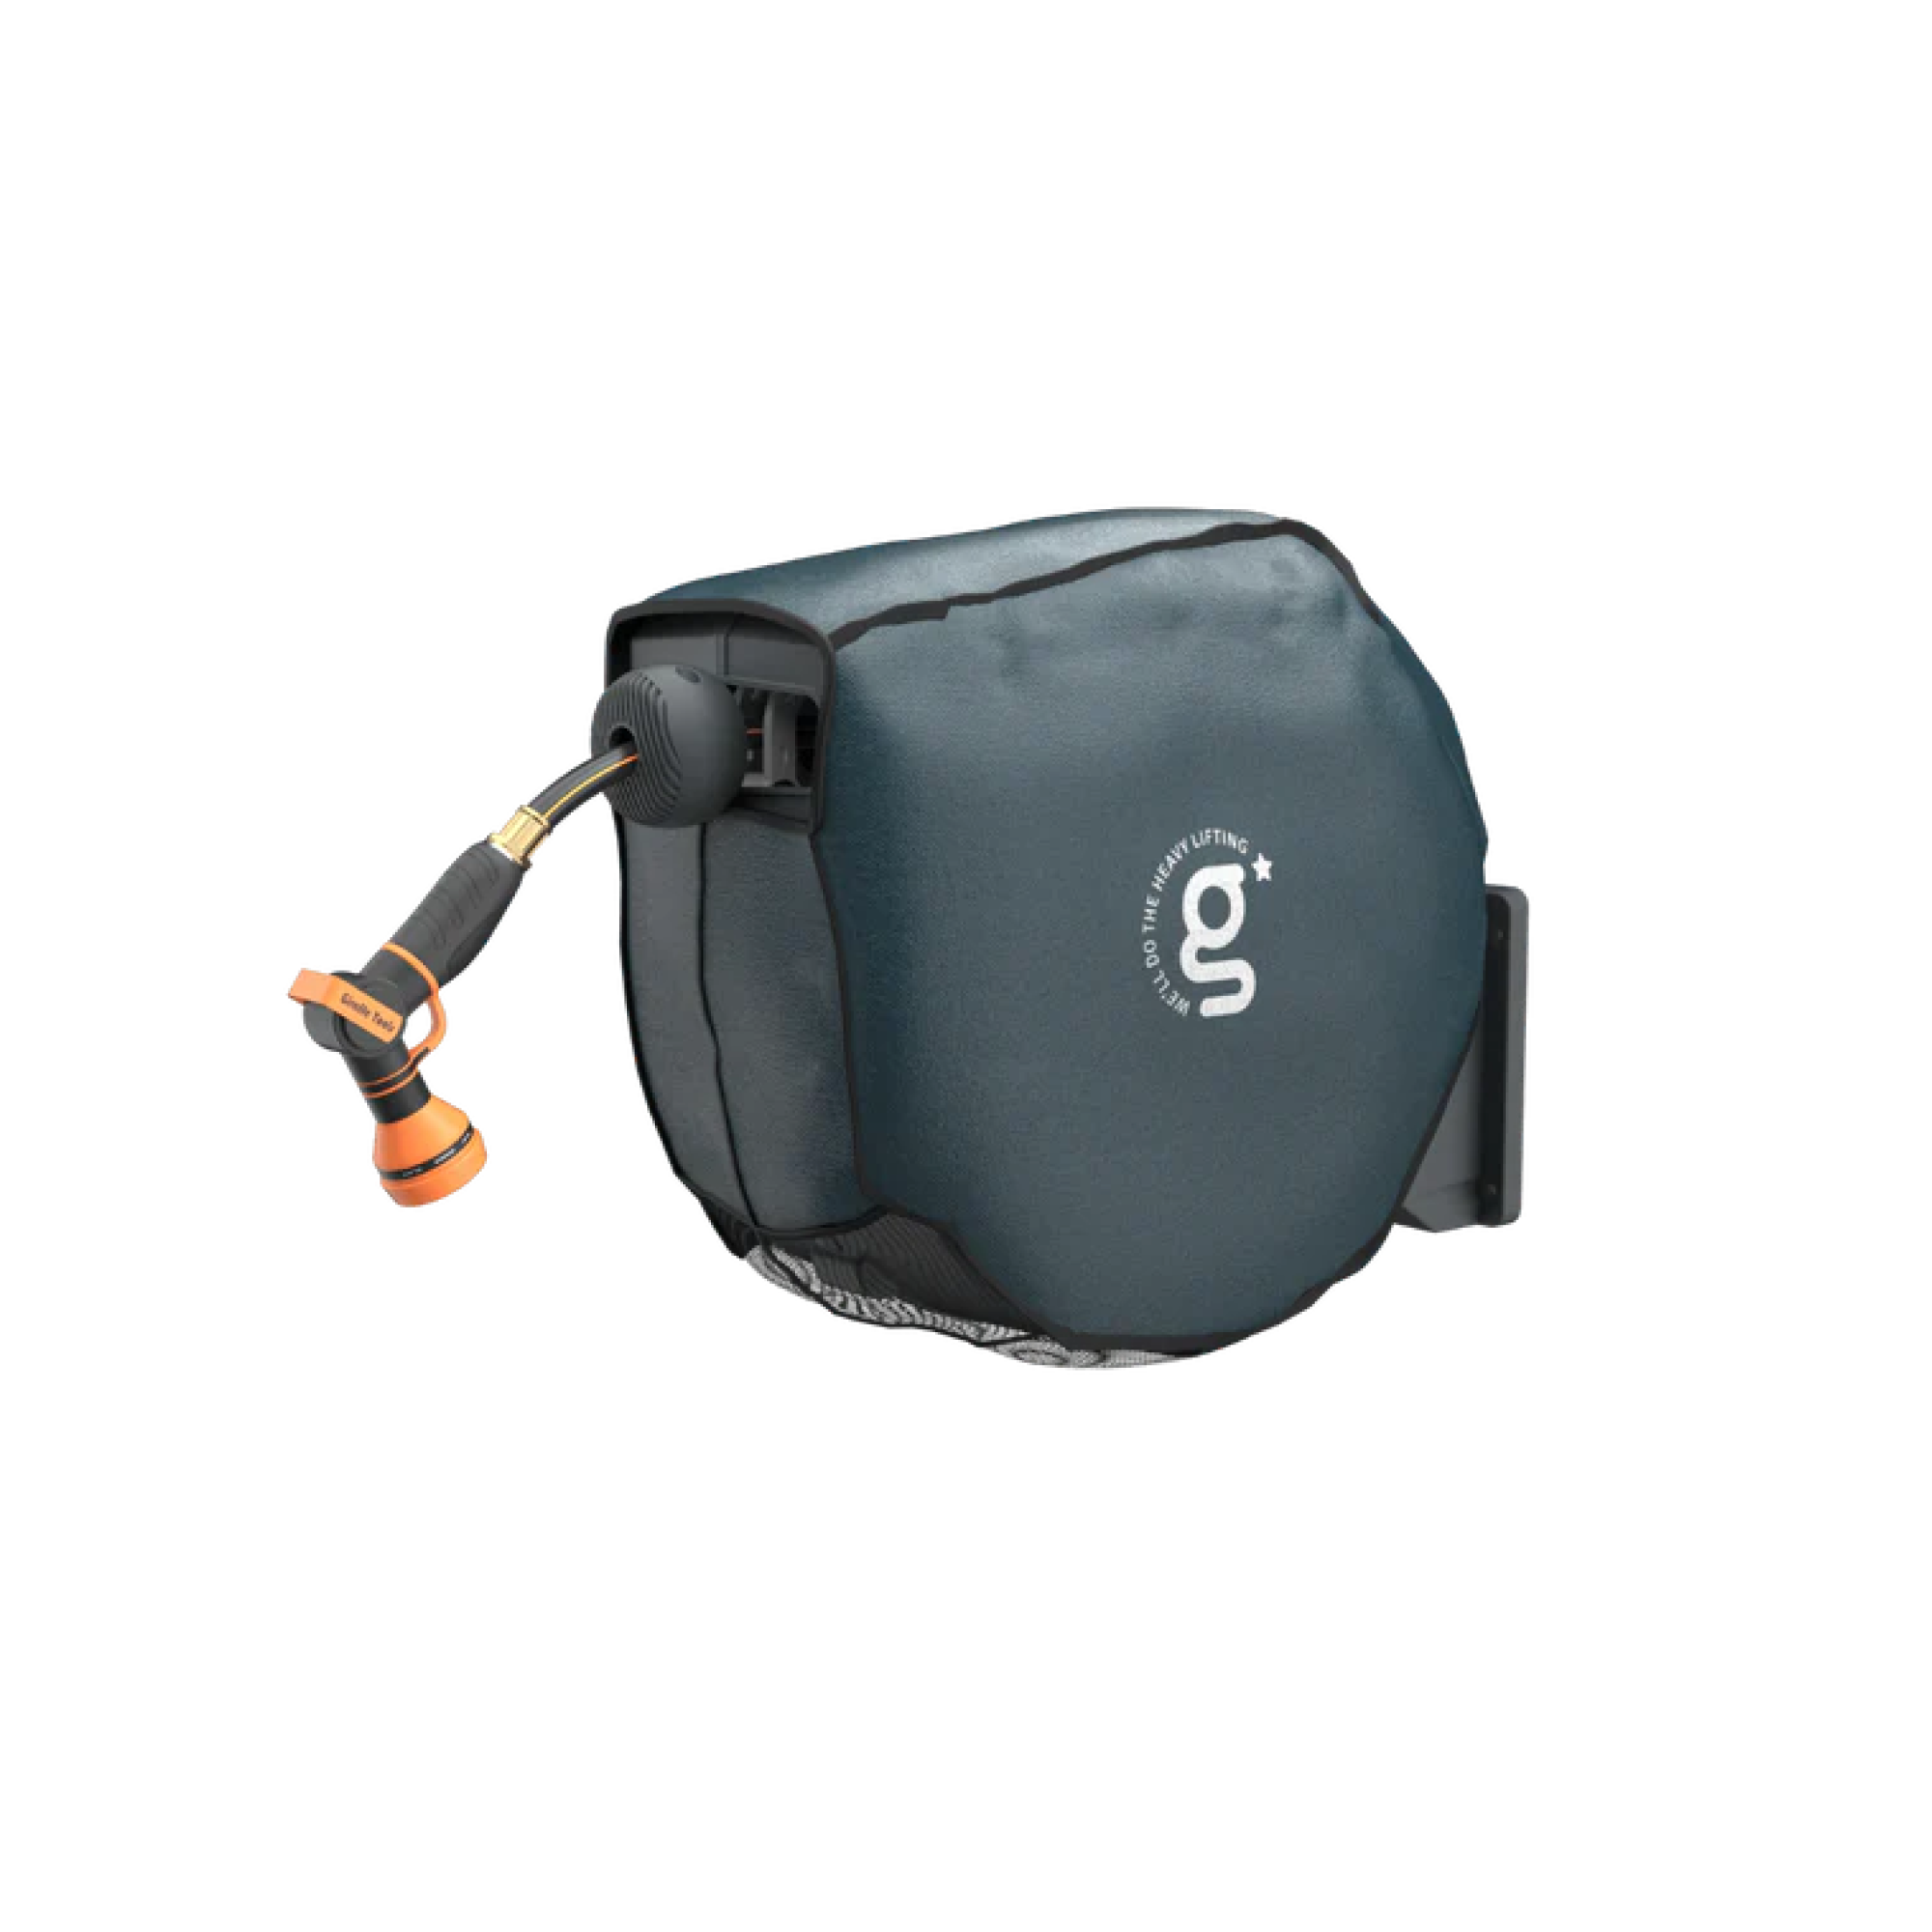
Giraffe Tools Canada's Ground-Mounted Retractable Hose Reel 82ft-130ft offers 82 ft and 130 ft reach, 360-degree rotation, a carry handle, an openable side cover and lawn-or-concrete mounting. These features support multi-direction coverage, relocation and routine maintenance access.
When a 5/8-Inch Hose Is More Useful
Where faster watering and stronger flow matter more than minimum pull weight, the Ground-Mounted Retractable Hose Reel-5/8in-92ft uses a 5/8-inch hose. The Canadian product page lists a 40% flow increase compared with its referenced alternative.
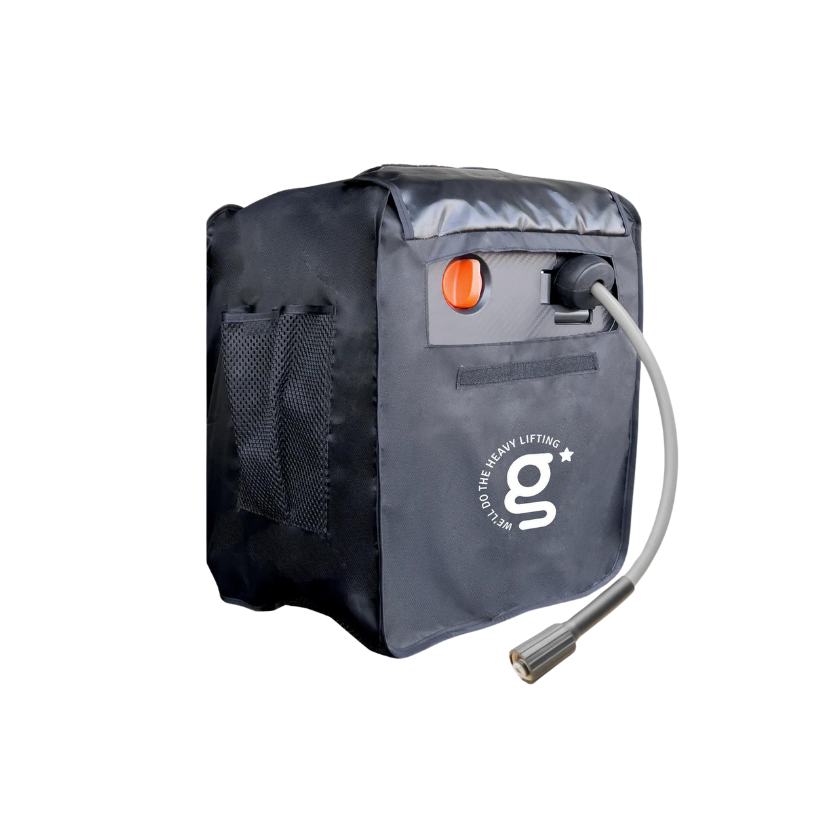
It also includes 360-degree rotation, lawn-or-concrete installation and a detachable cover. Select the diameter and length that fit your route, then follow the manual supplied with that exact version.
Final Thoughts
A reliable ground-mounted setup starts with a level, stable base and ends with controlled retraction. Secure every fastener, release water pressure after use, keep grit away from moving areas and inspect the base at the start of each season. The only Canada-specific additions worth making are practical ones: drain before freezing weather and recheck lawn or concrete mounting after winter. Everything else should follow the product manual and the actual conditions in your yard.
FAQs
Can a Ground-Mounted Retractable Hose Reel Be Installed on Concrete?
Yes, when the model supports concrete installation and the slab is sound, flat and suitable for the supplied anchors. Use the drill-bit size, hole depth and fasteners specified in the manual, and avoid cracked edges.
How Do You Keep a Ground-Mounted Hose Reel Stable on a Lawn?
Choose firm, level soil and install every supplied garden pin fully and straight. Test the reel by pulling a short length in several directions. Move it if the base rocks or the ground is soft, loose or waterlogged.
Why Is My Retractable Hose Reel Not Retracting Fully?
A kink, twist, trapped debris, high water pressure or an uneven base may interfere with retraction. Turn off the water, release pressure, straighten the hose and guide it back slowly. Contact support if resistance continues.
Should You Release Water Pressure Before Retracting the Hose?
Yes. Turn off the faucet and squeeze the nozzle trigger before retraction. Releasing pressure makes the hose easier to guide and reduces unnecessary strain on the fittings and rewind mechanism.
Can You Leave a Ground-Mounted Hose Reel Outside All Winter?
Do not leave trapped water where it can freeze. Disconnect, depressurize and drain the reel according to its manual. When the installation is removable, use a dry, frost-protected storage location recommended for the model.


